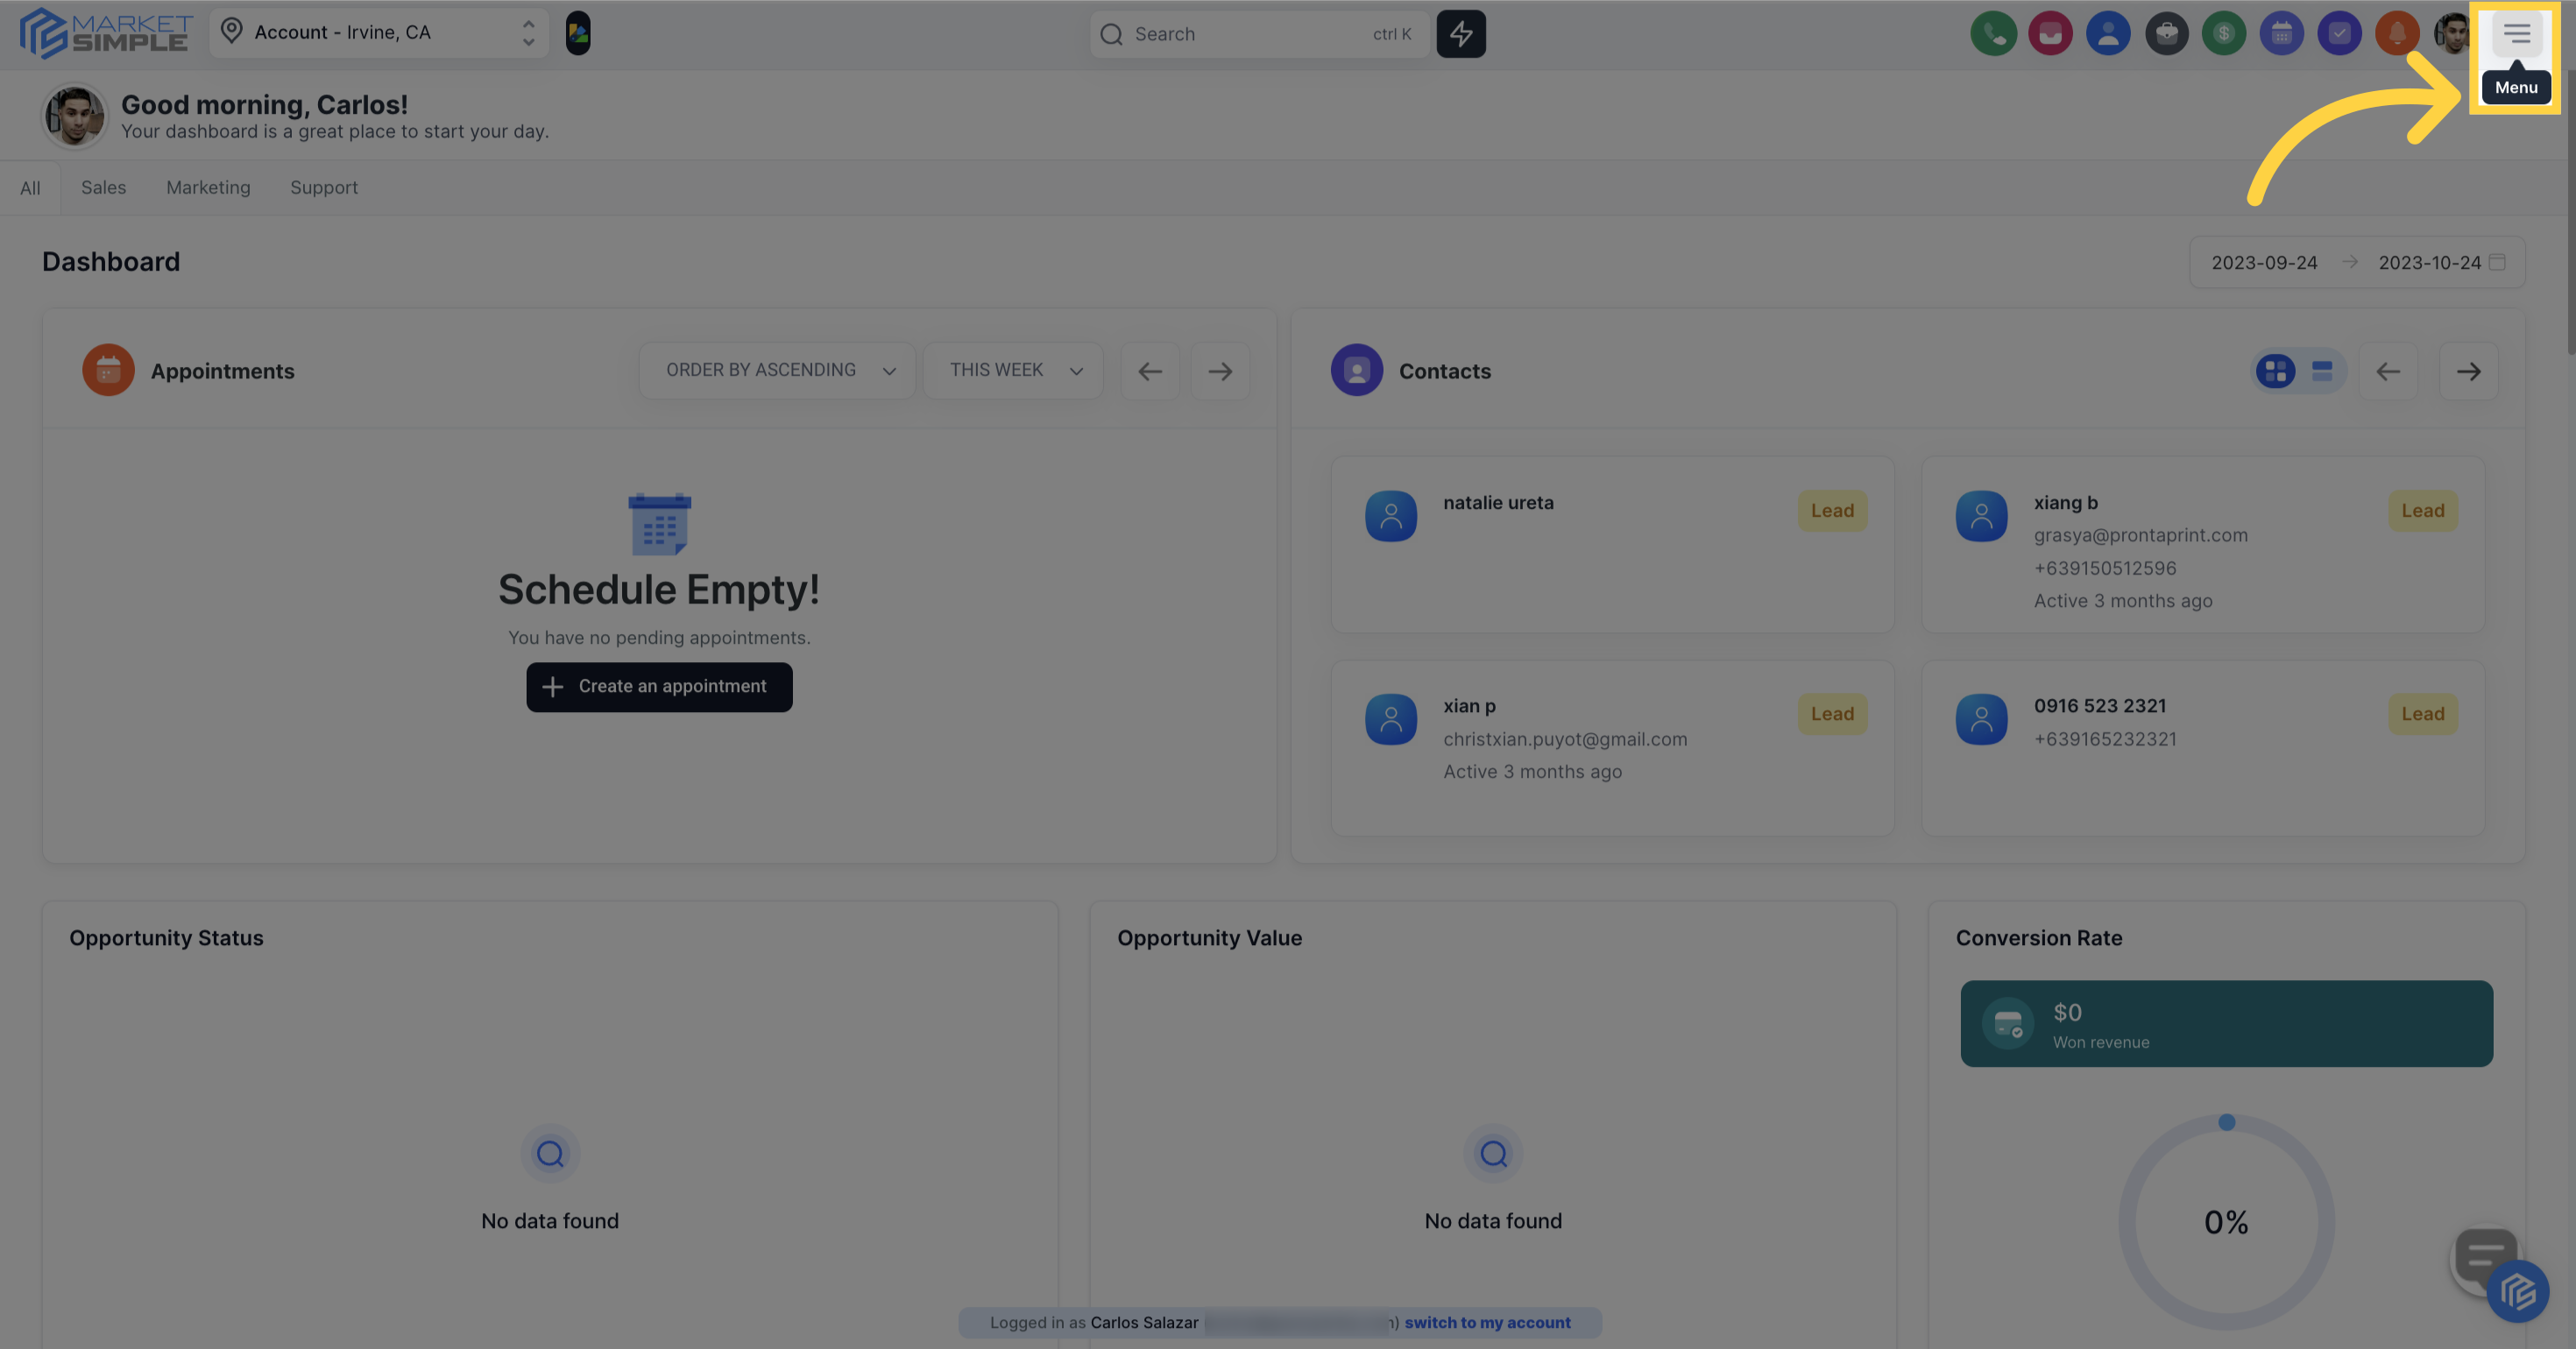
Explore hidden features by clicking "See More".
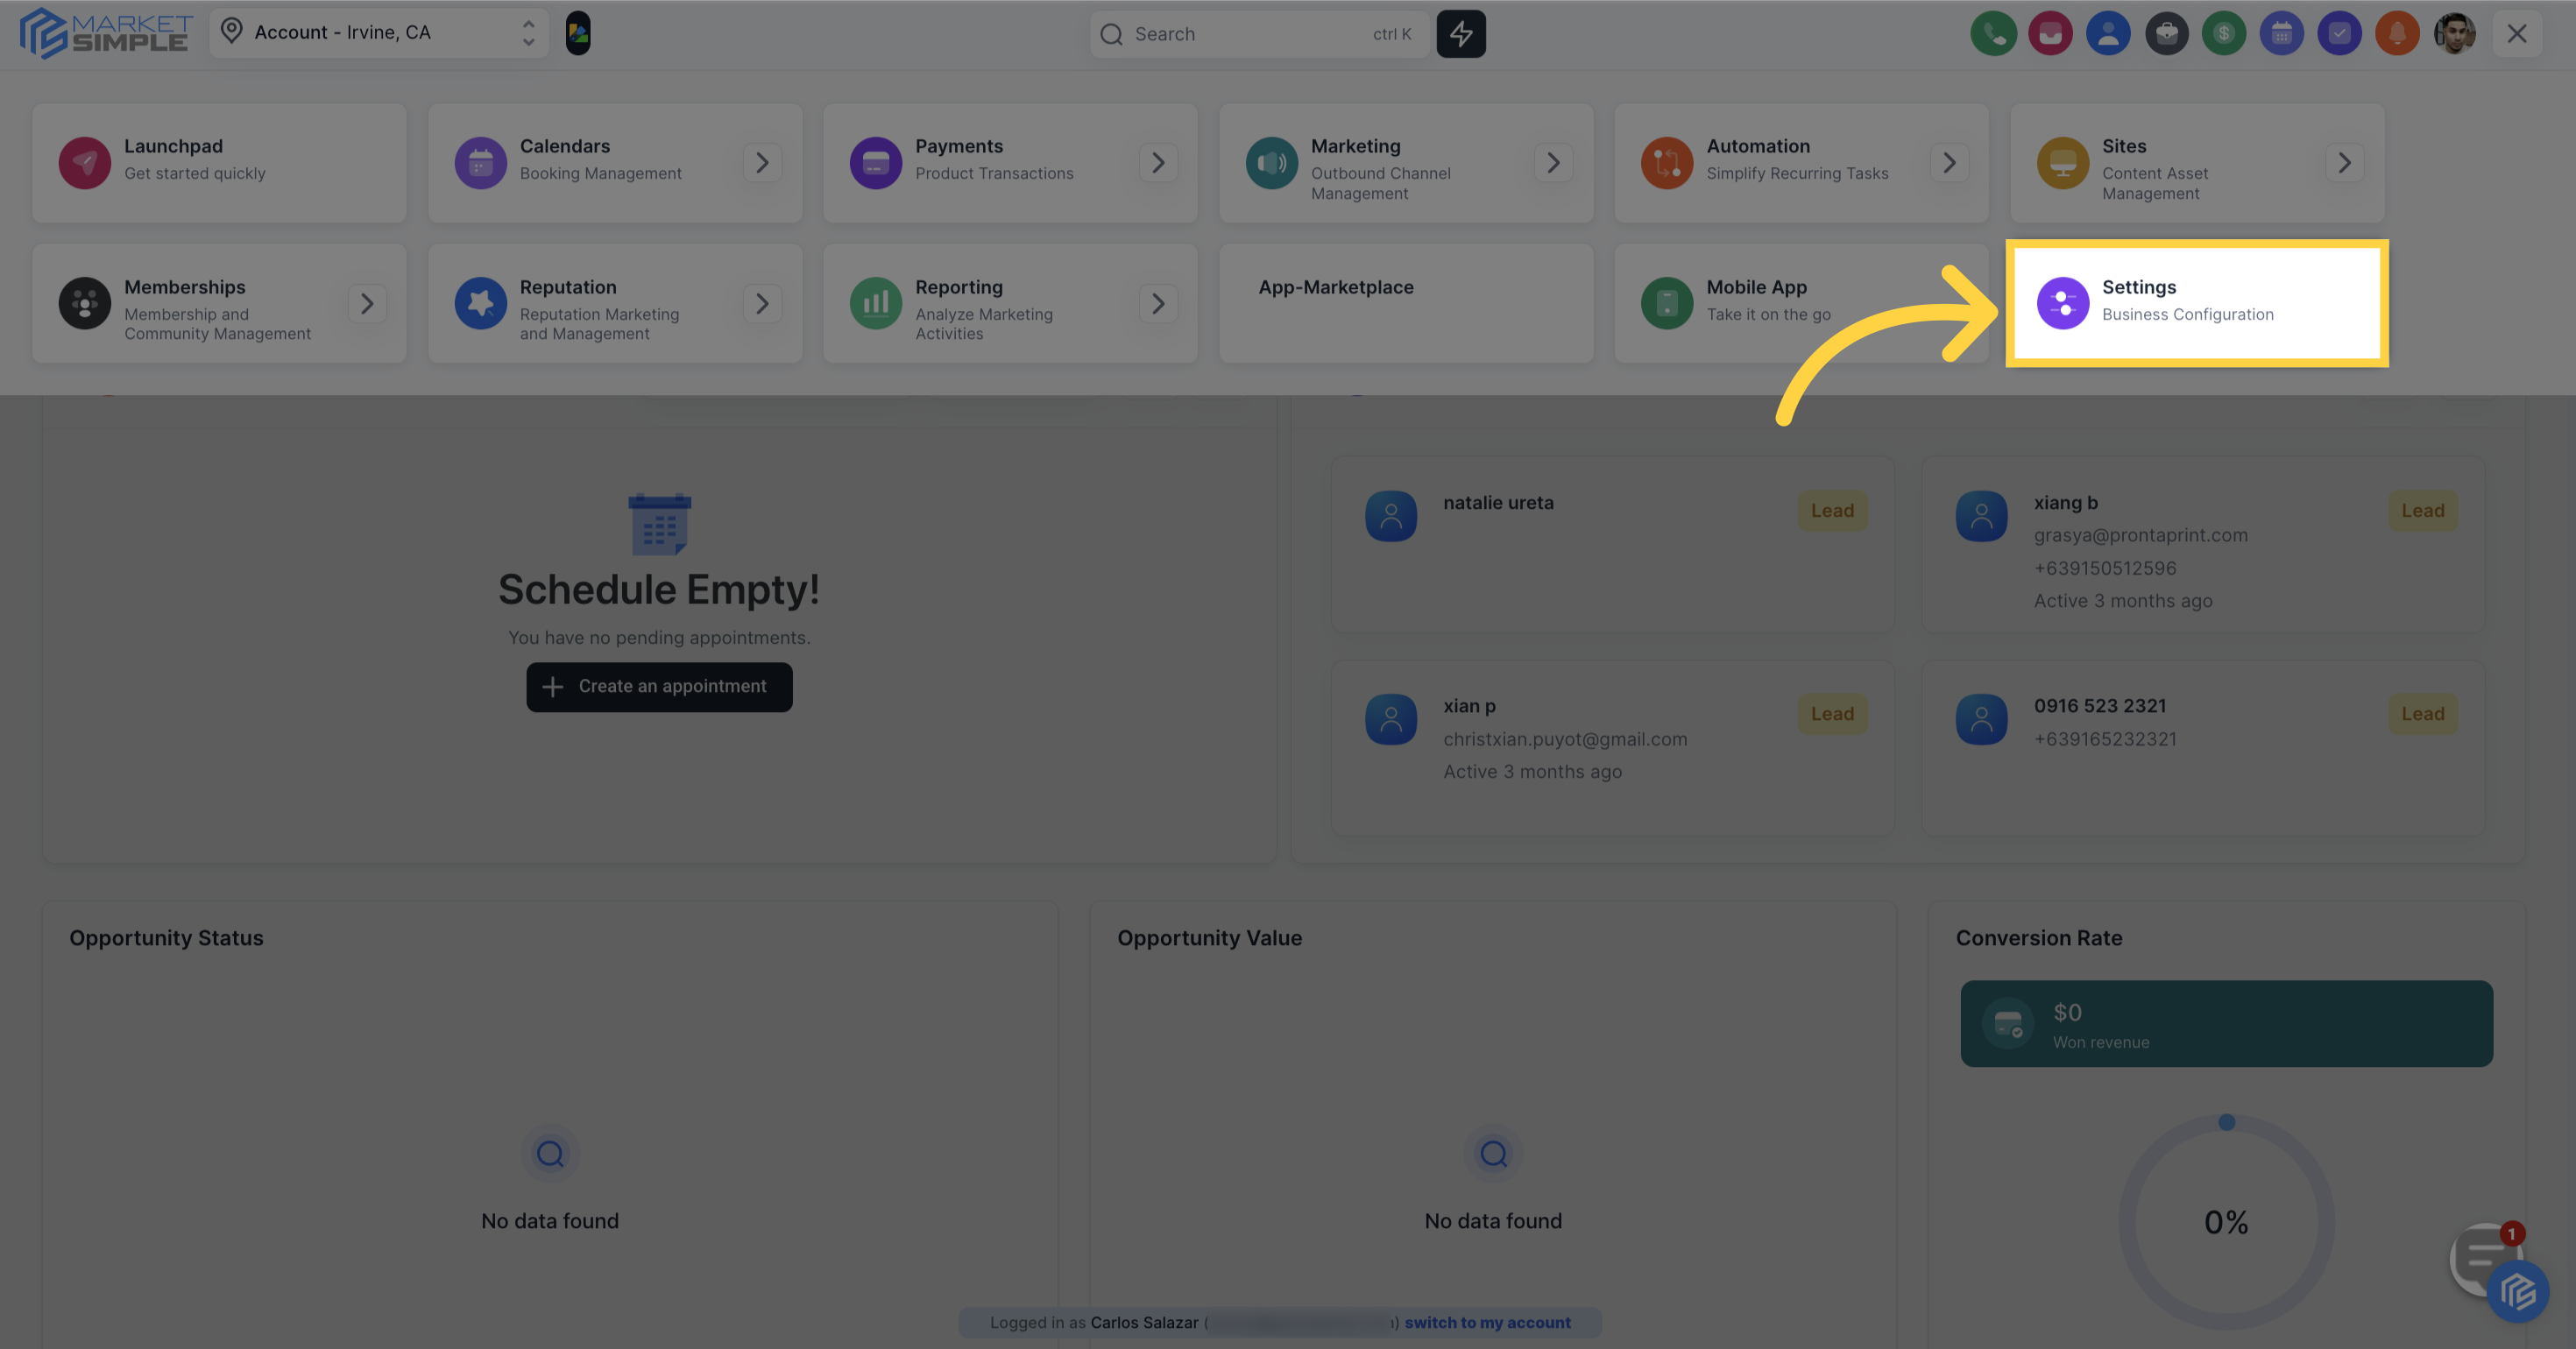
Access the application settings by clicking "Settings"
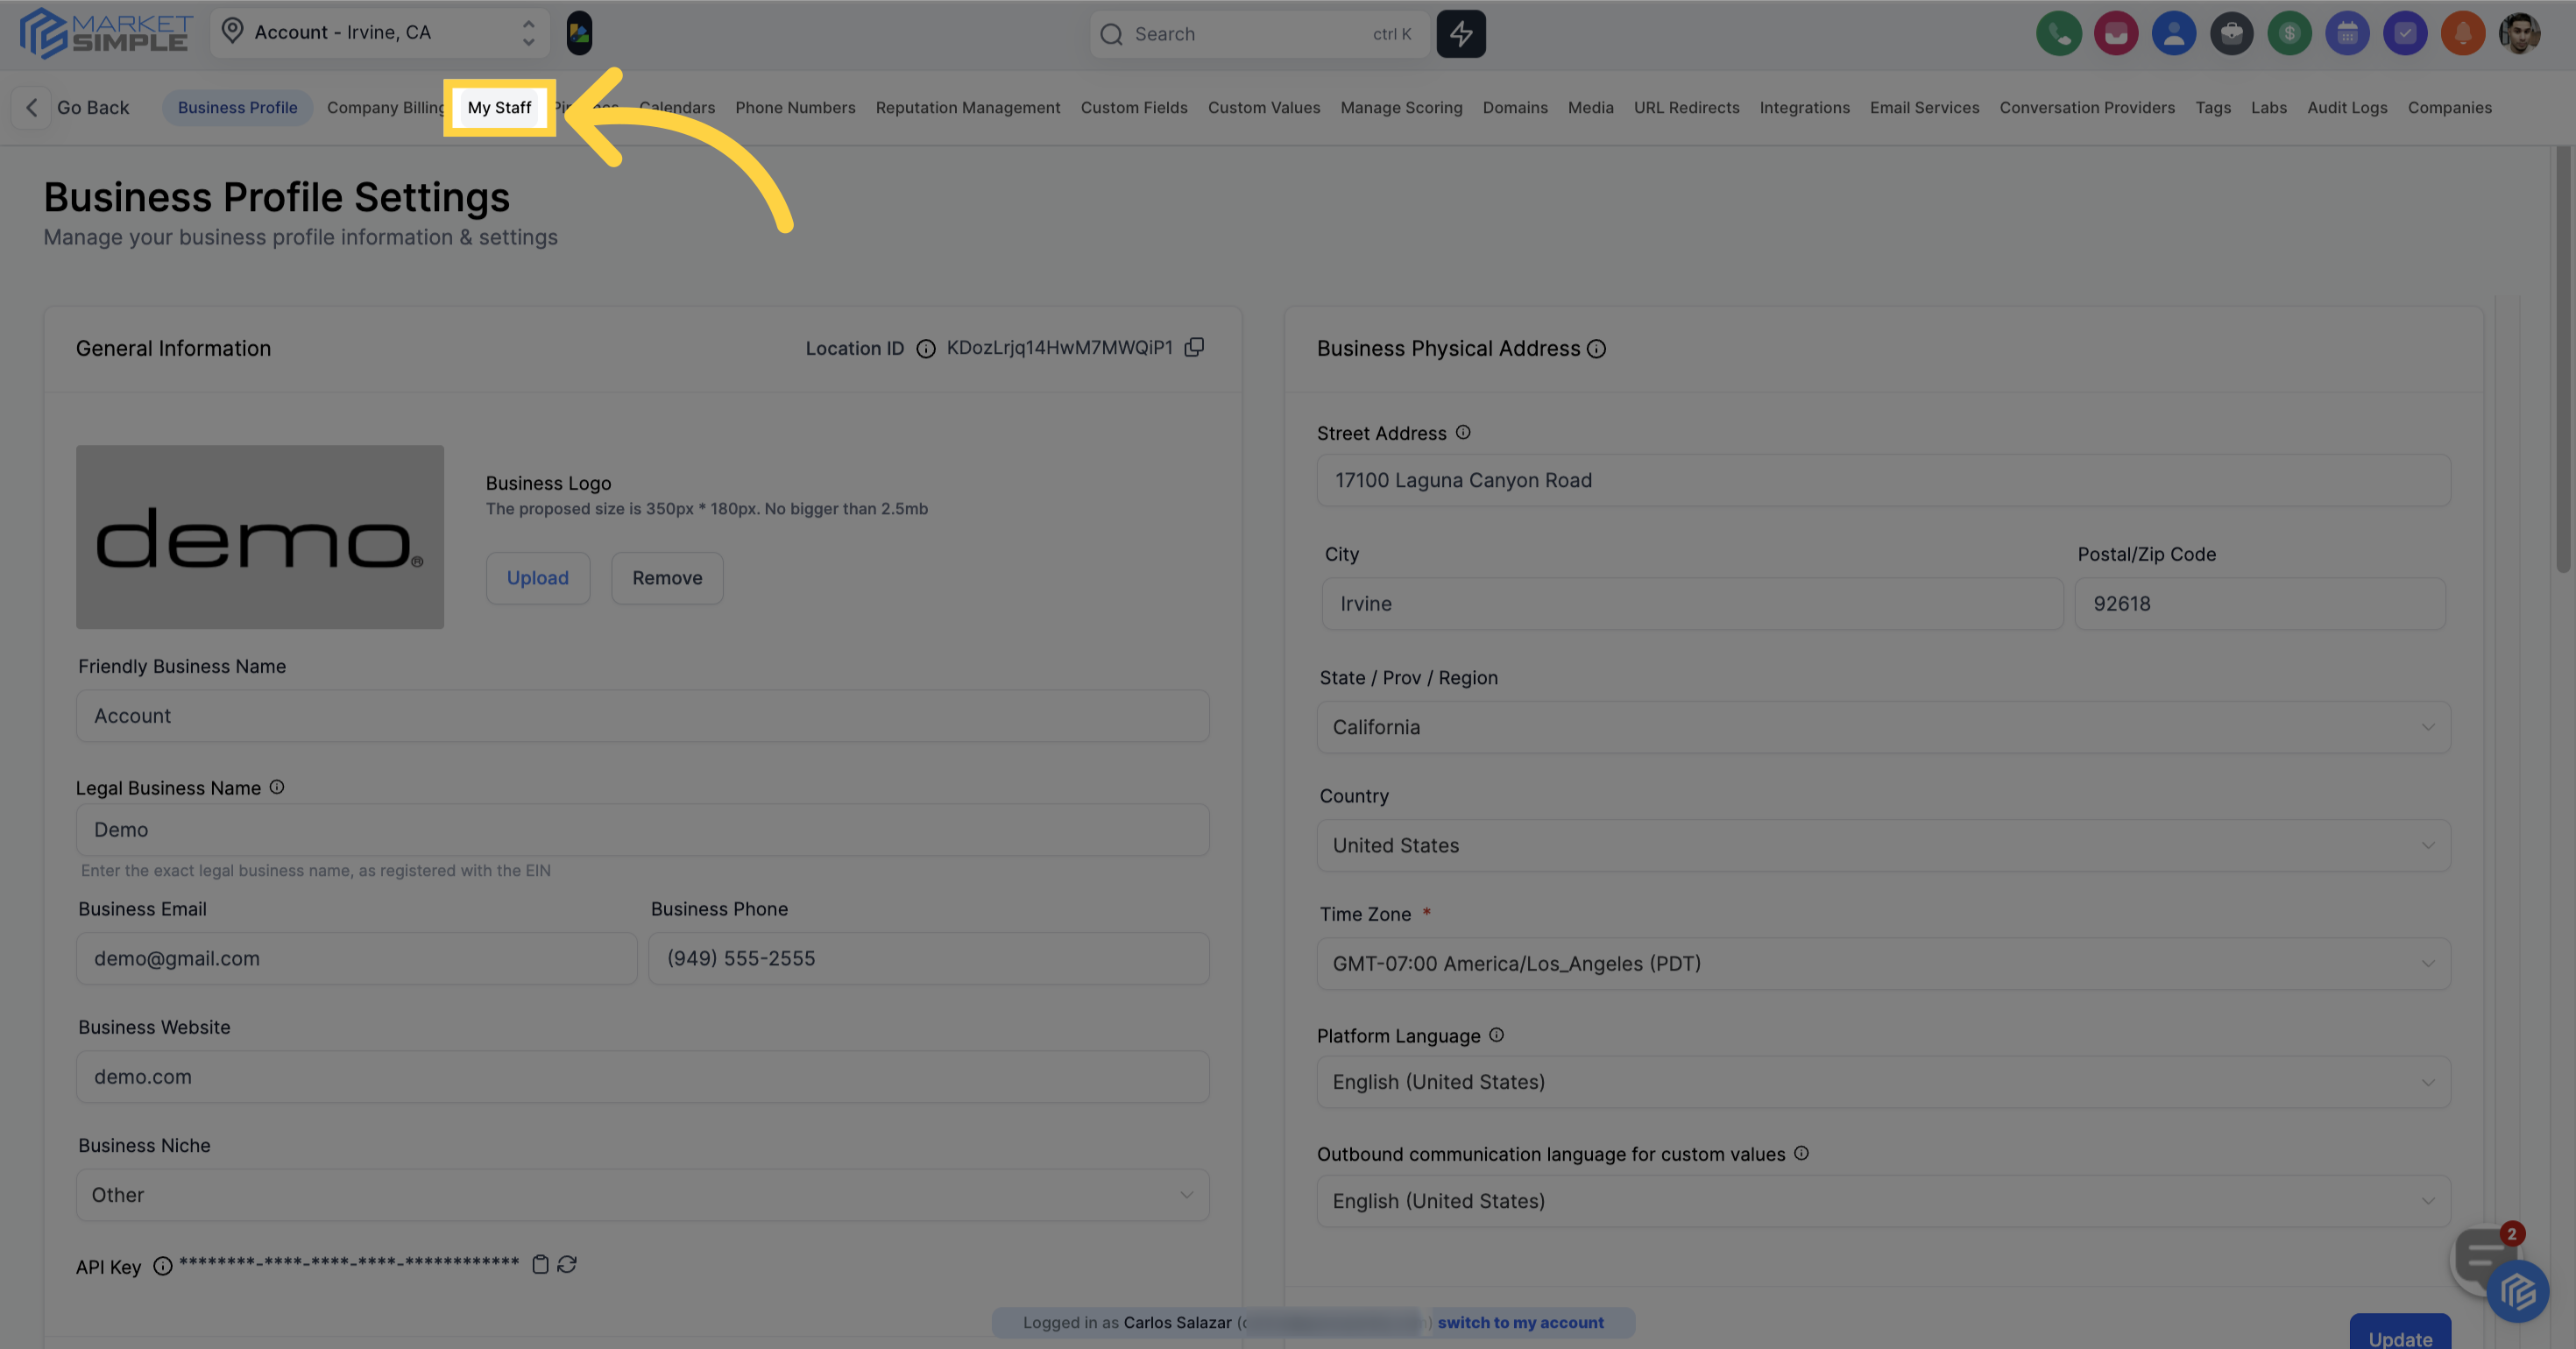
Manage your staff by clicking "My Staff"
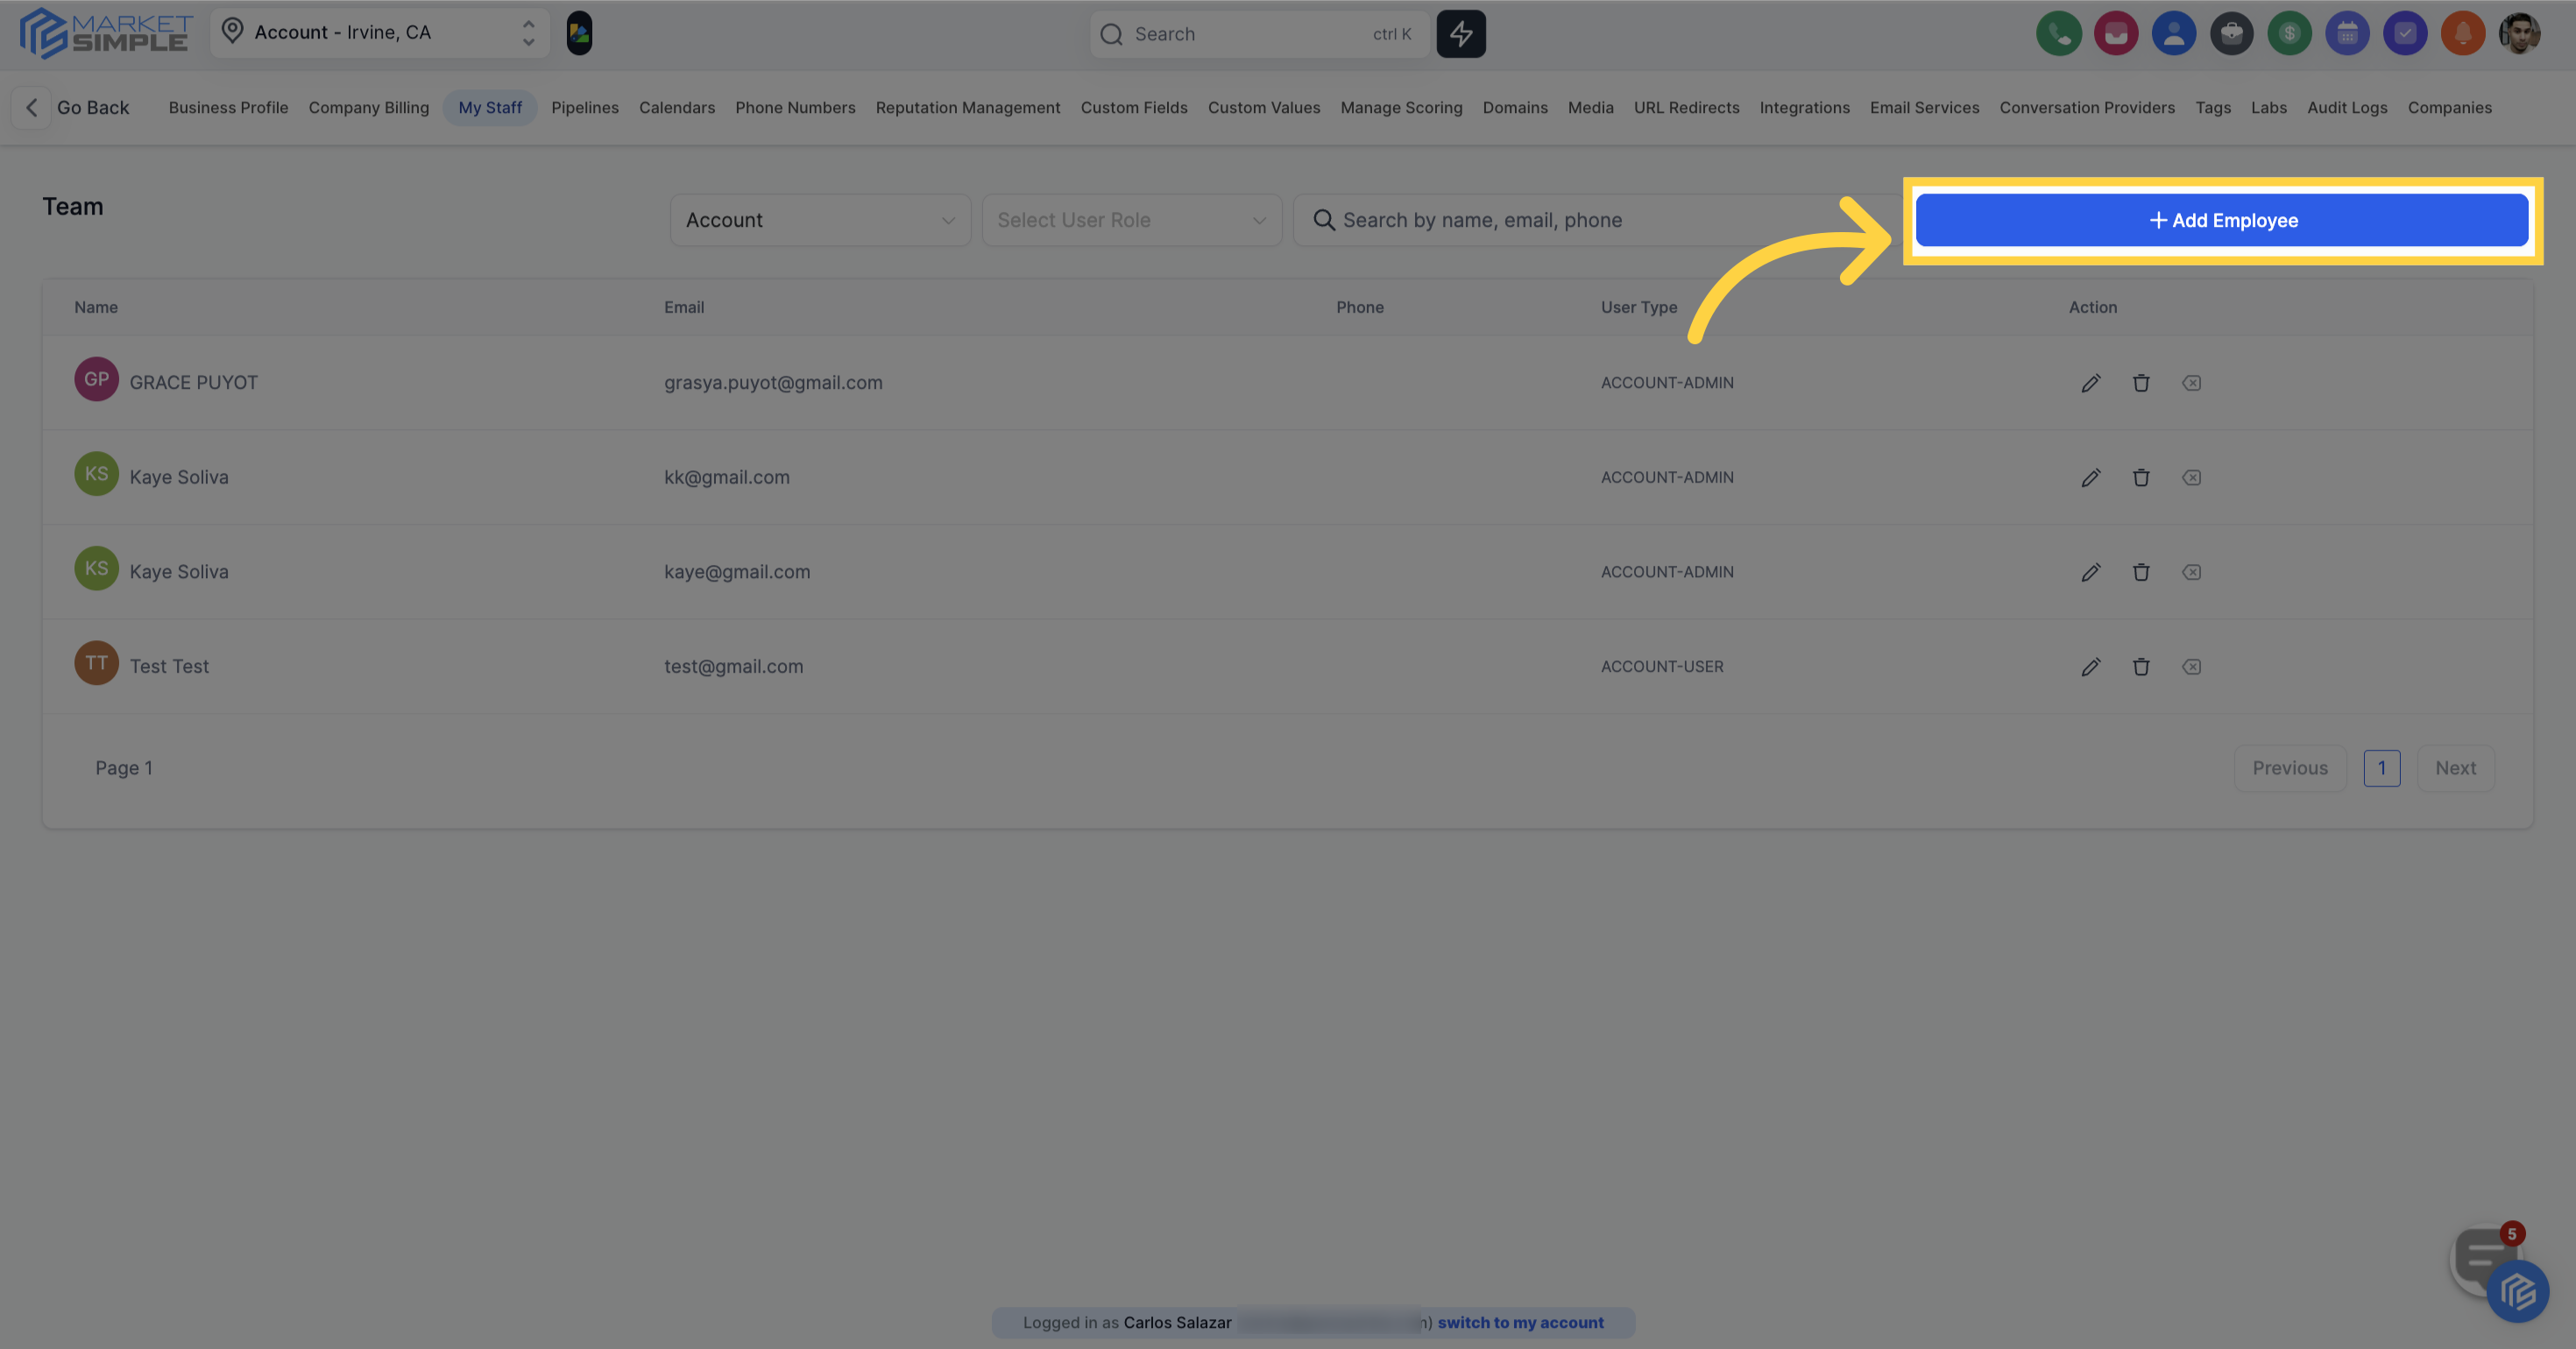
Add a new employee by clicking "Add Employee".
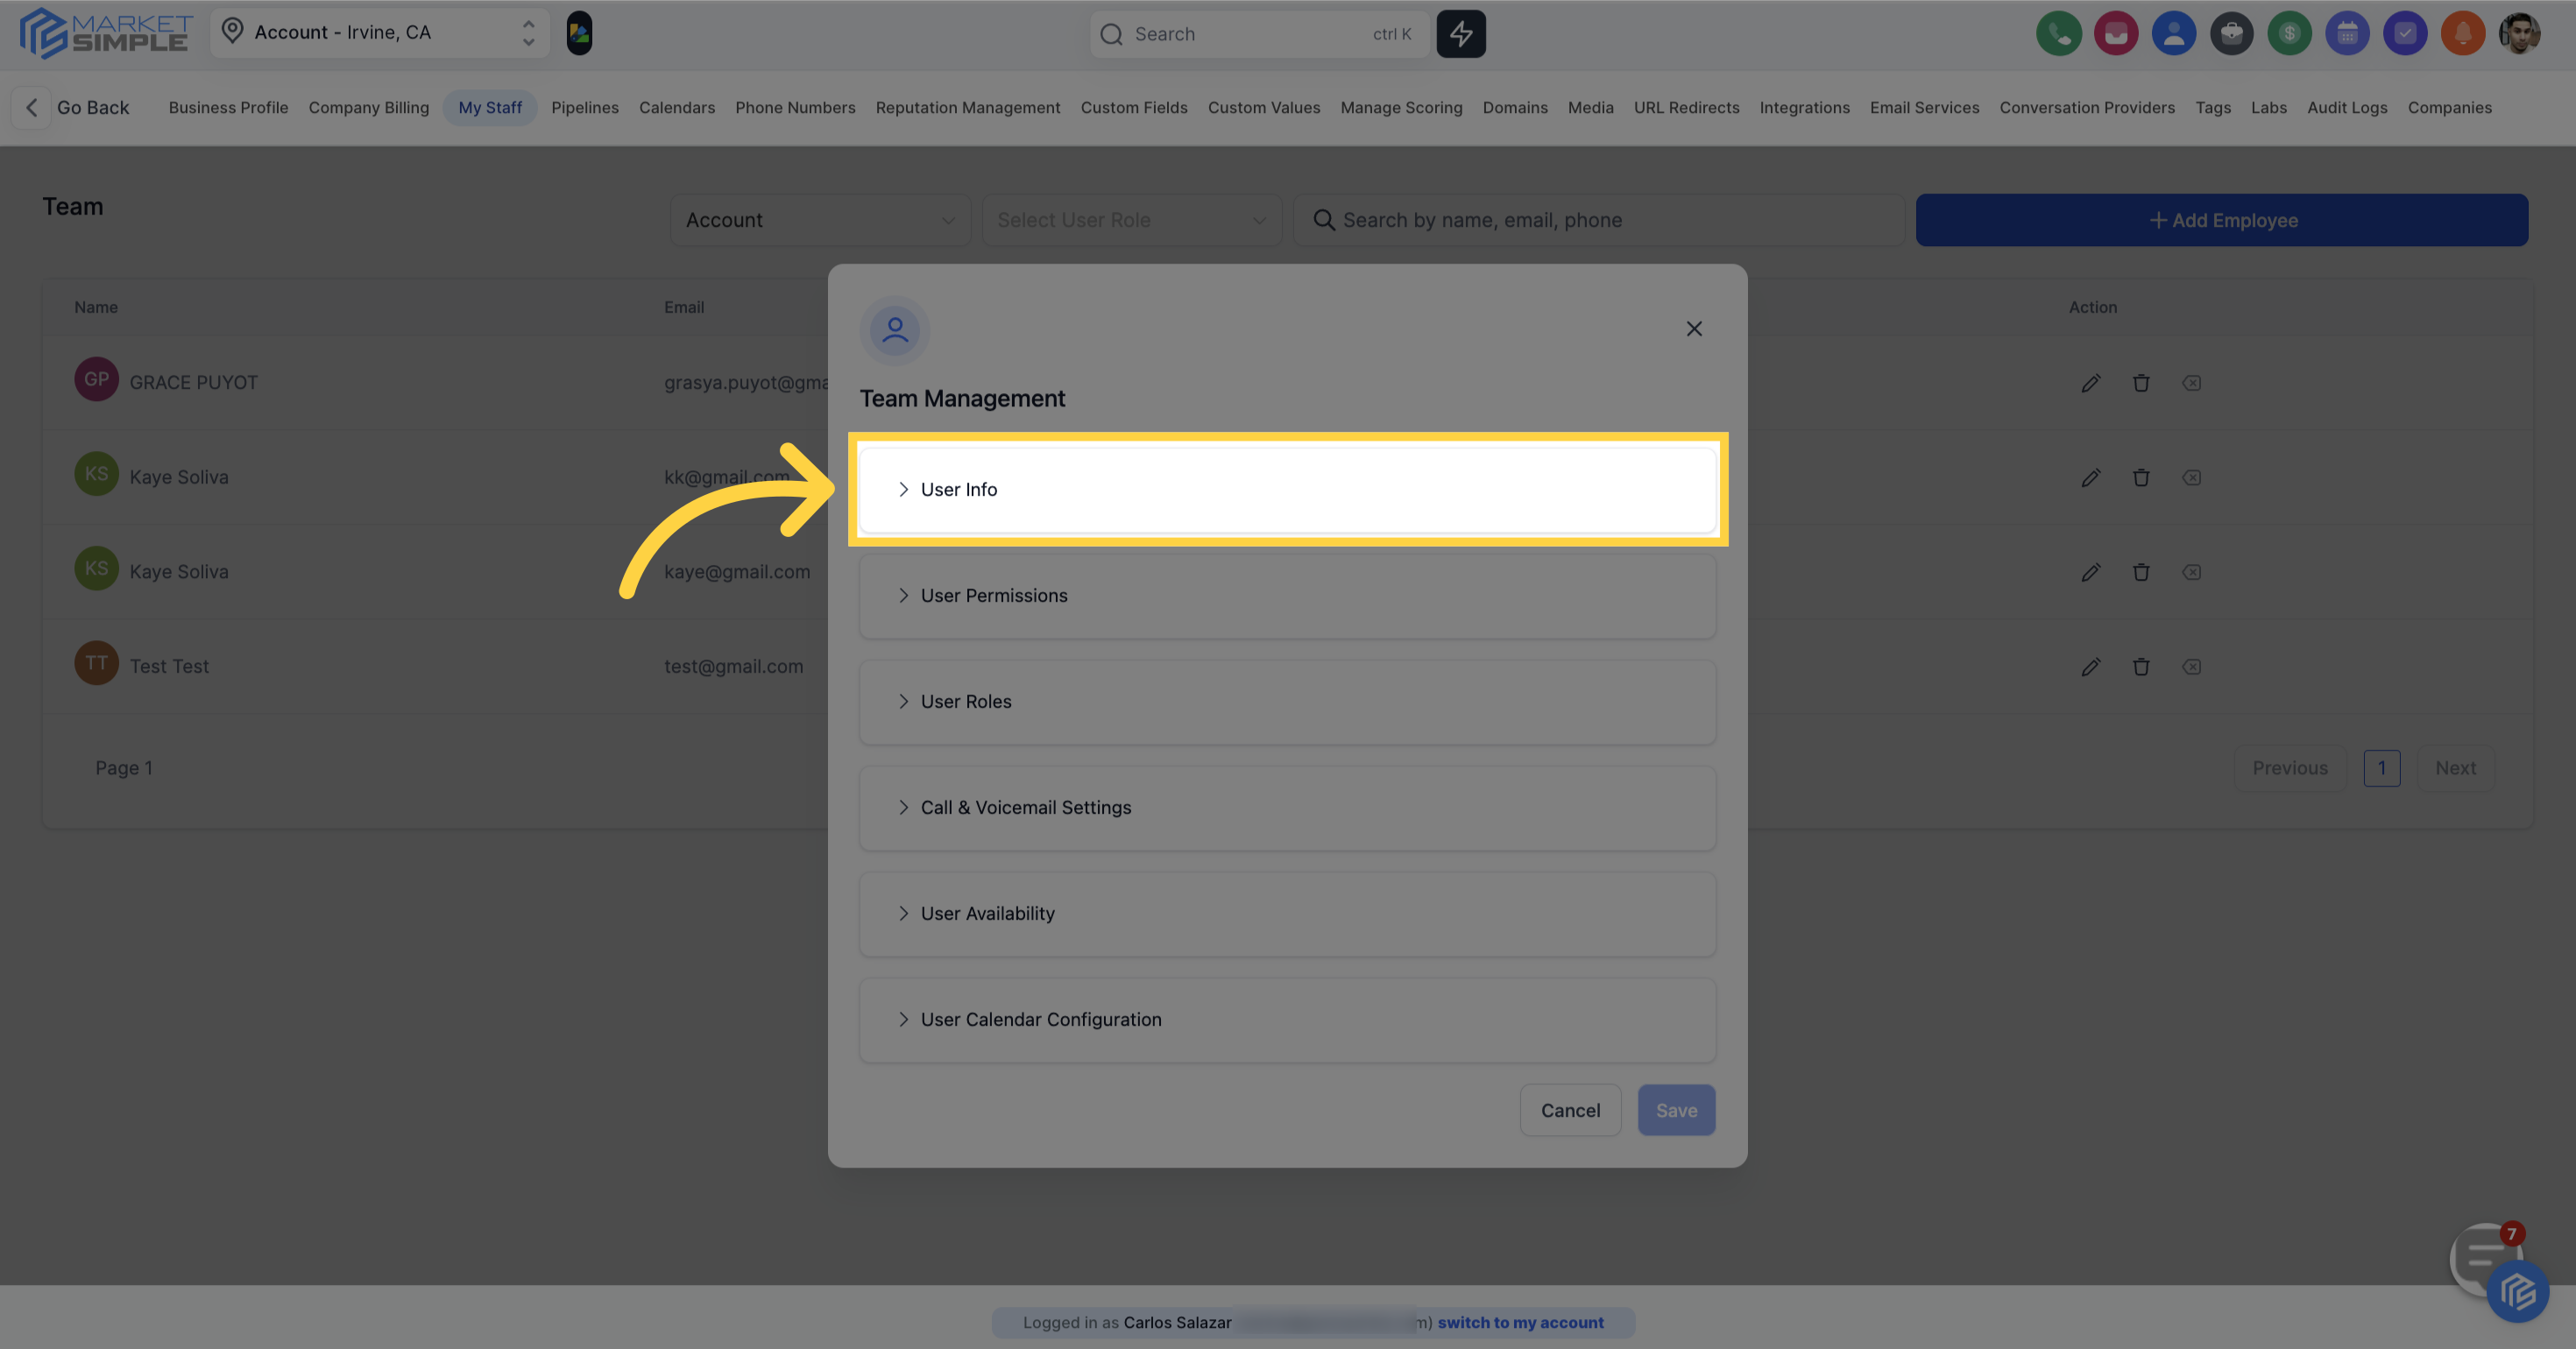
This is the section where you can input the fundamental details of your employee.
Upload a personal logo for the team member
logo size should be 512*512px and a maximum file size of 2.5mb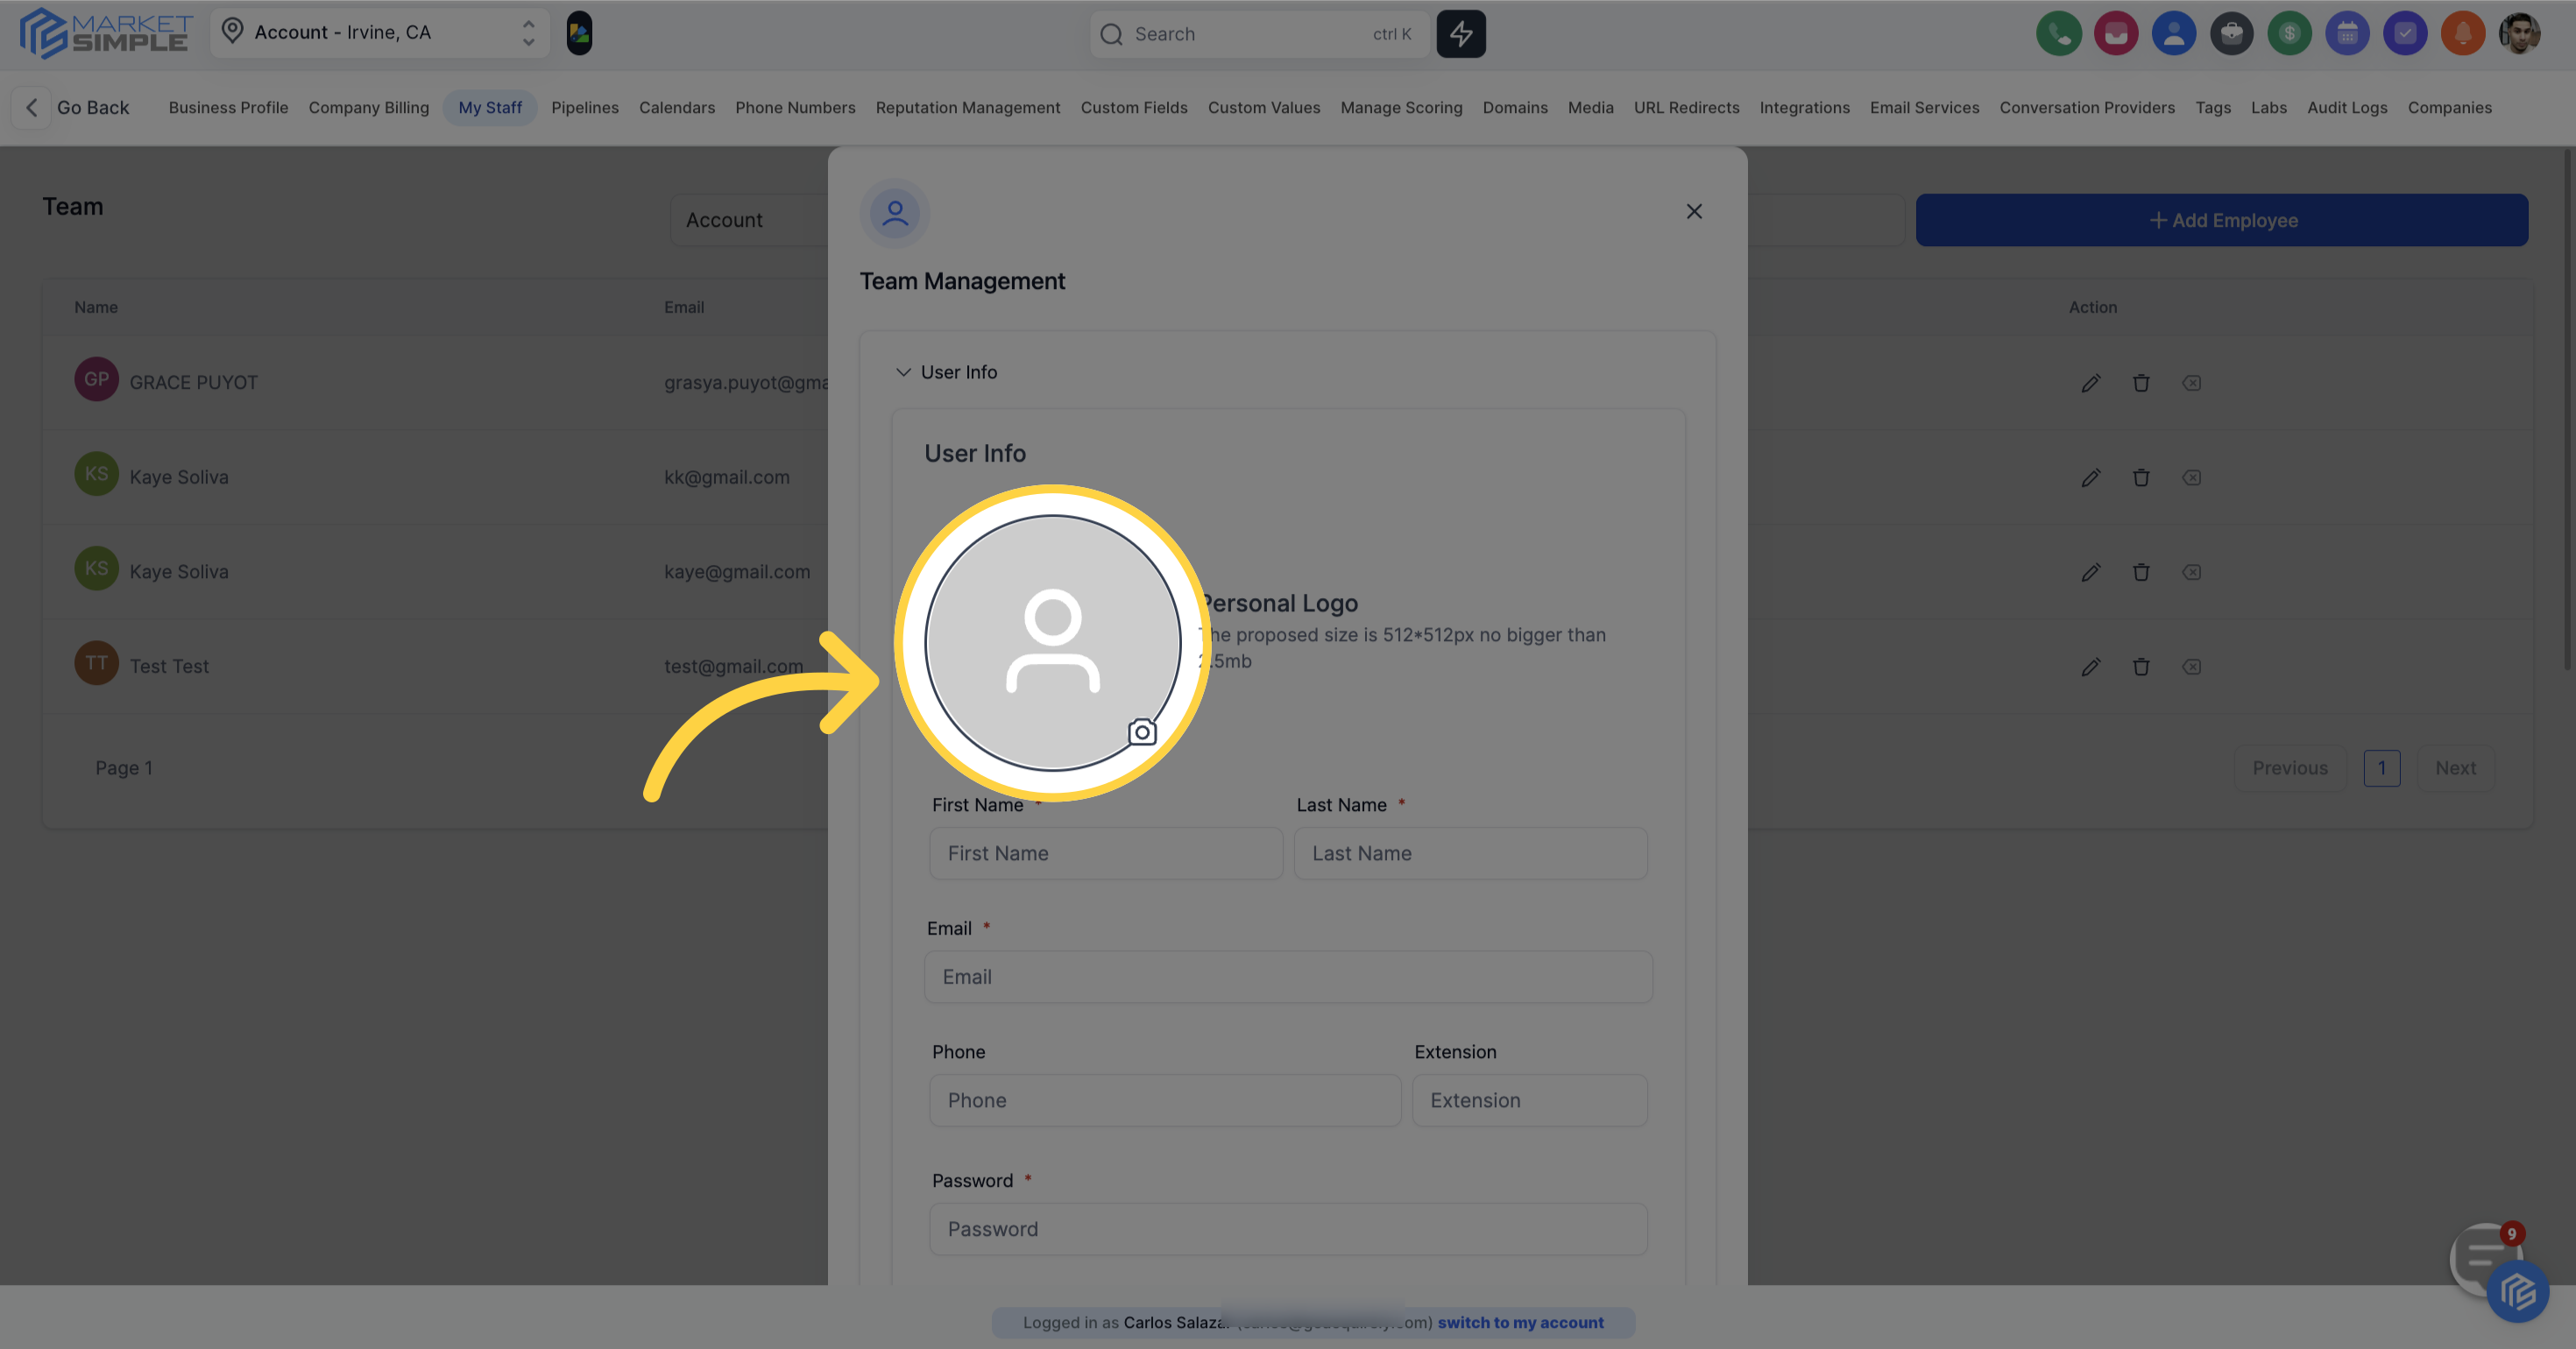
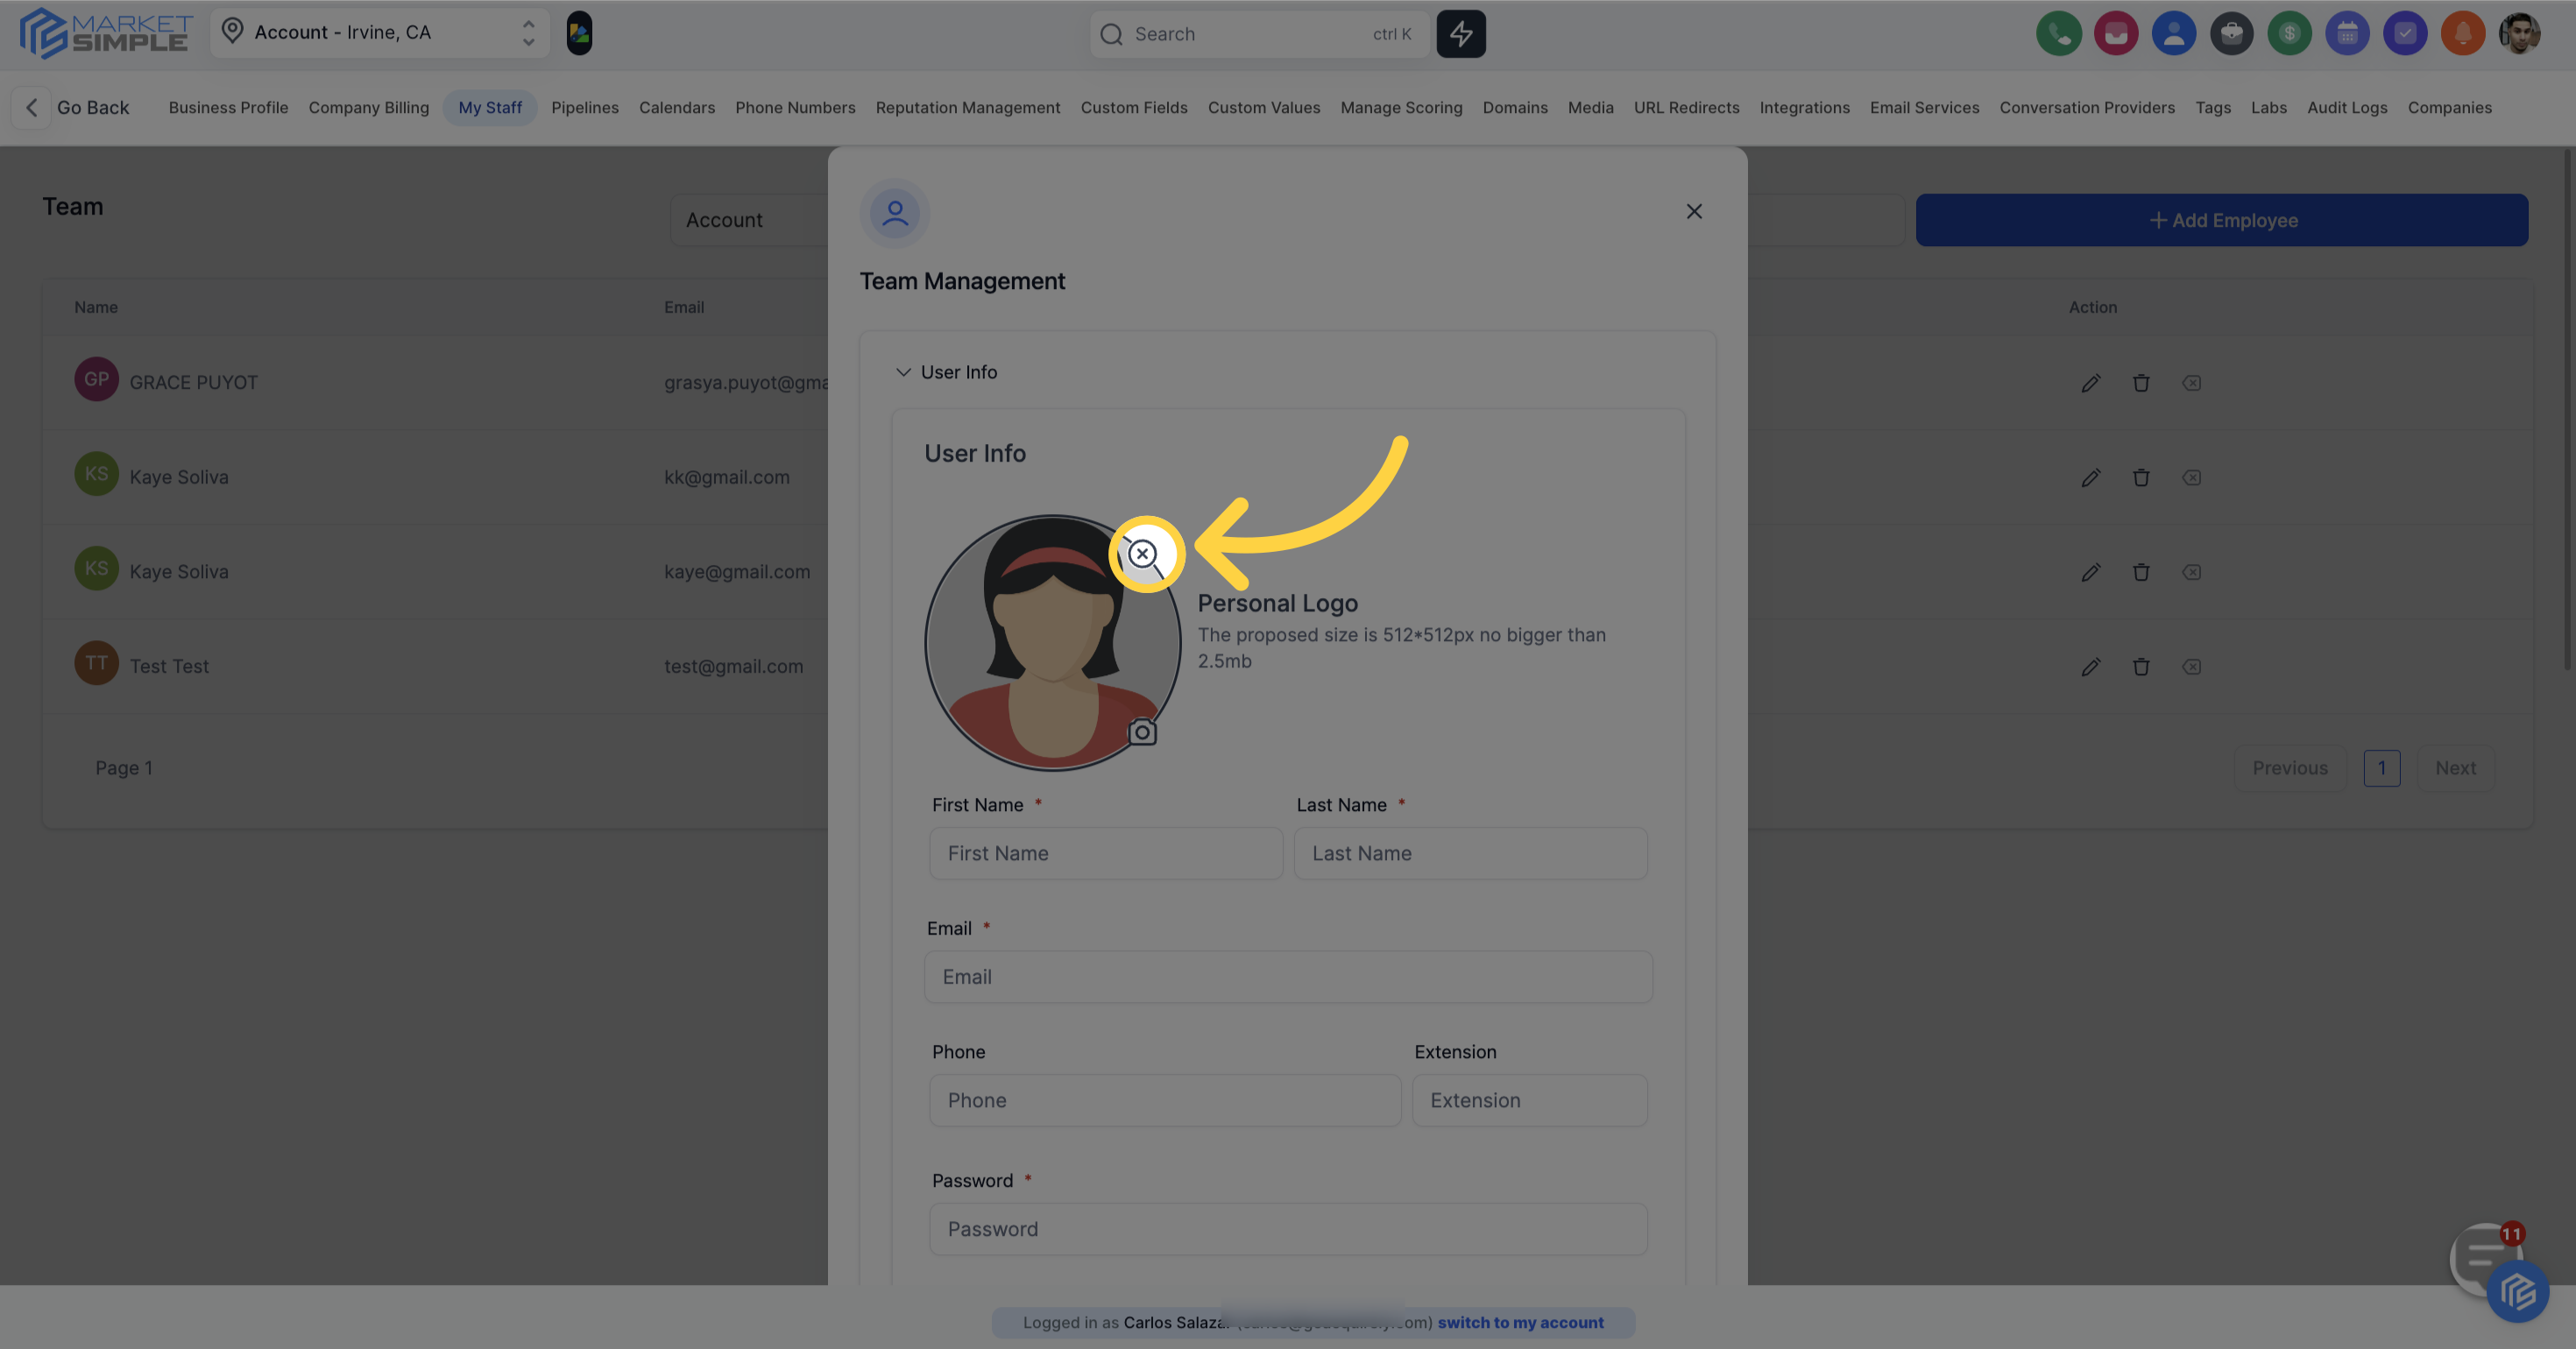
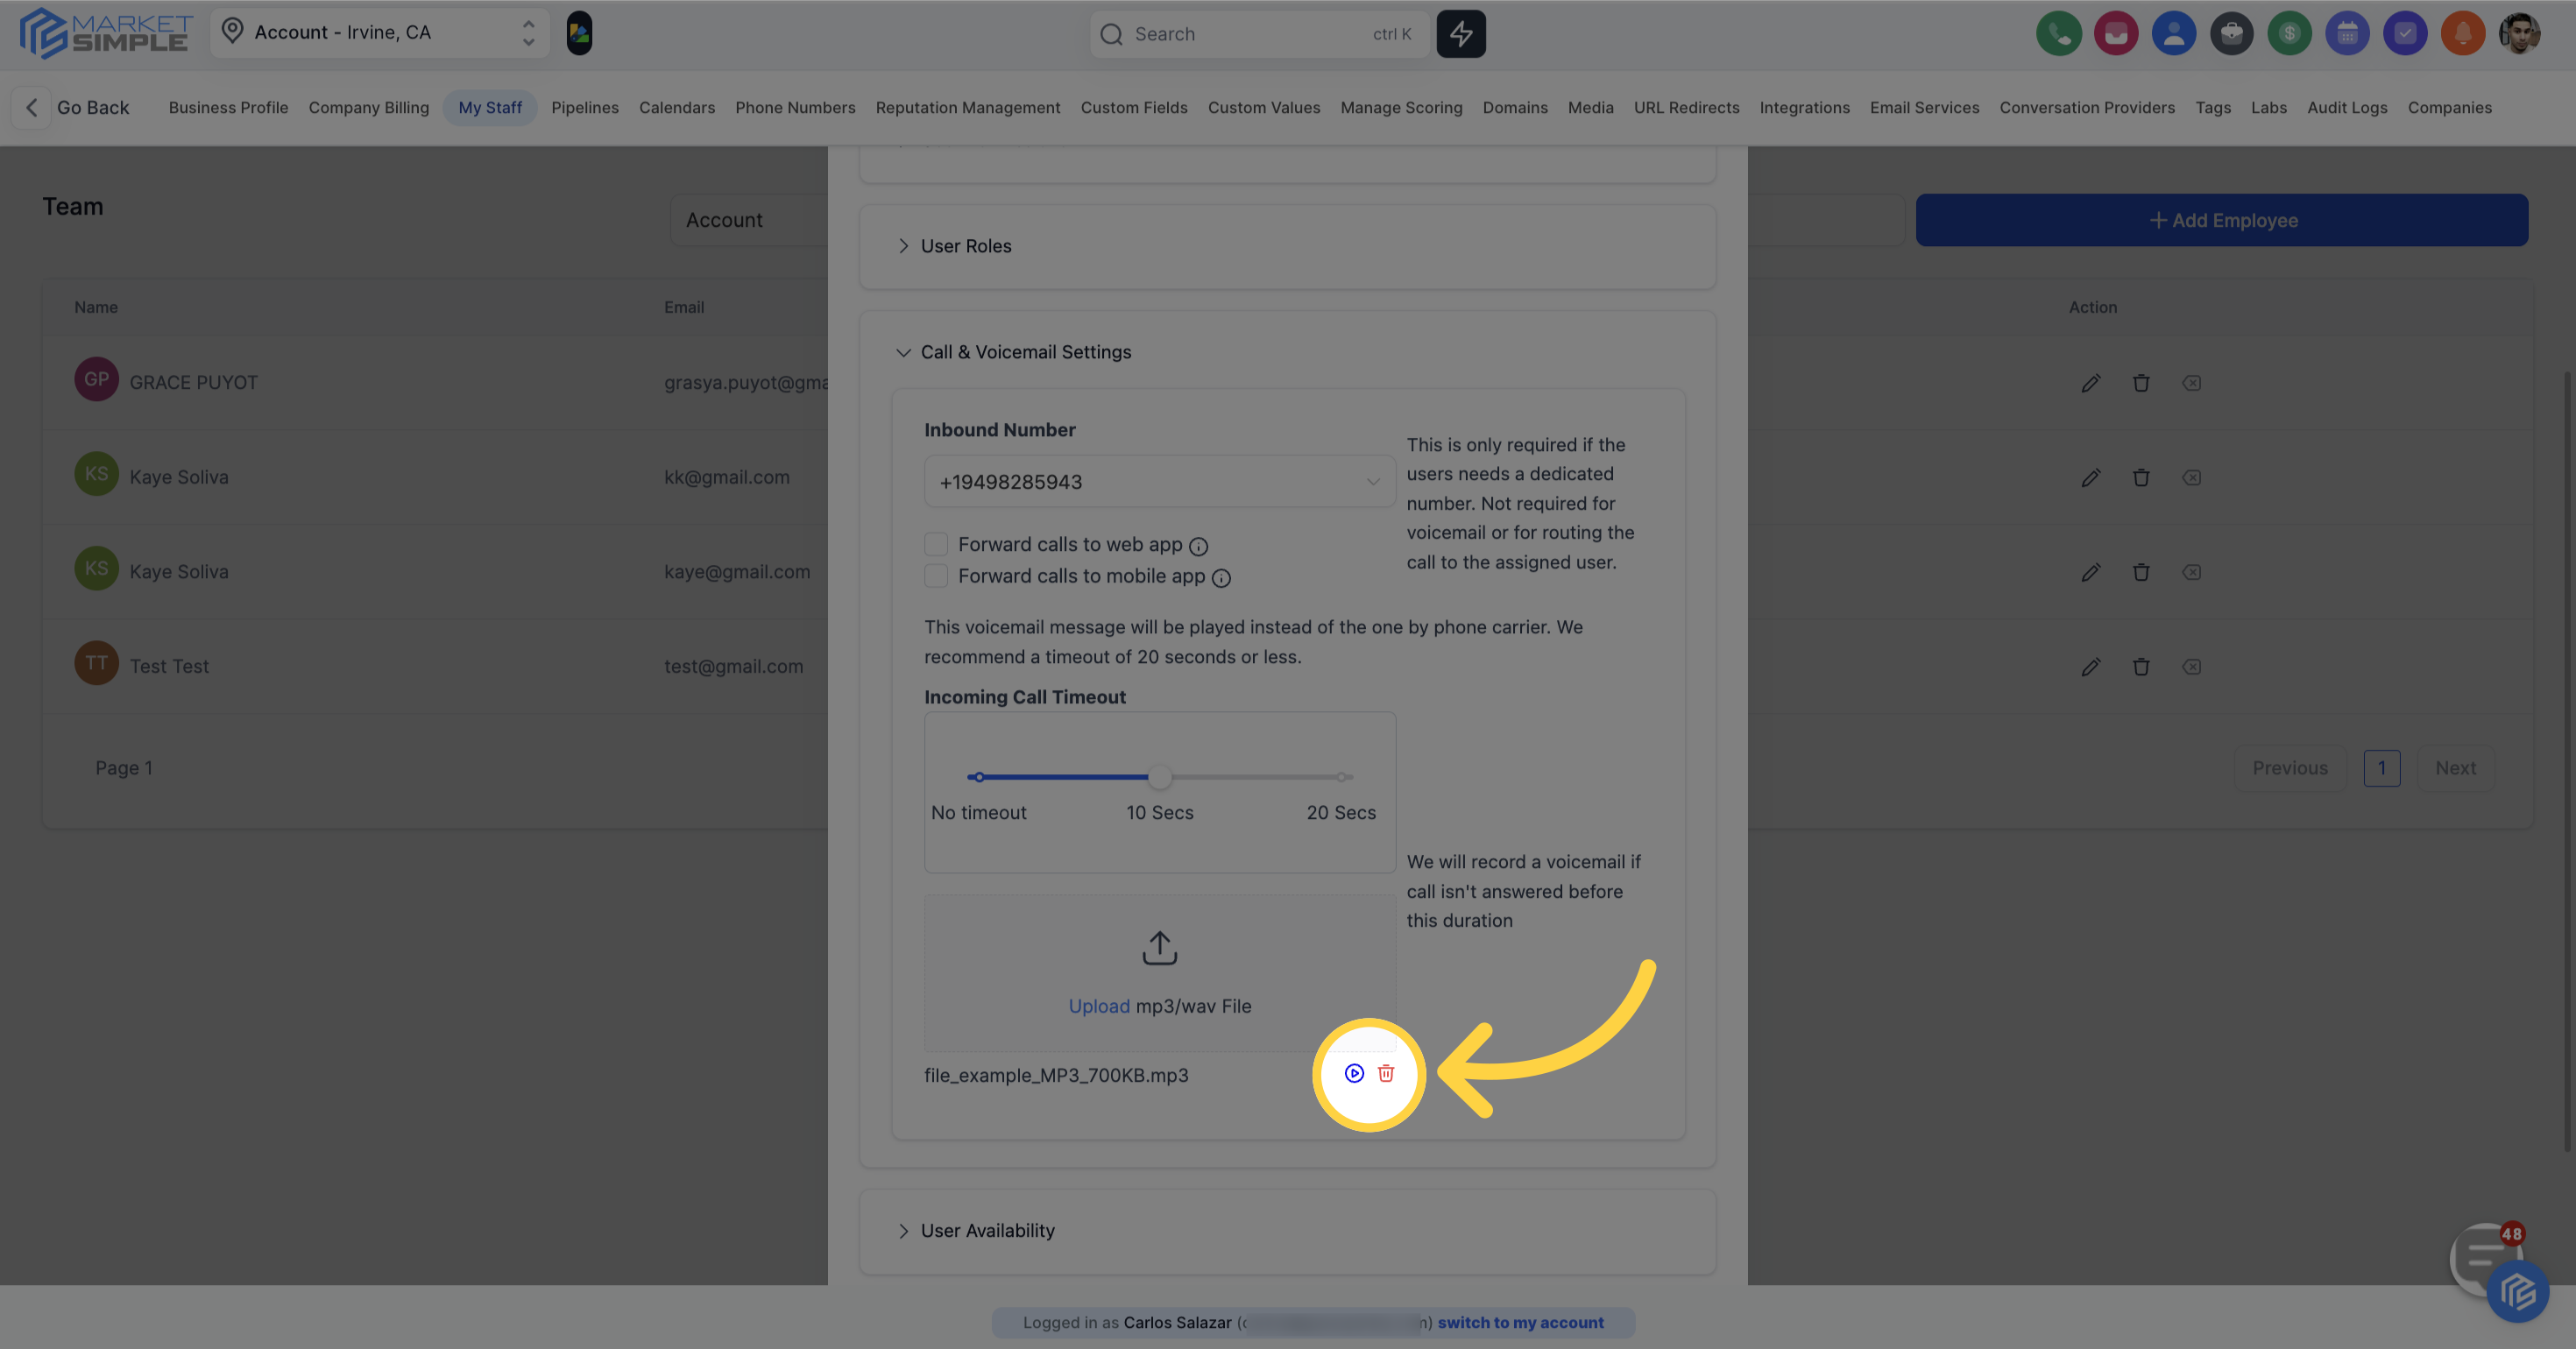
If you're not satisfied with the uploaded logo, you can click here to remove it.
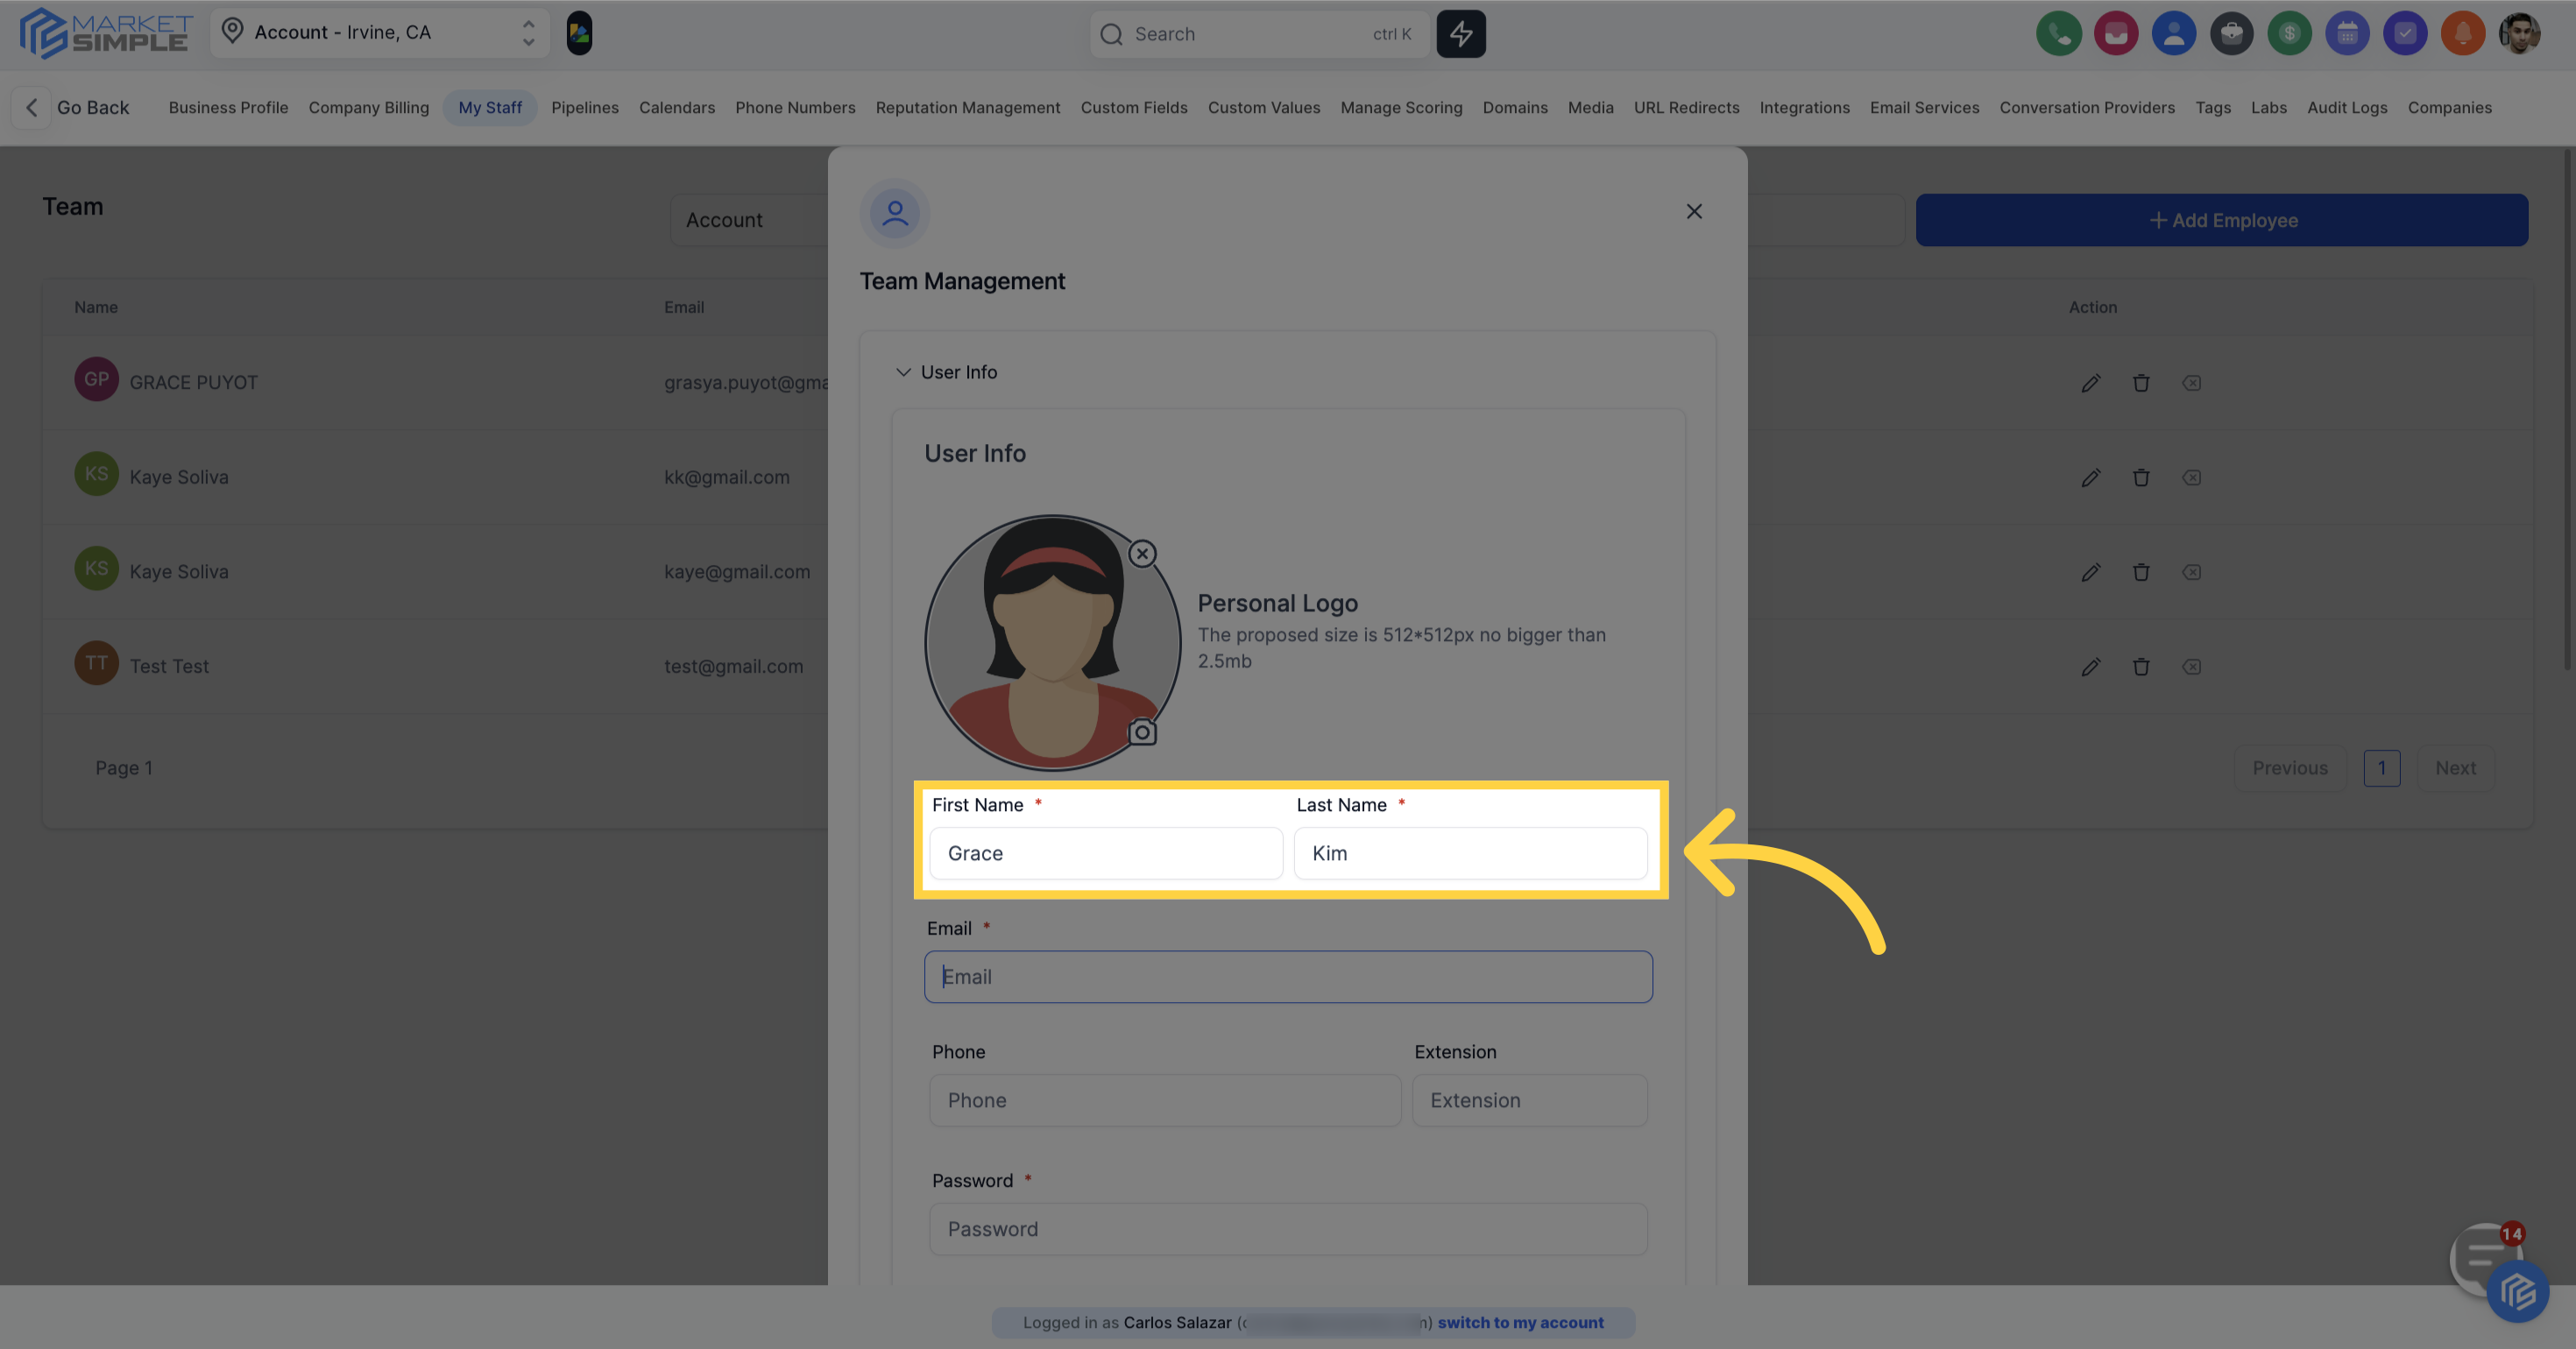
Enter the employee's first name and last name here
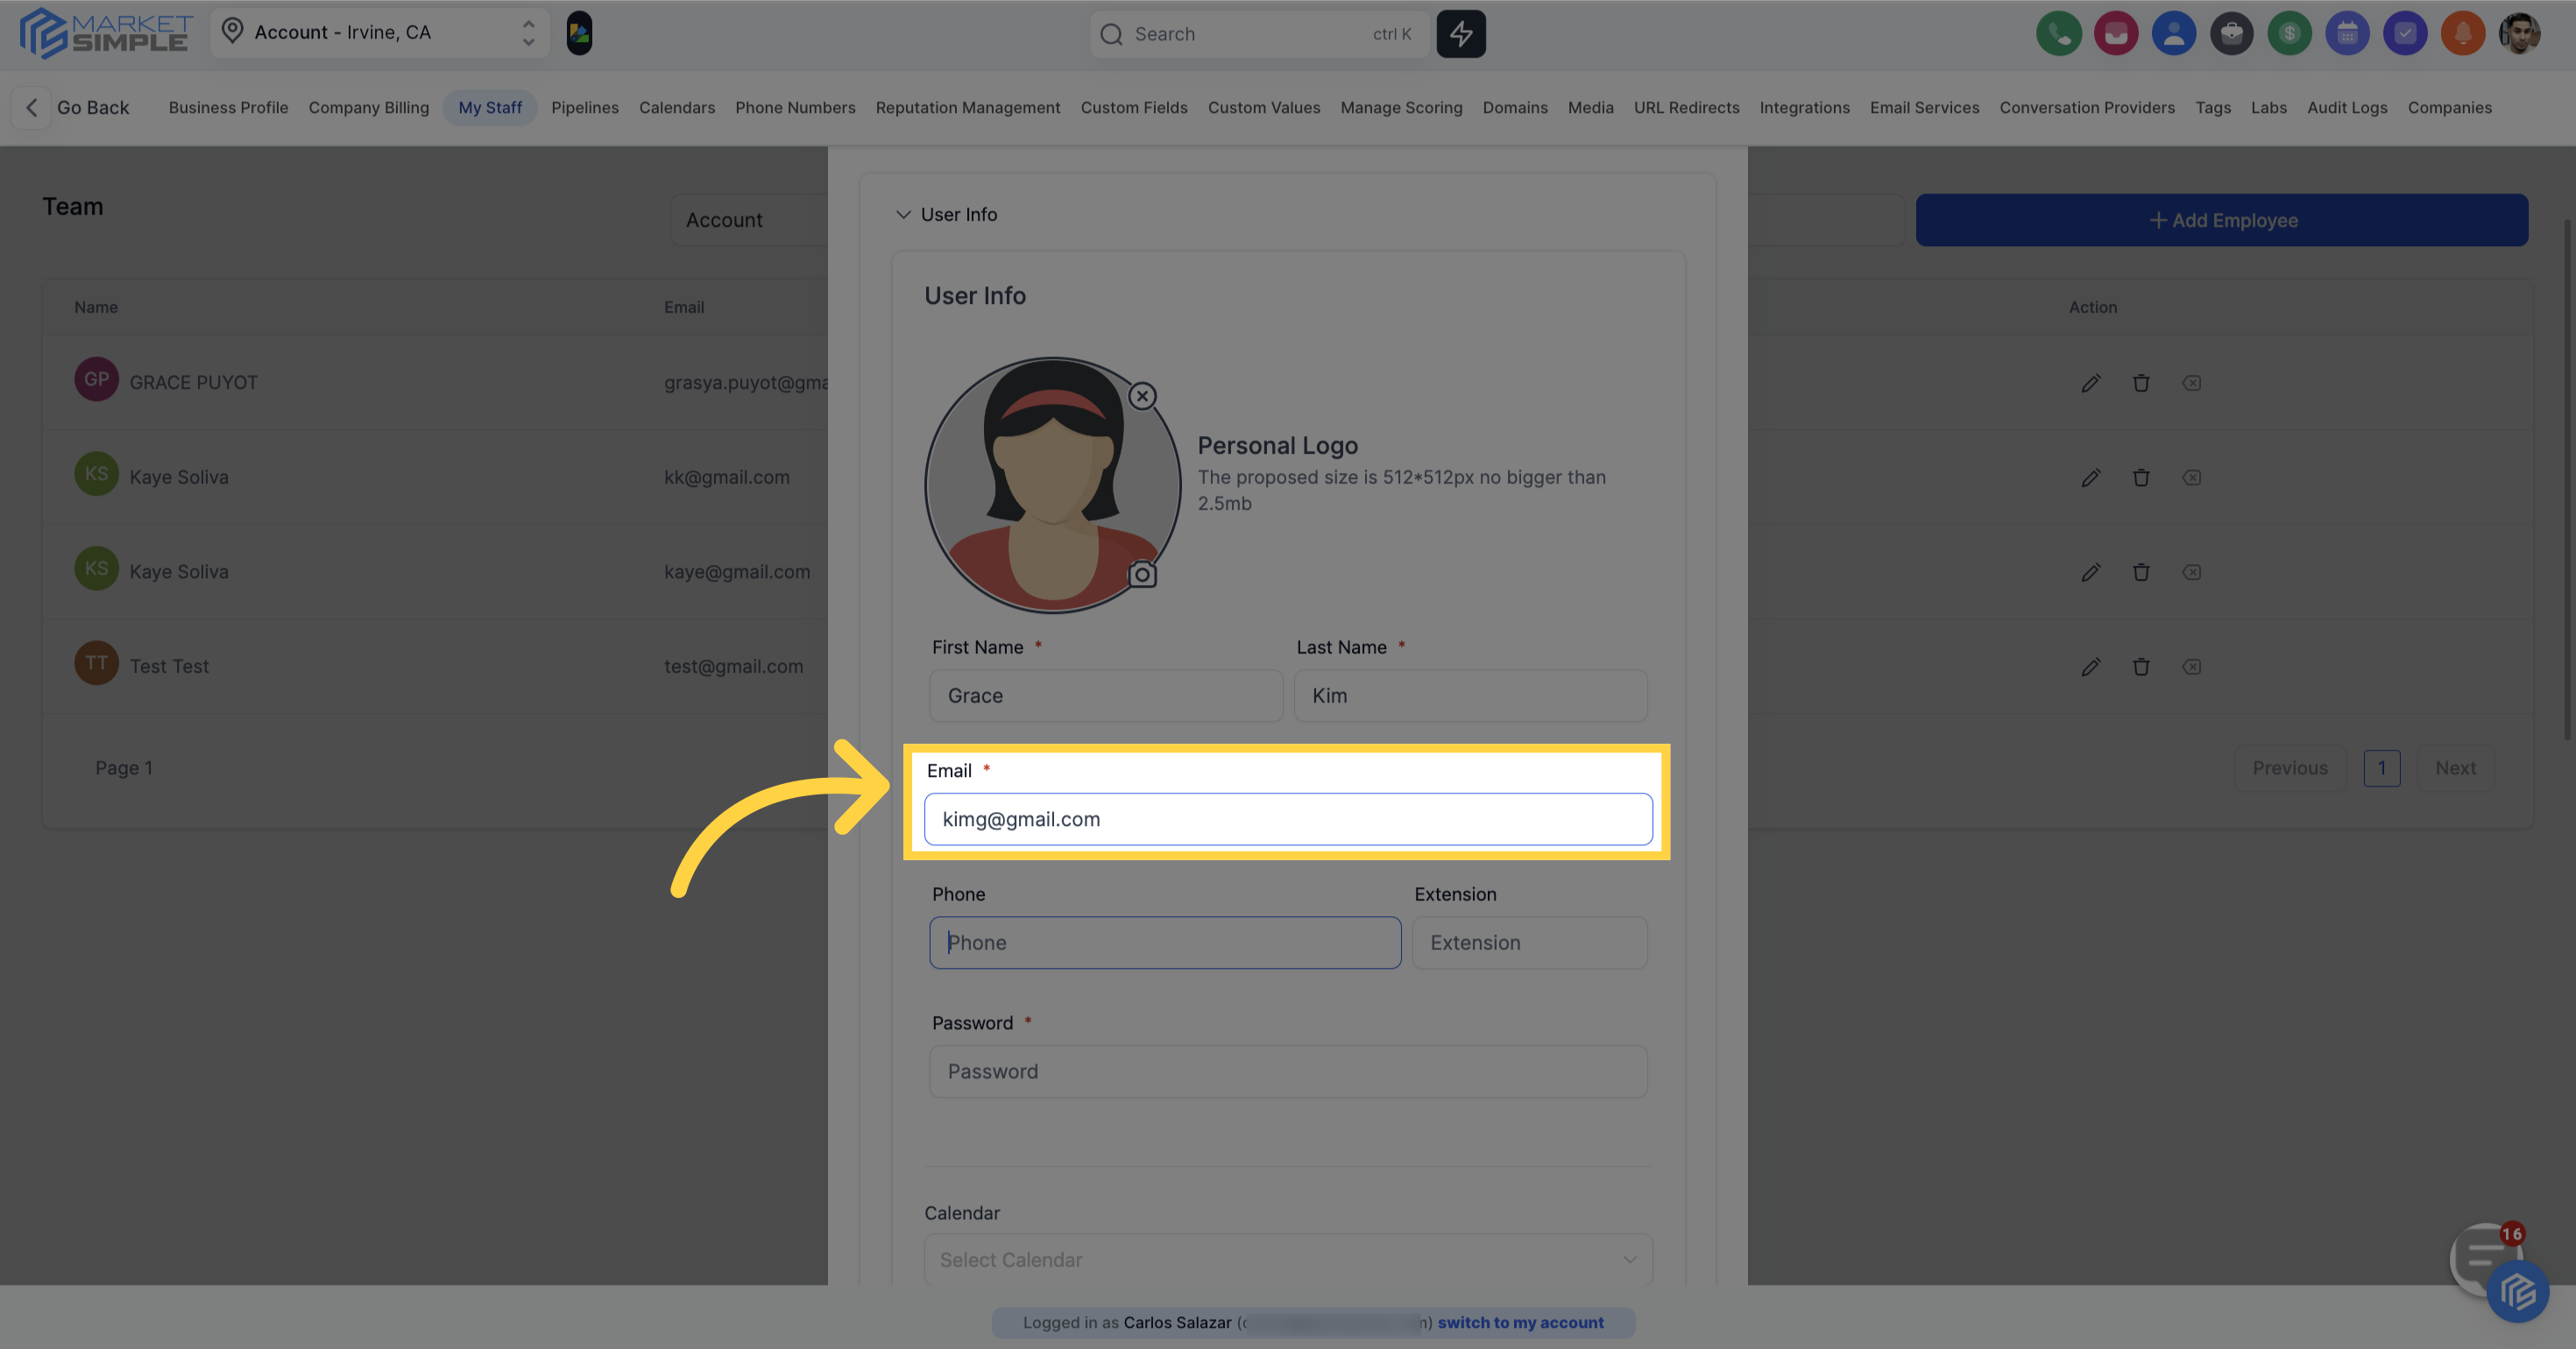
Enter the employee's email address
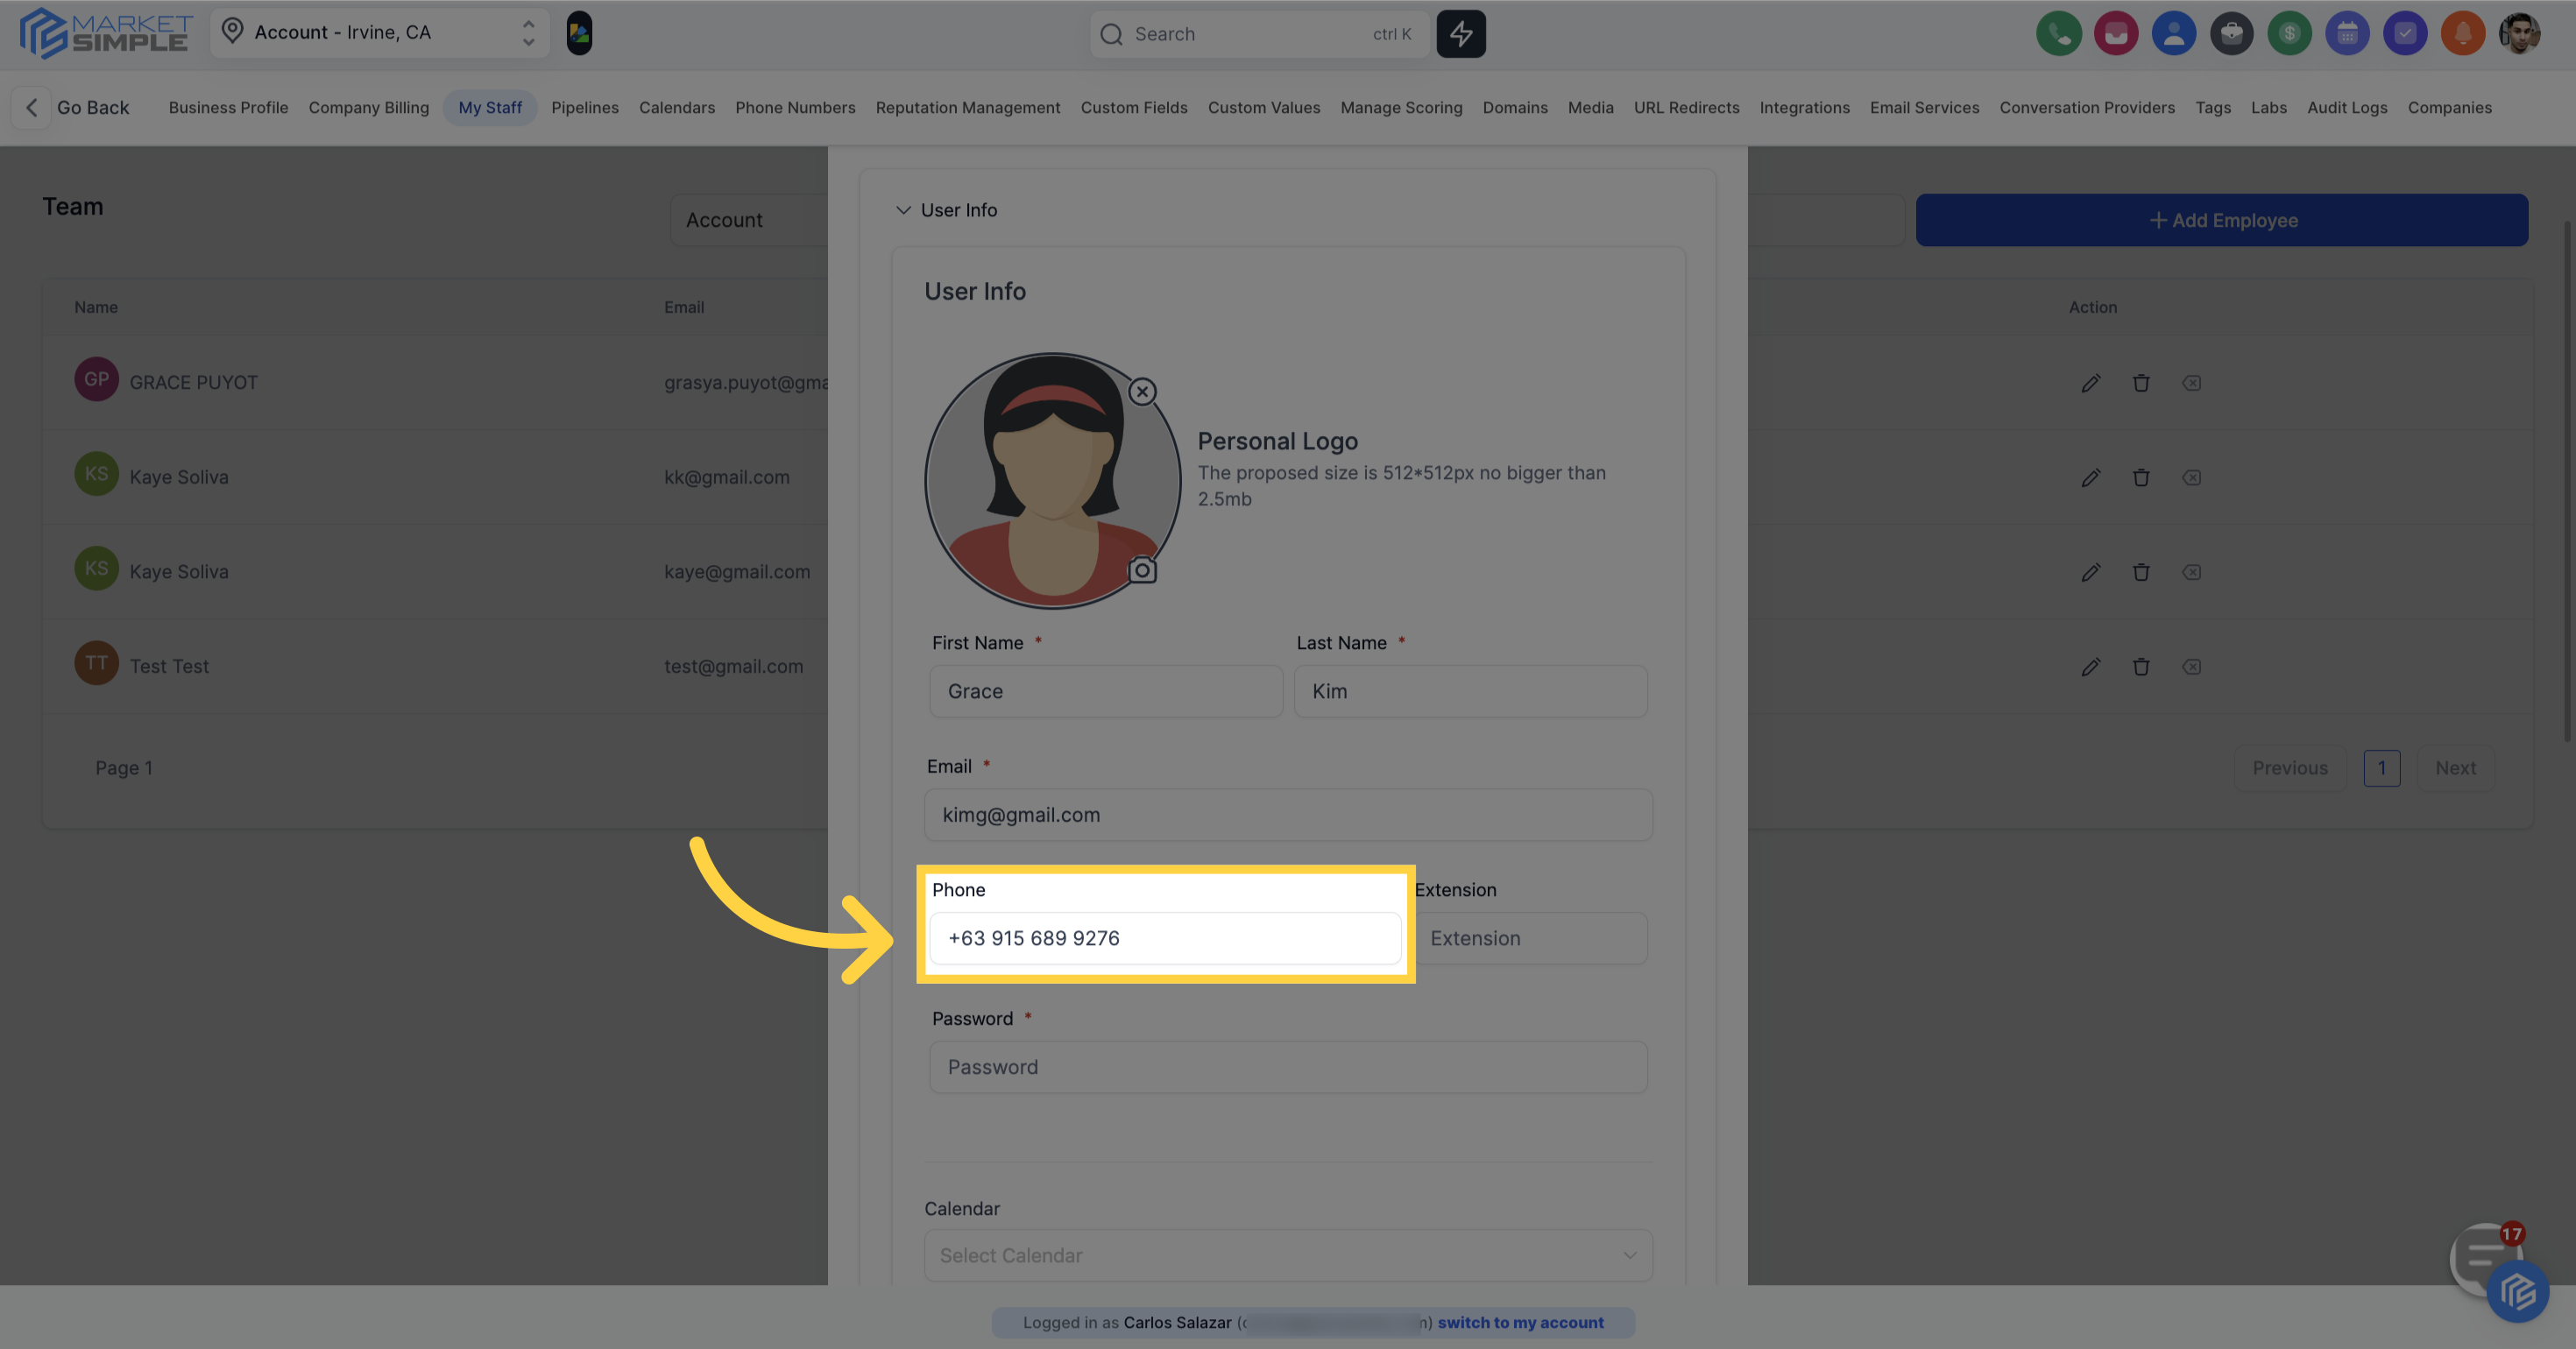
Enter the employee's phone number
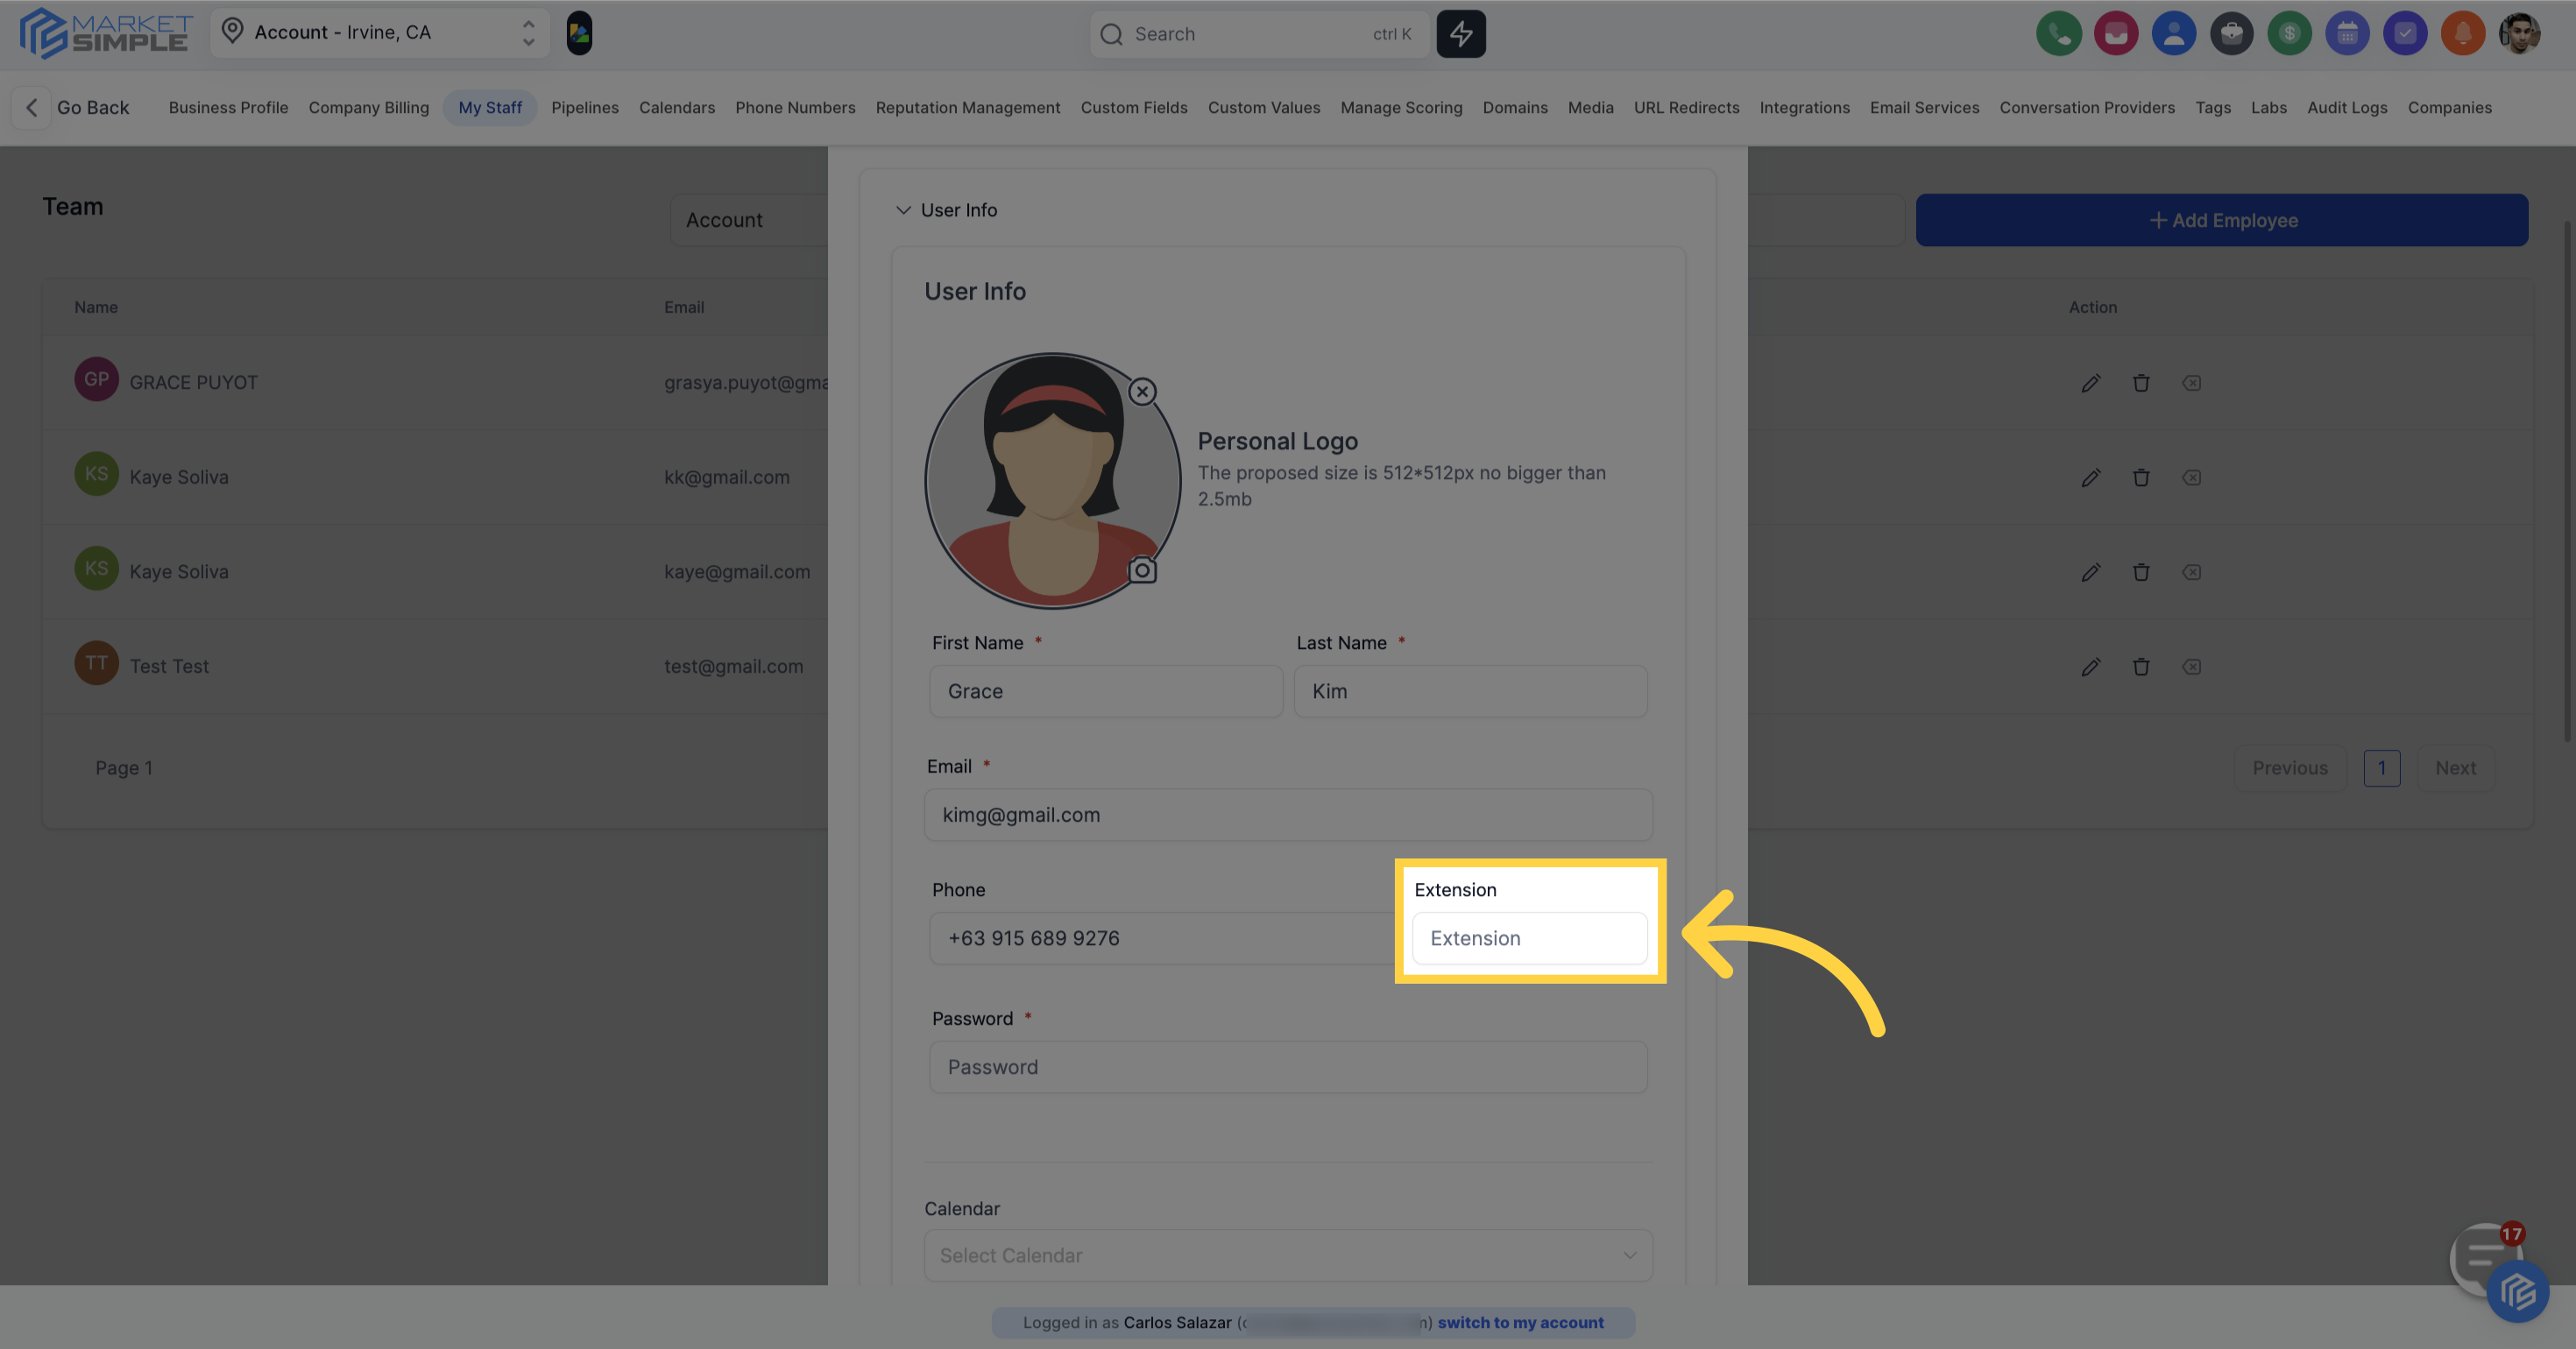
Enter the employee's phone number extensions
The password must be more than 8 characters including uppercase, lowercase, numbers and special characters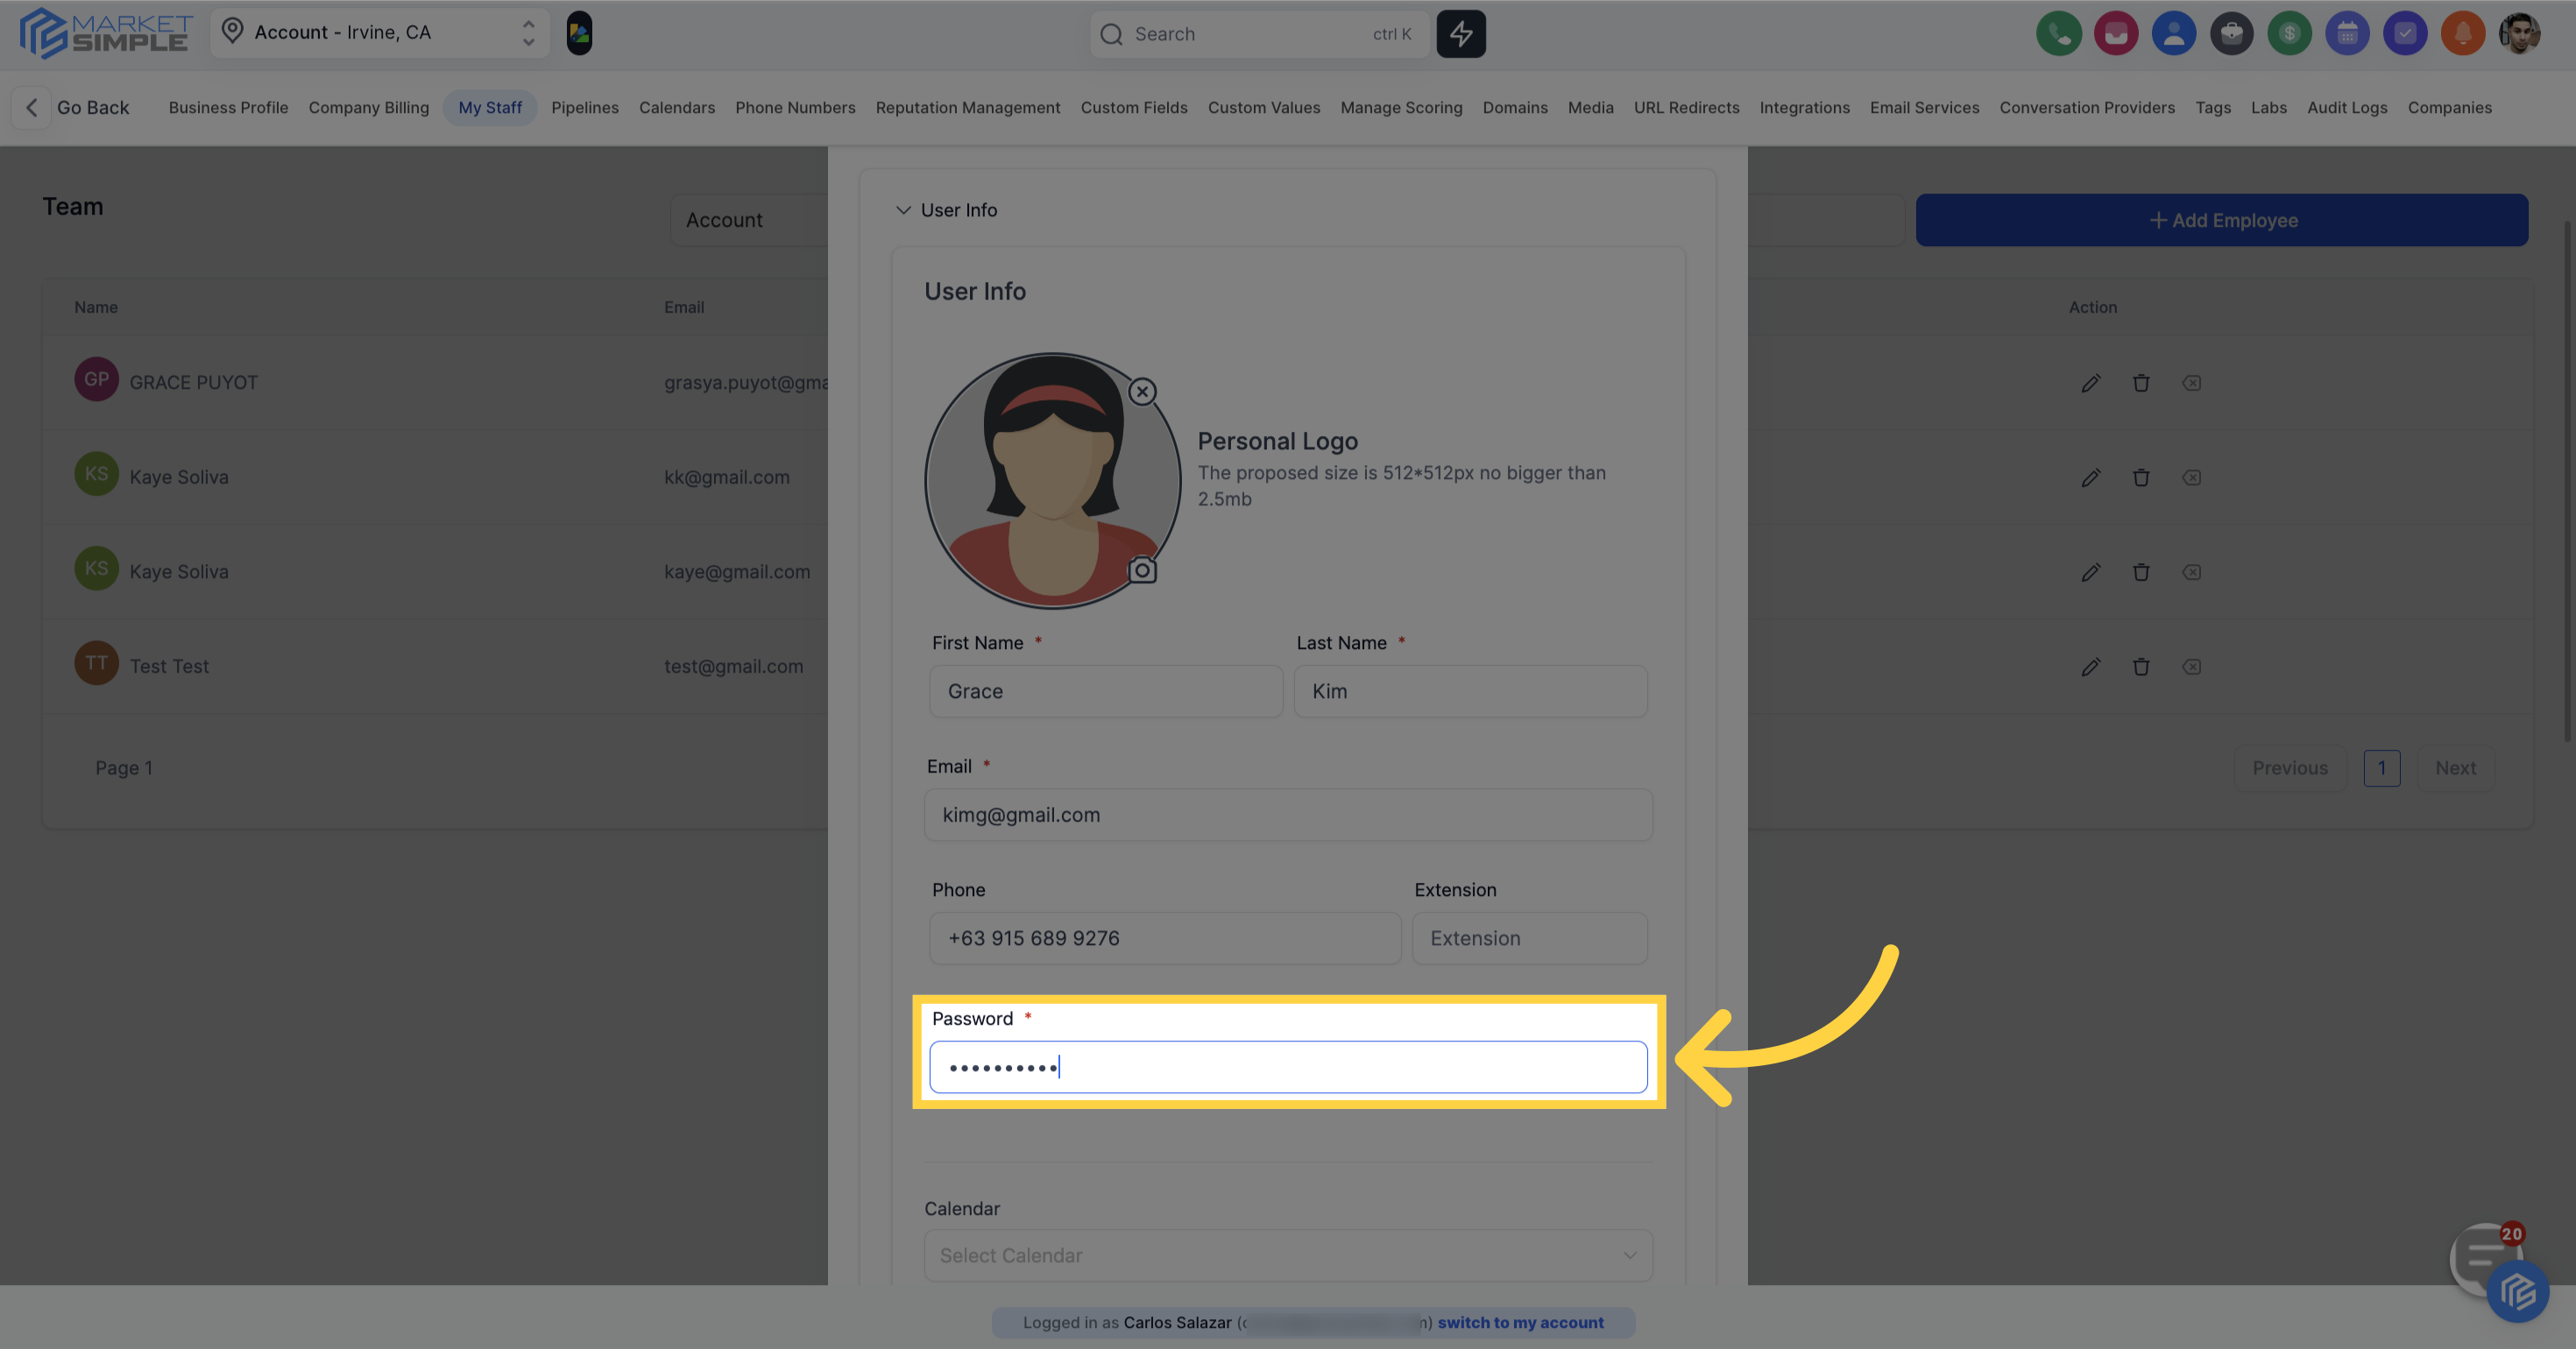
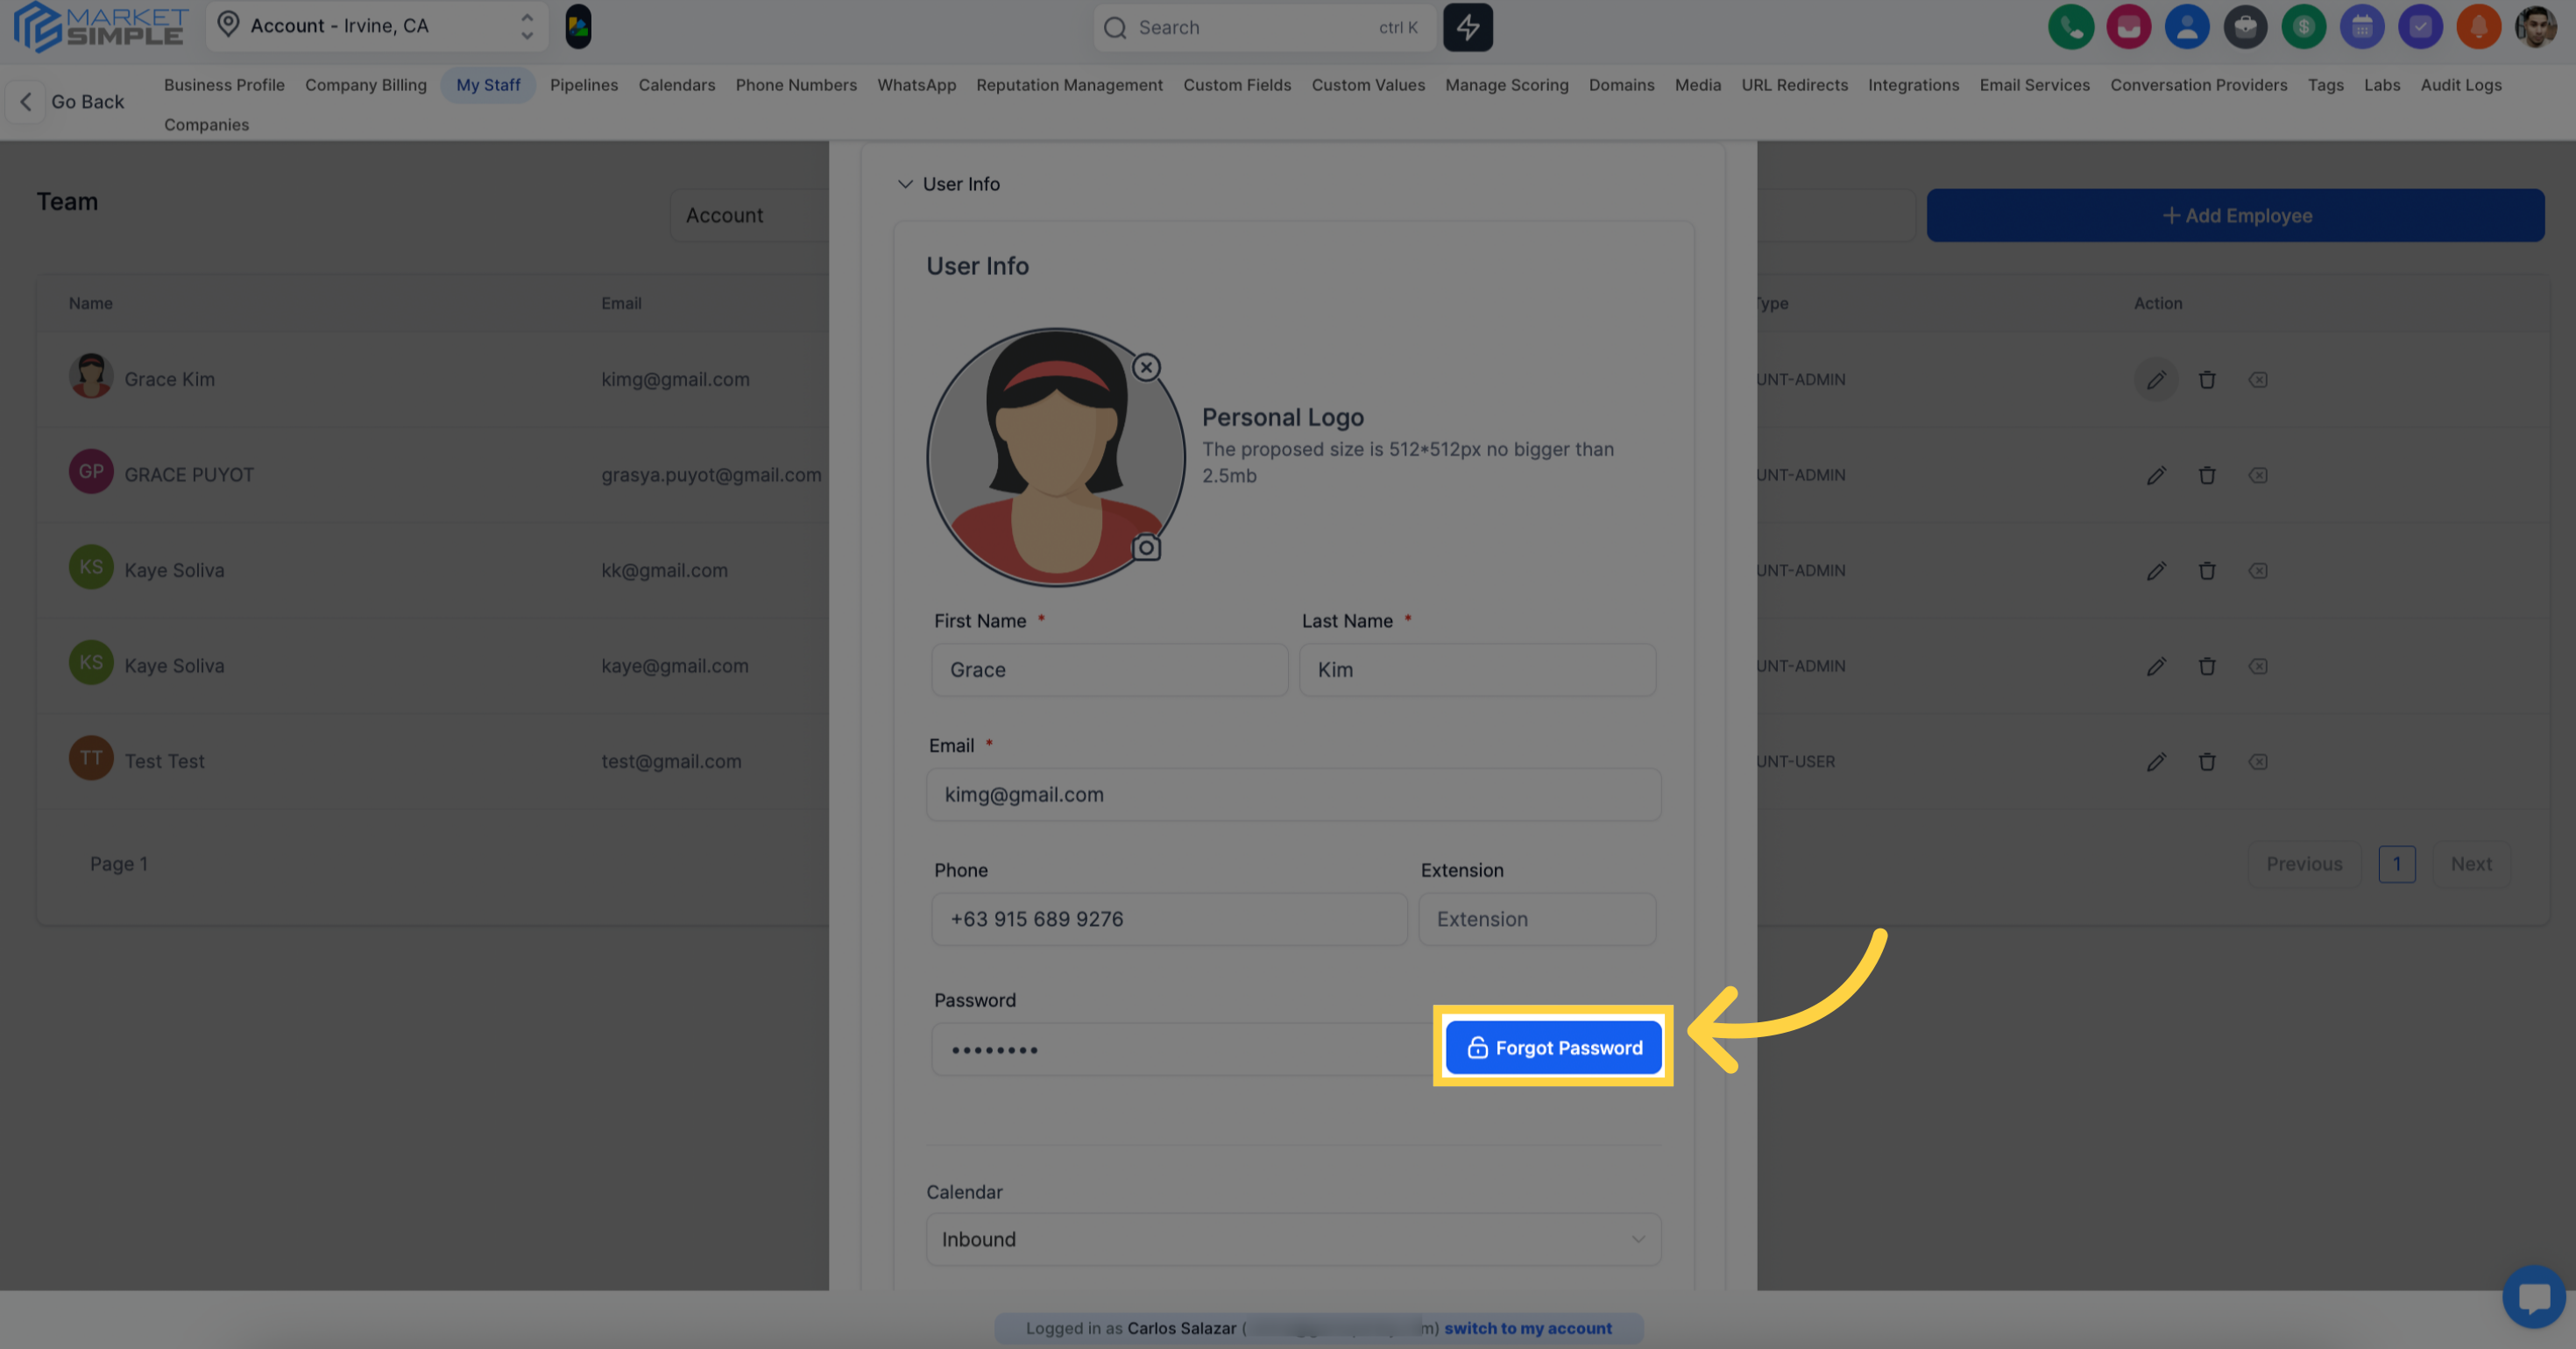
In case you've forgotten your password, please click here to initiate the password reset process.
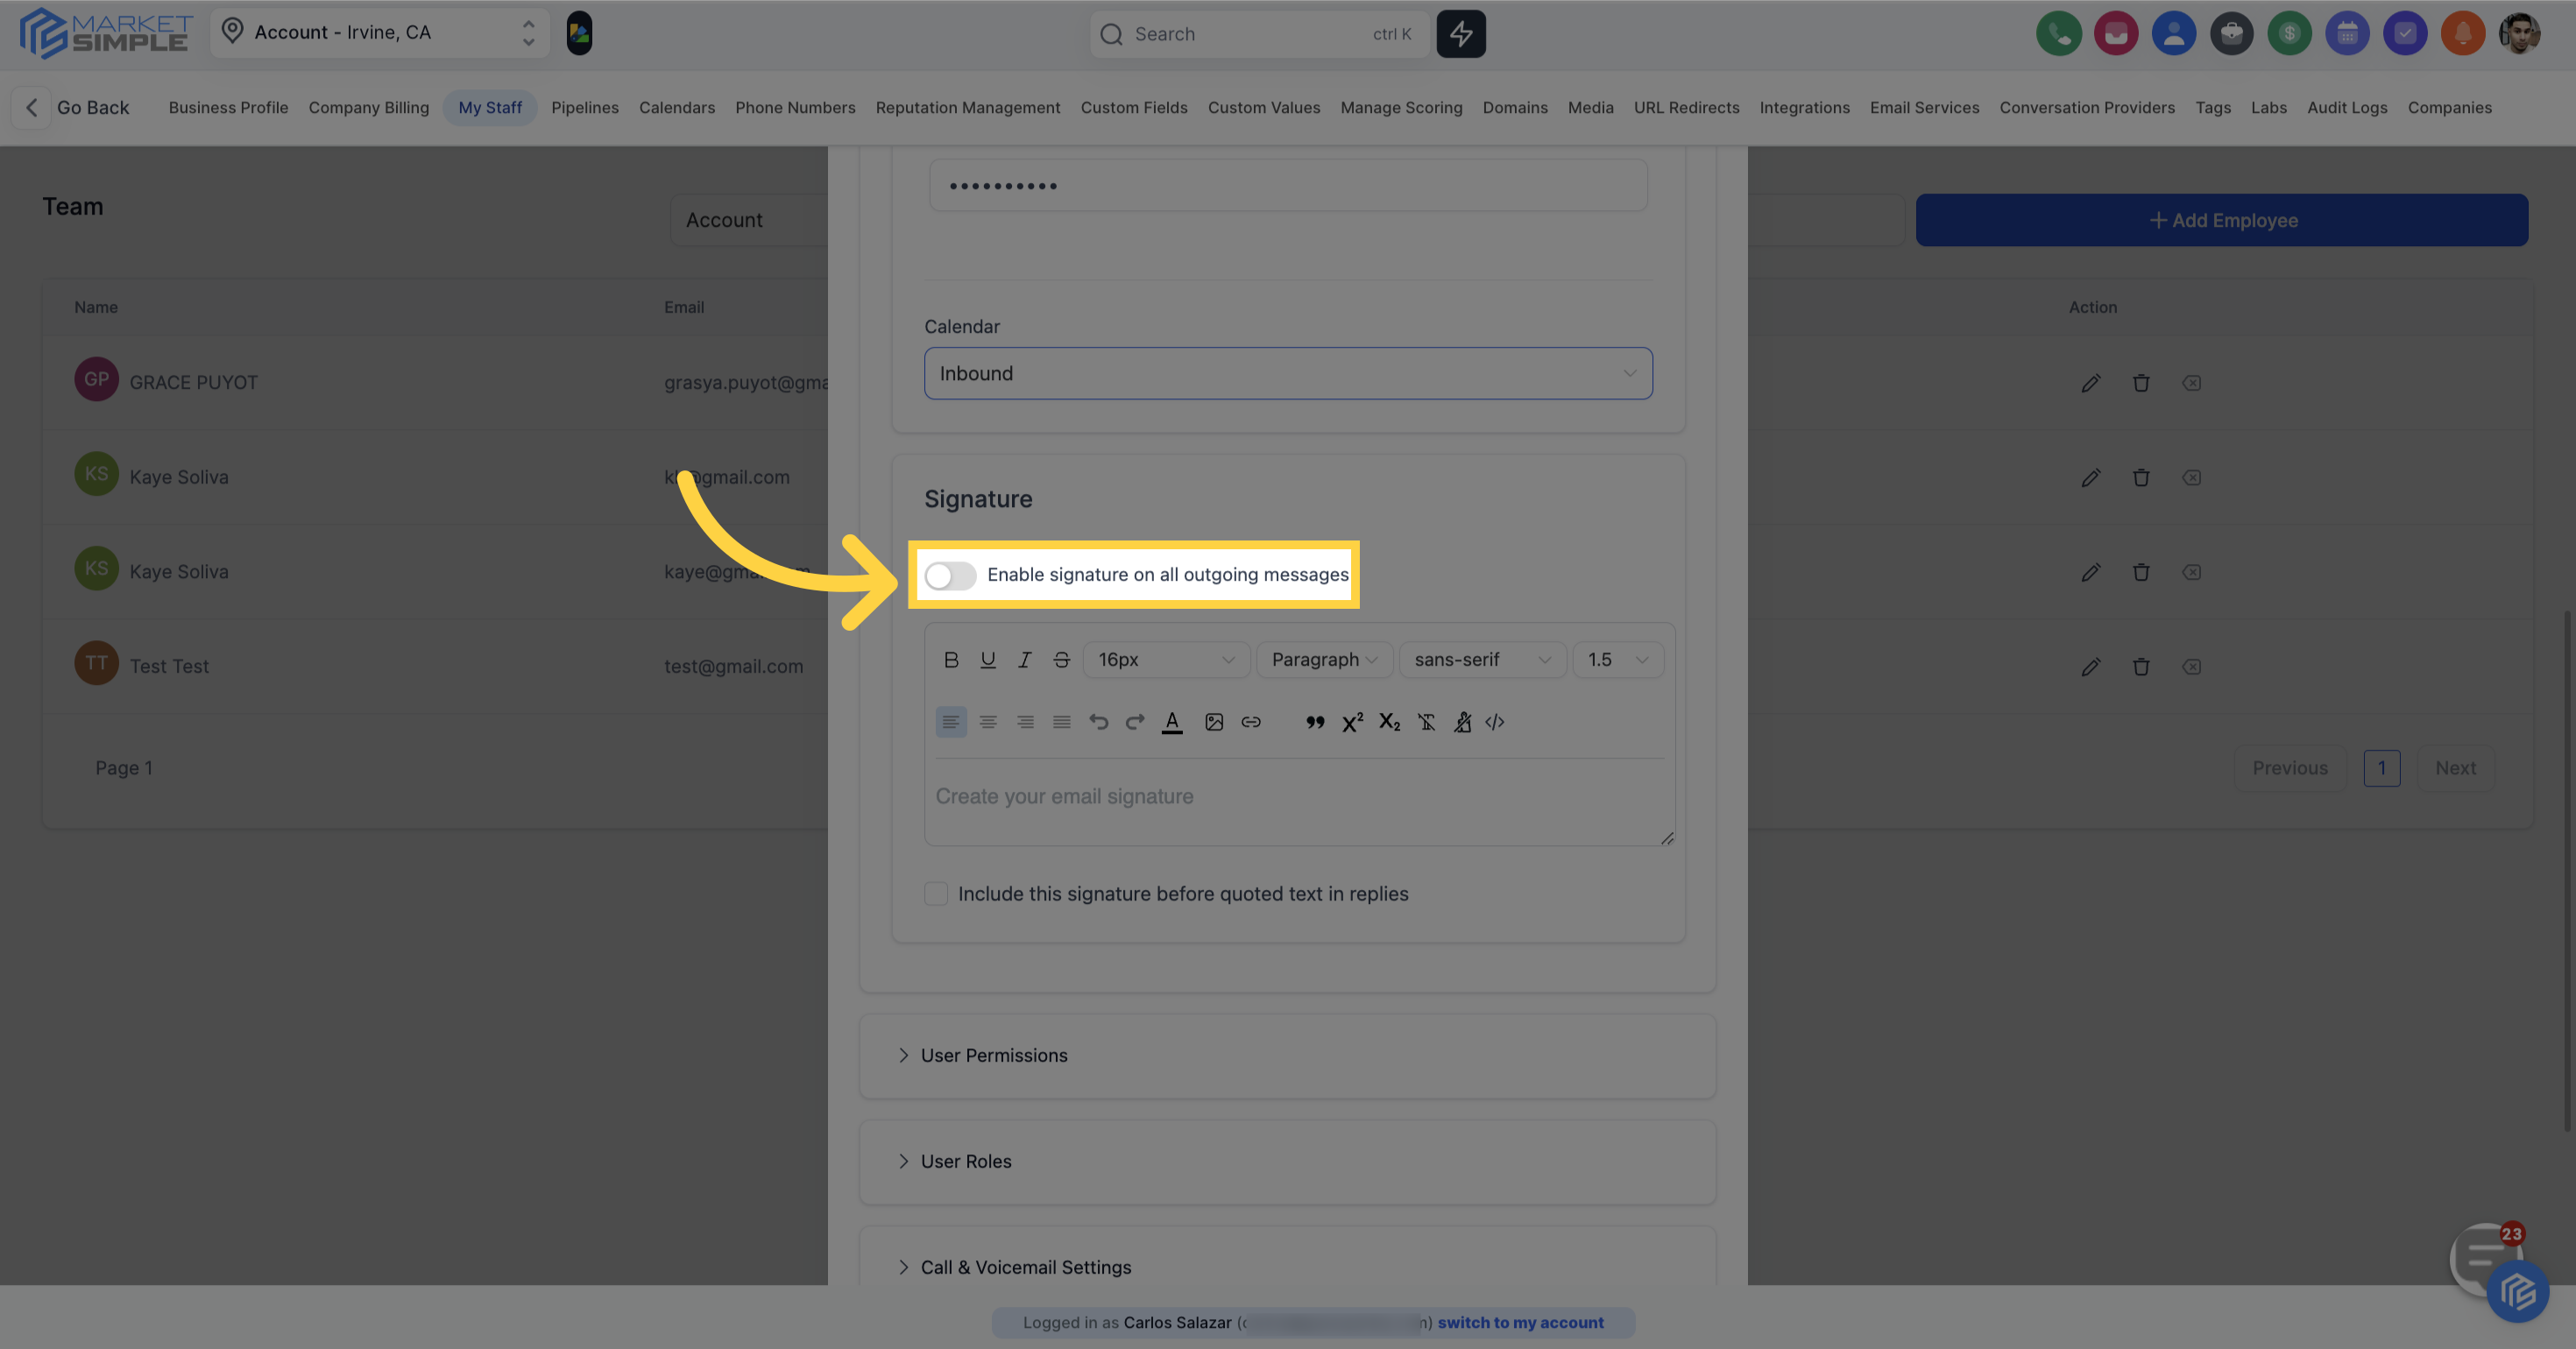
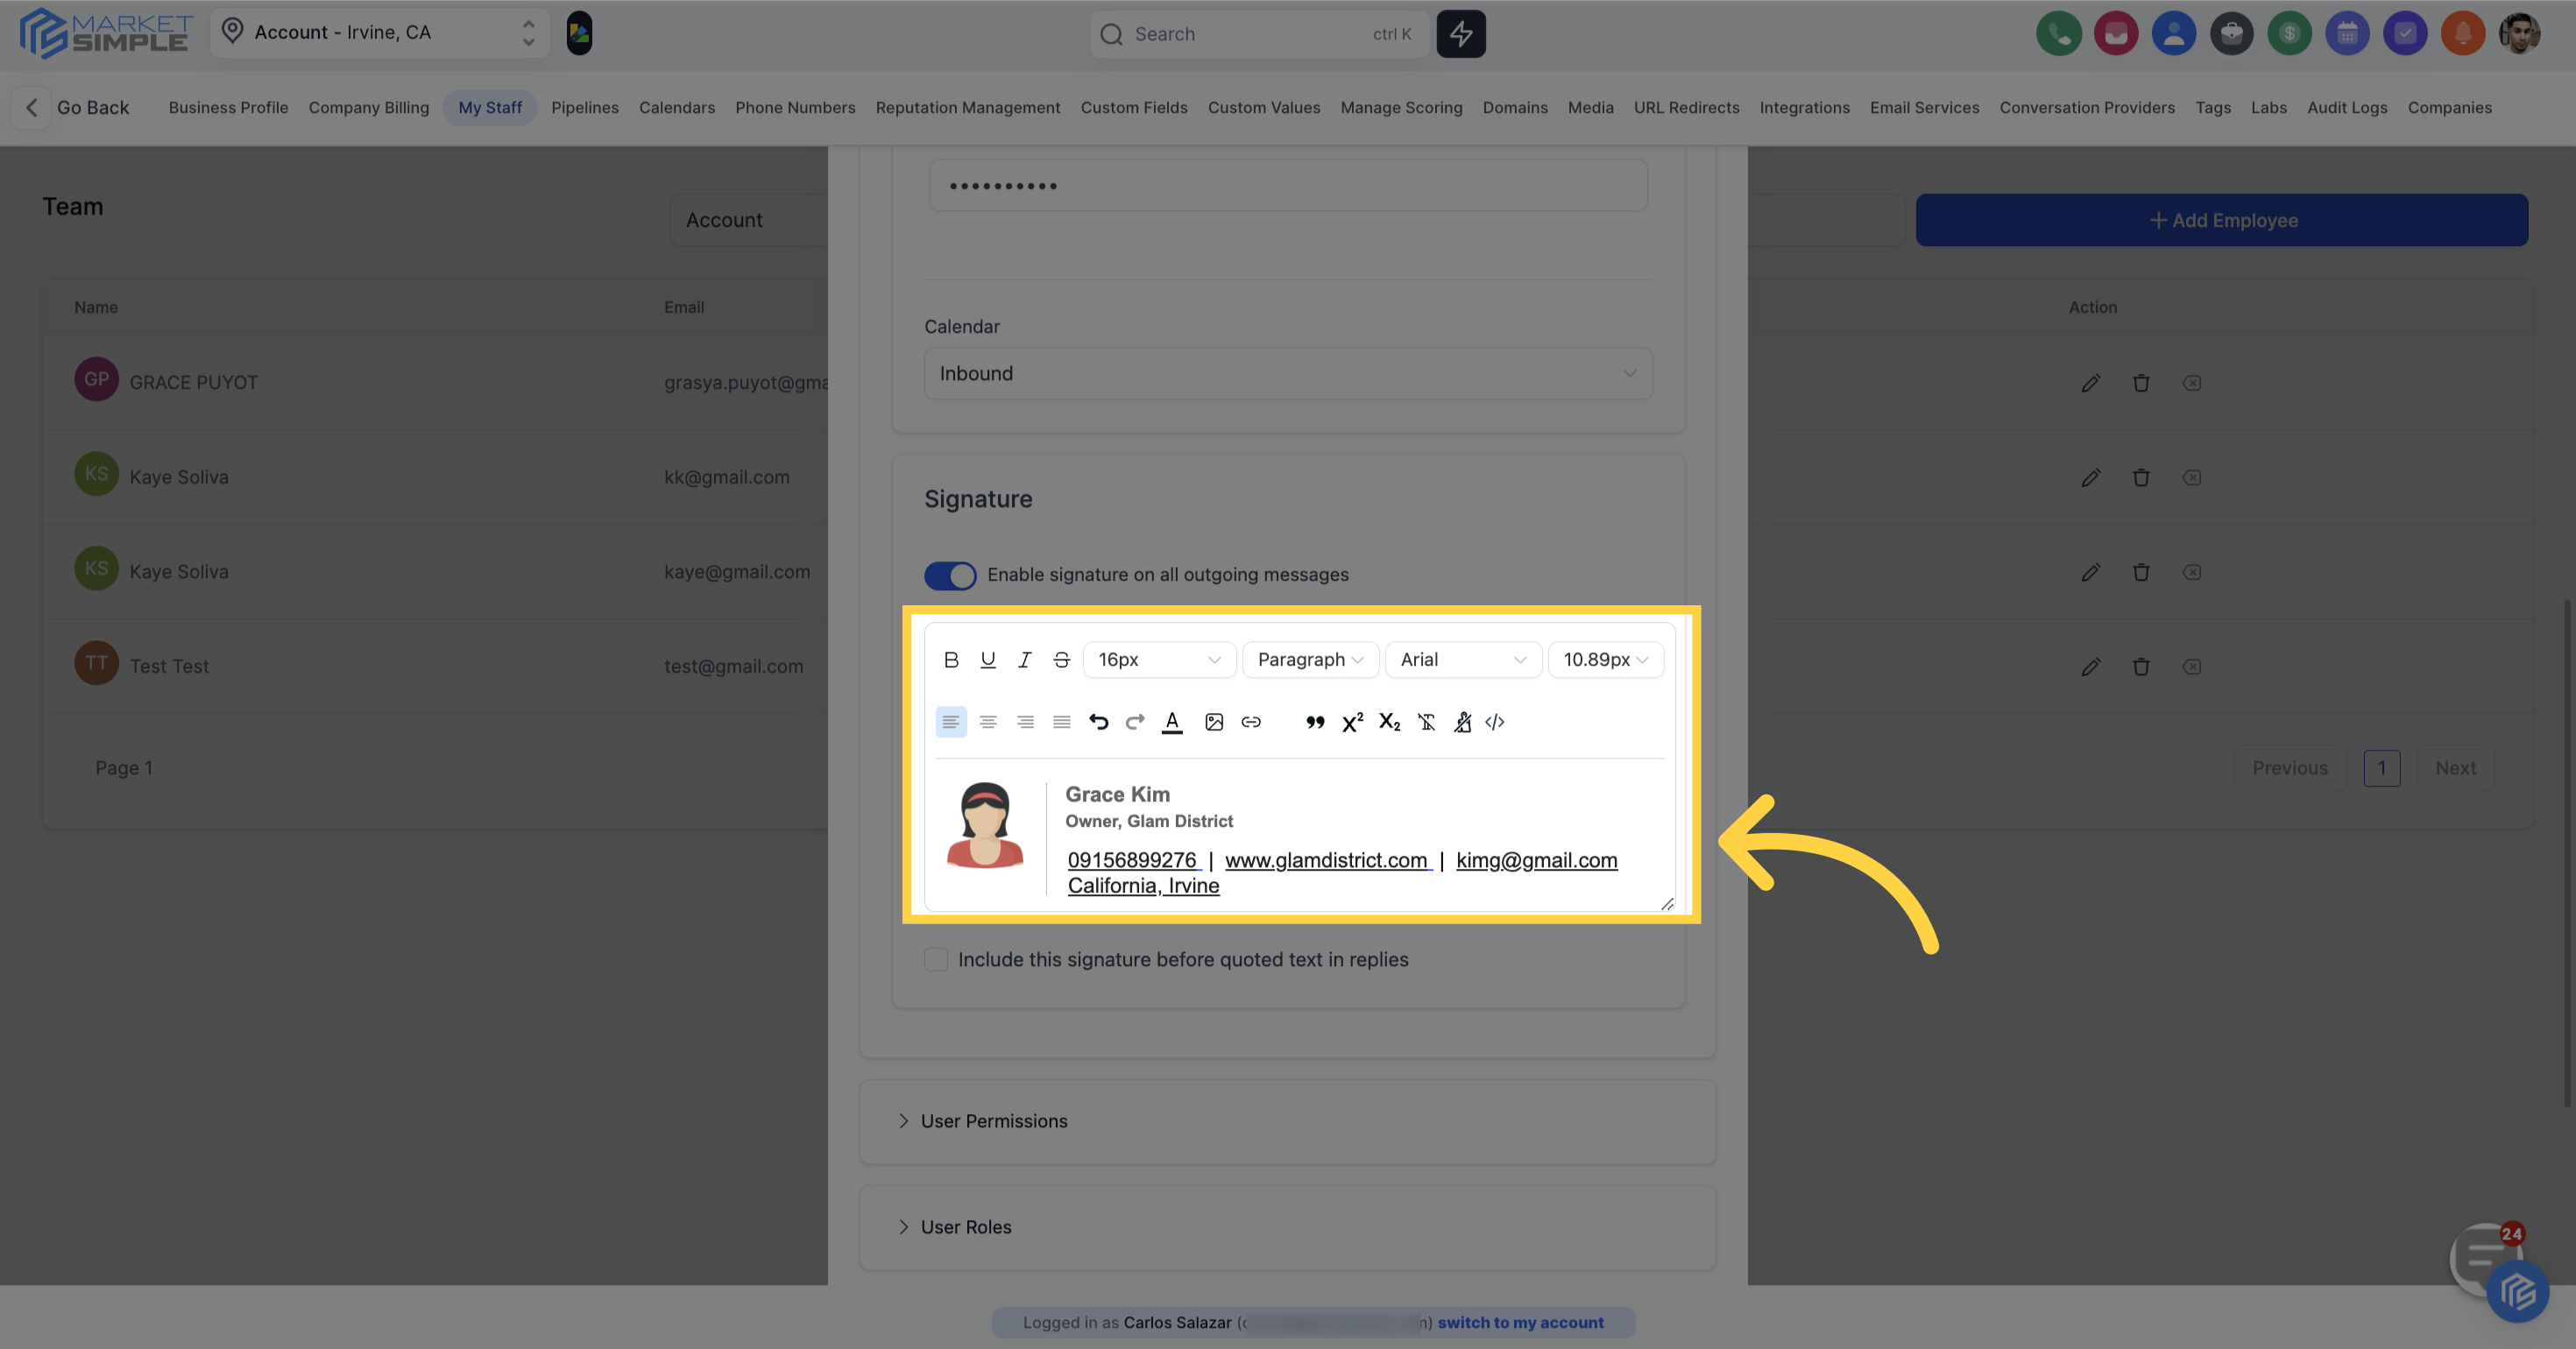
Establish an email signature for each user to enhance the campaigns they are assigned to
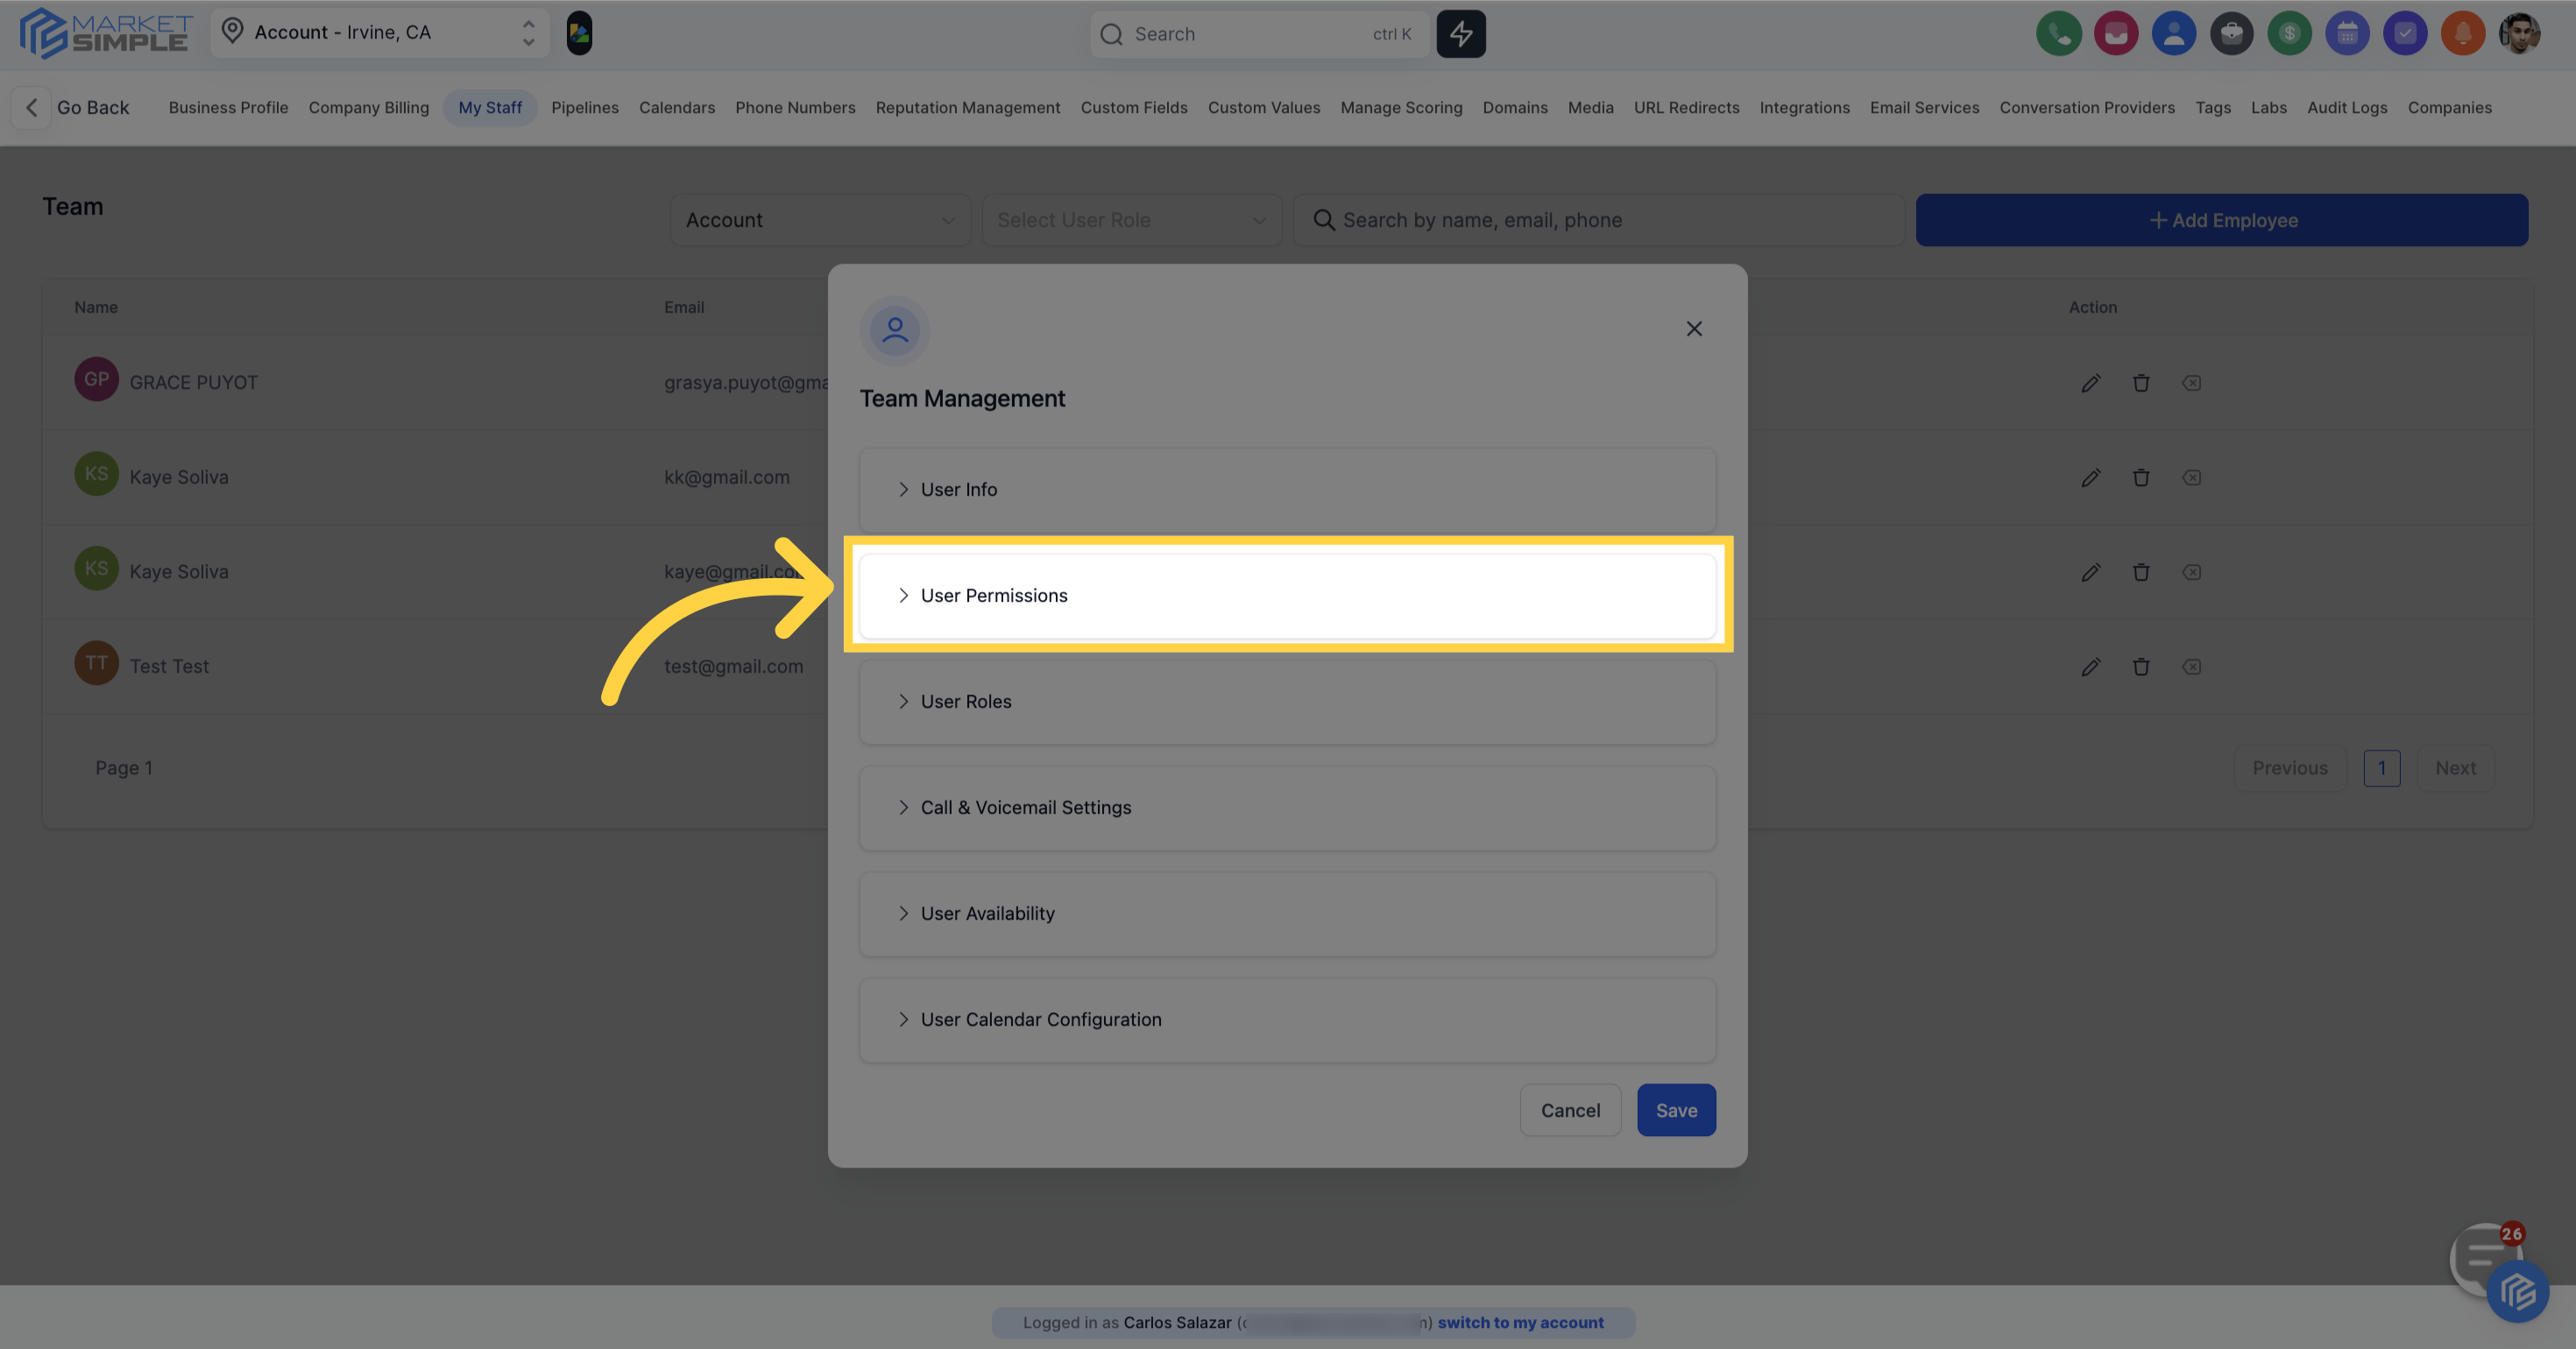
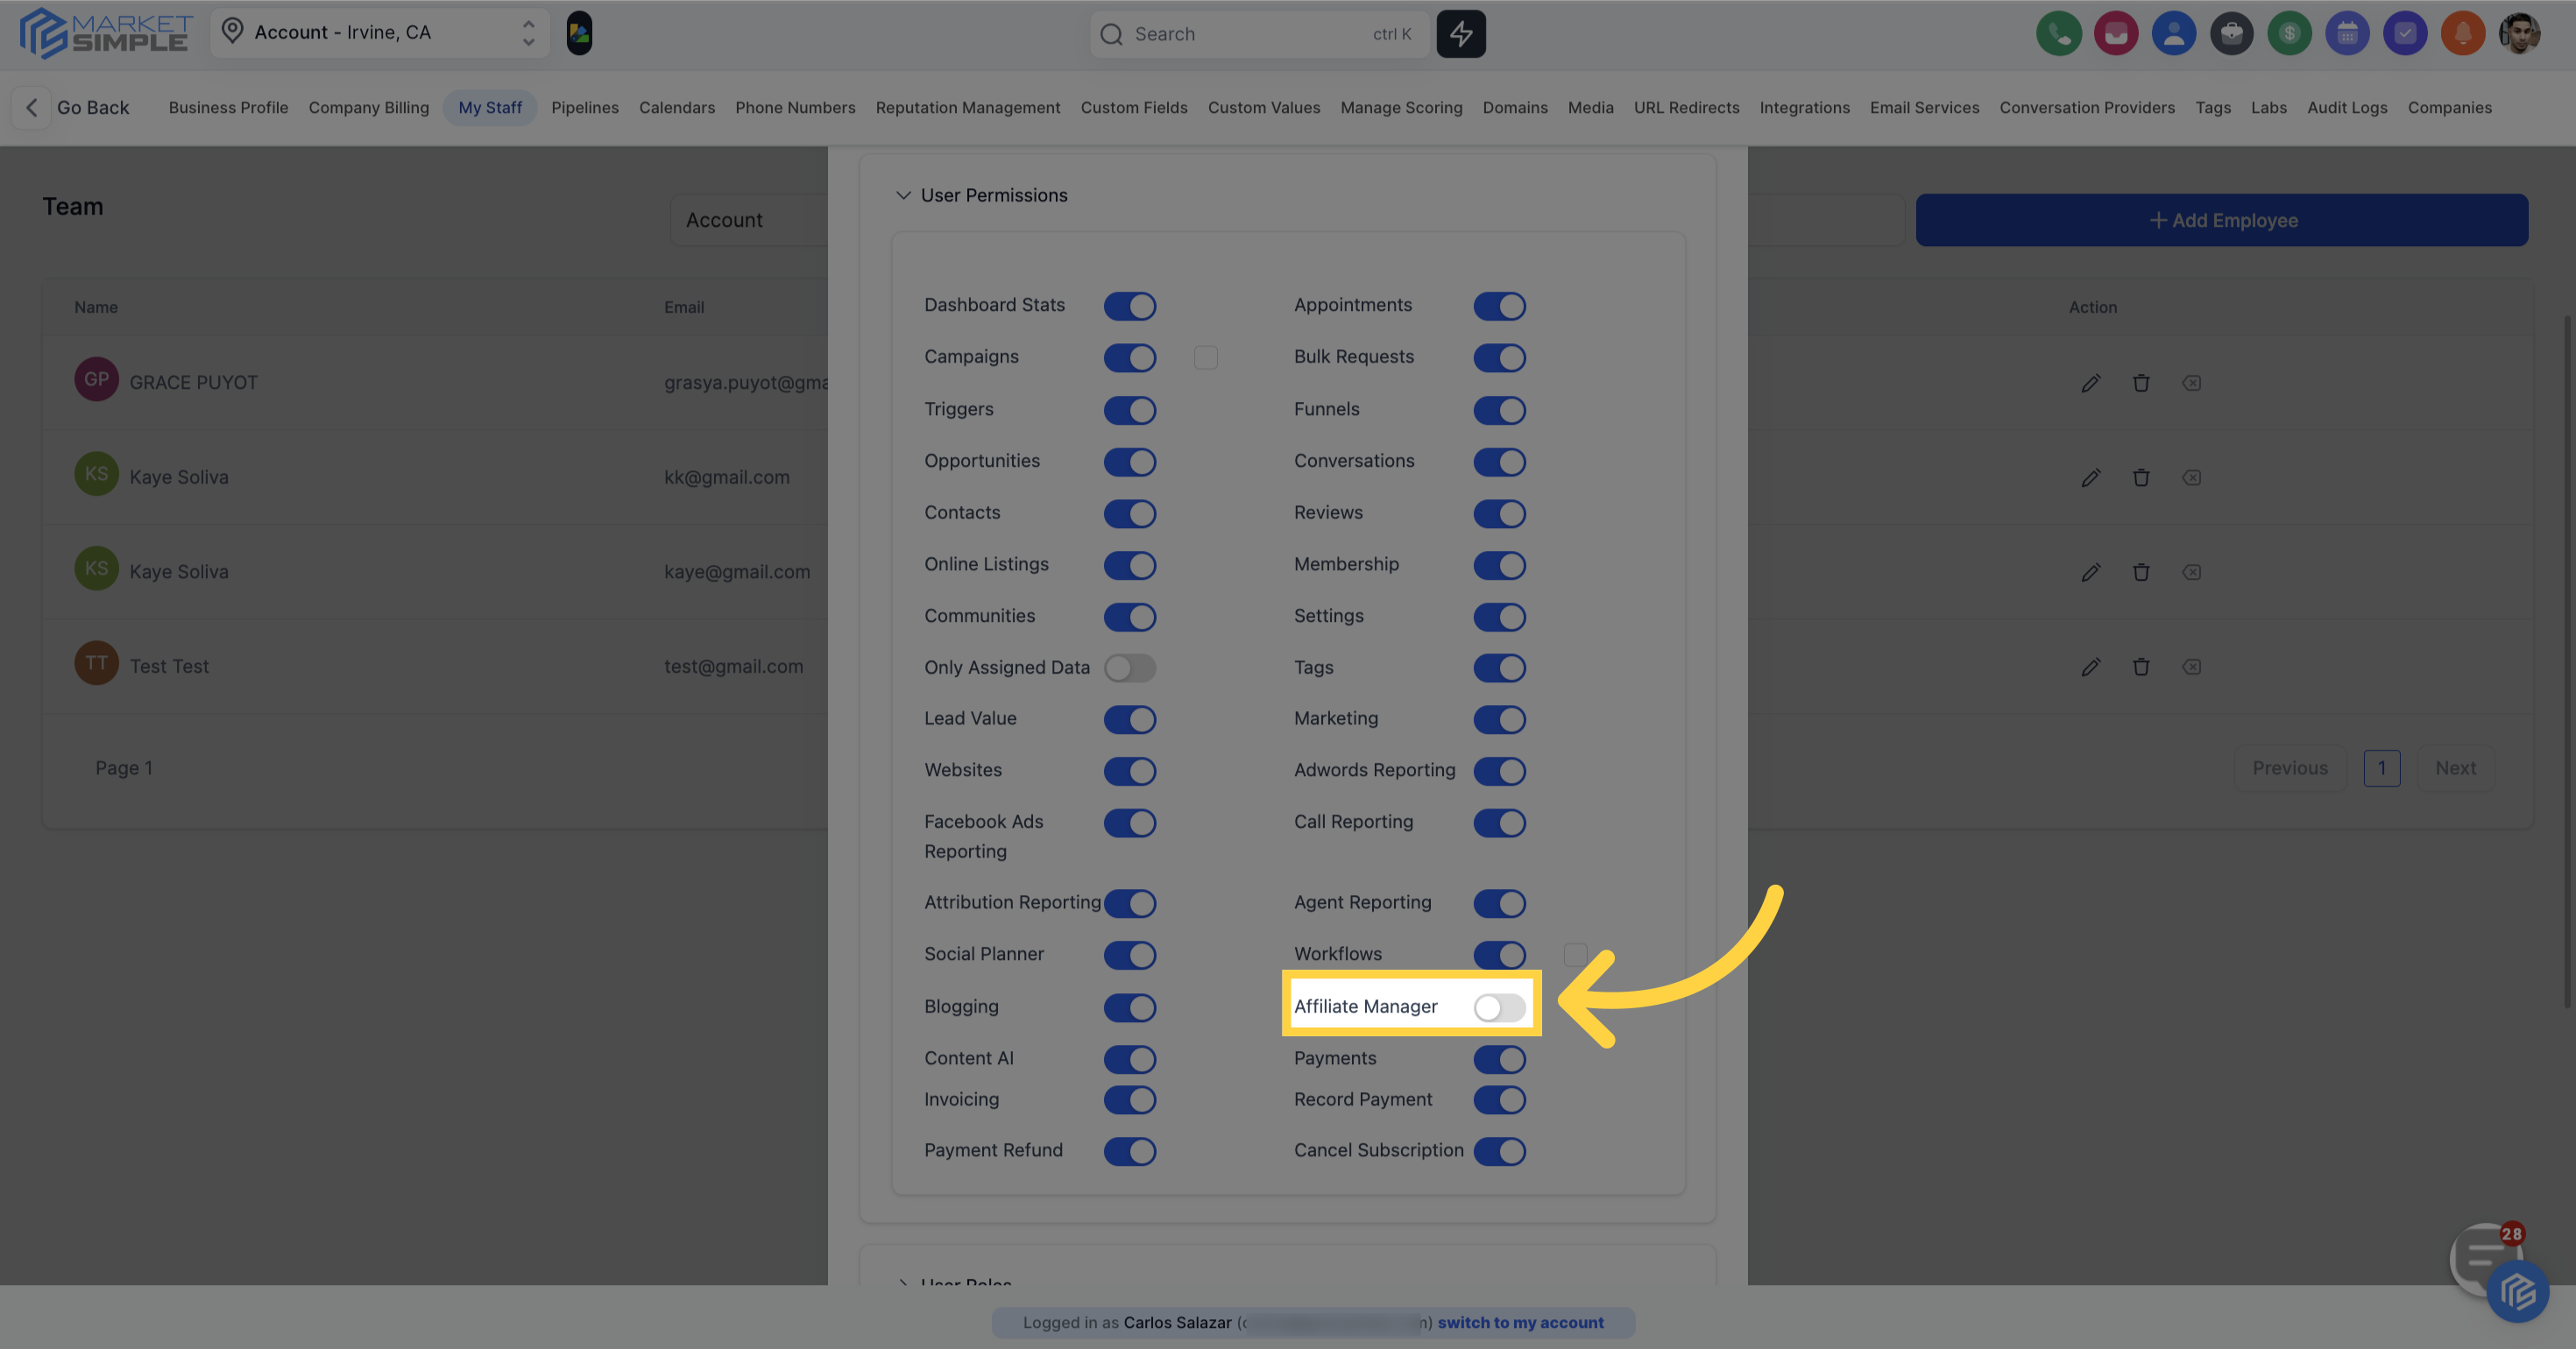
Manage user permissions by clicking "User Permissions".
As an administrator, you have the ability to enable or disable different permissions for users within your team. Turning options off will hide specific sections of the CRM from team members, which can be useful if you want to restrict their access to certain areas or prevent them from making edits in the CRM.
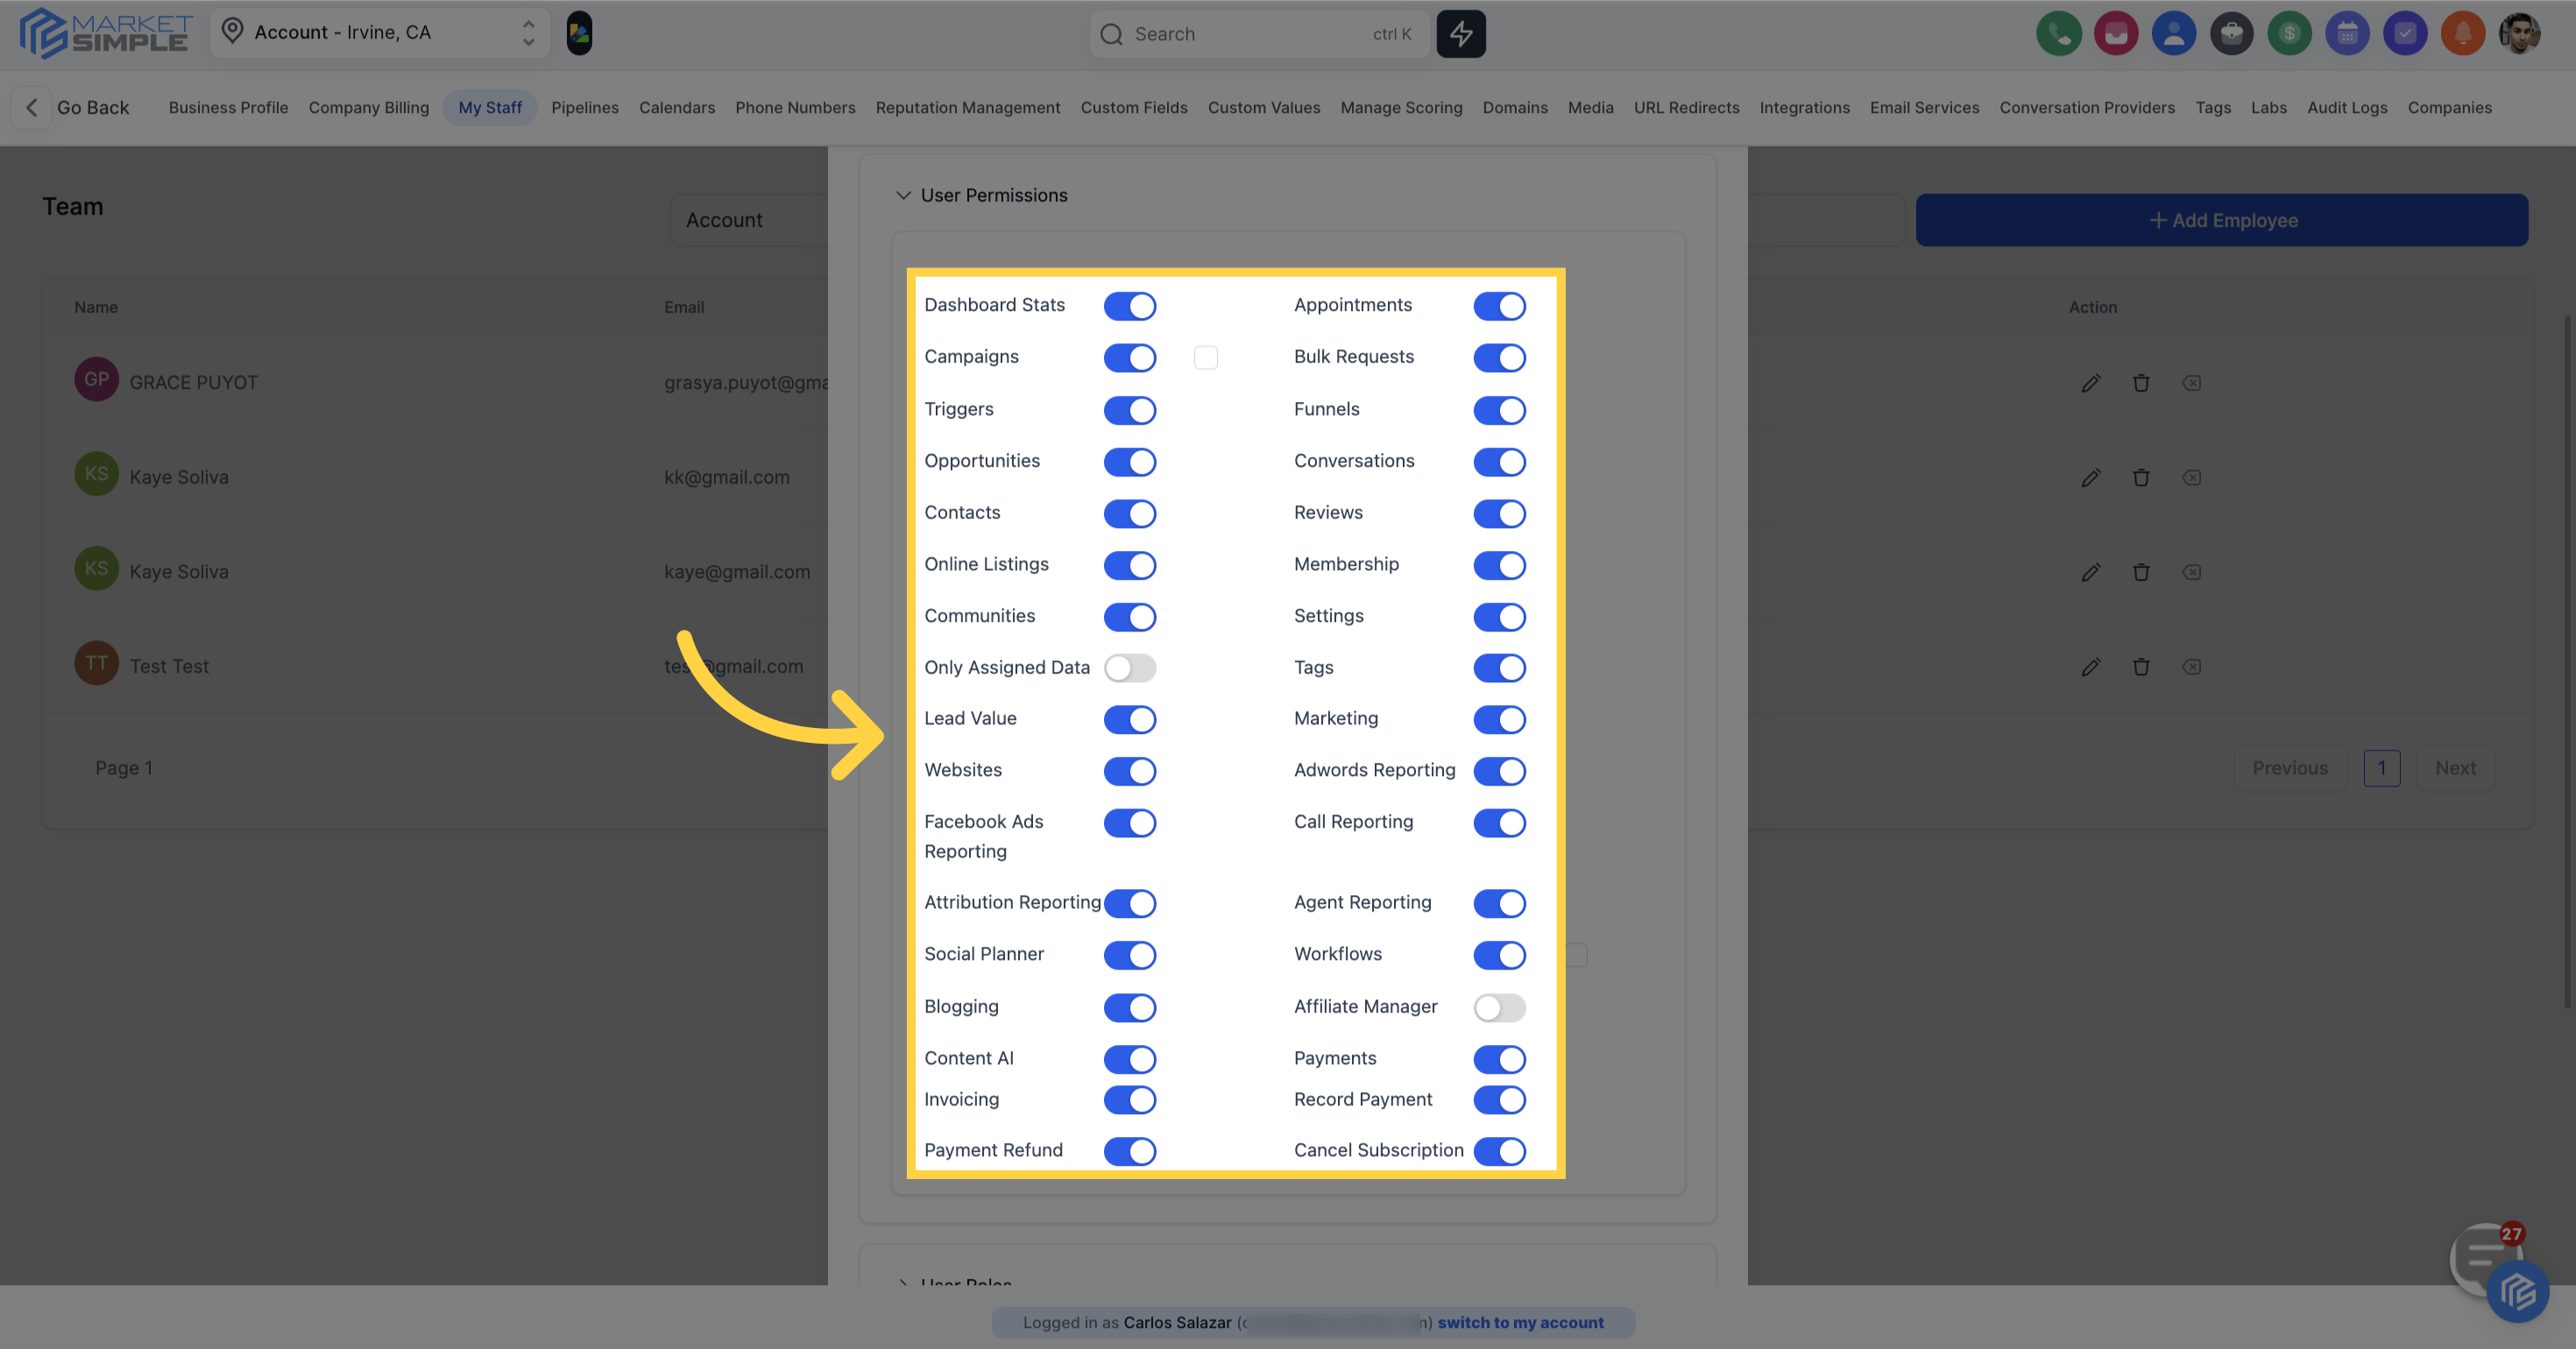
If you want to restrict access to a particular permission, you should toggle it off.
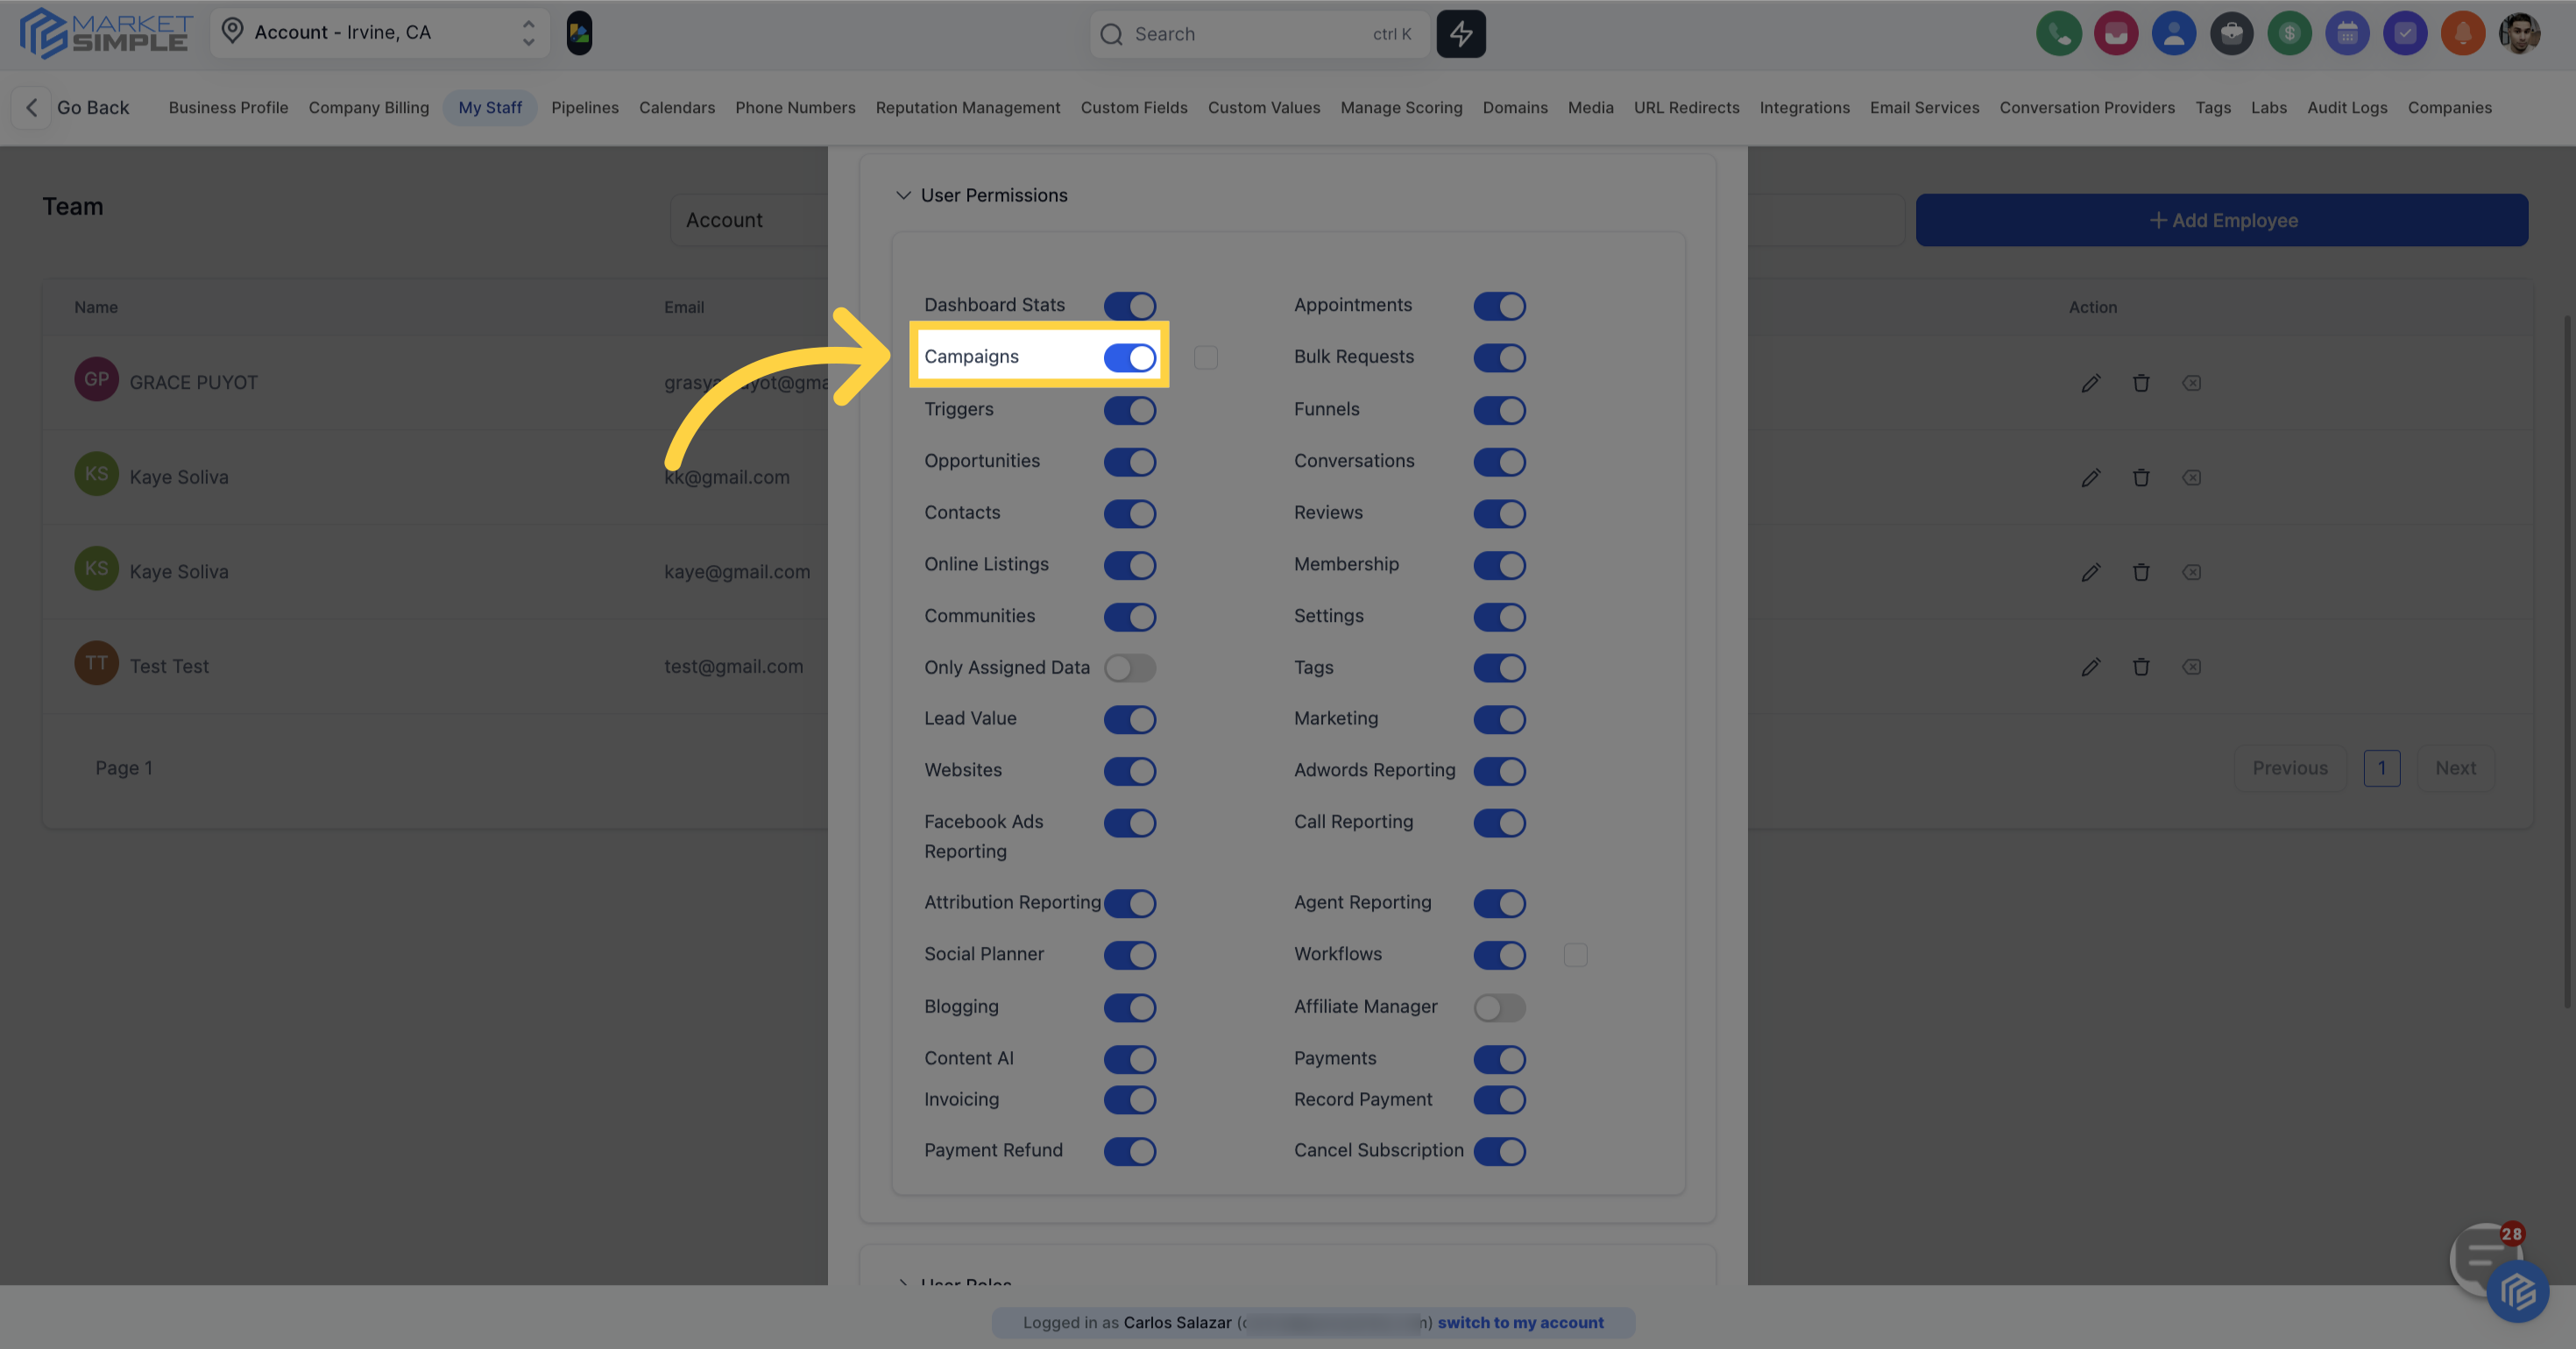
If you want to enable access to a specific permission, you should toggle it on.
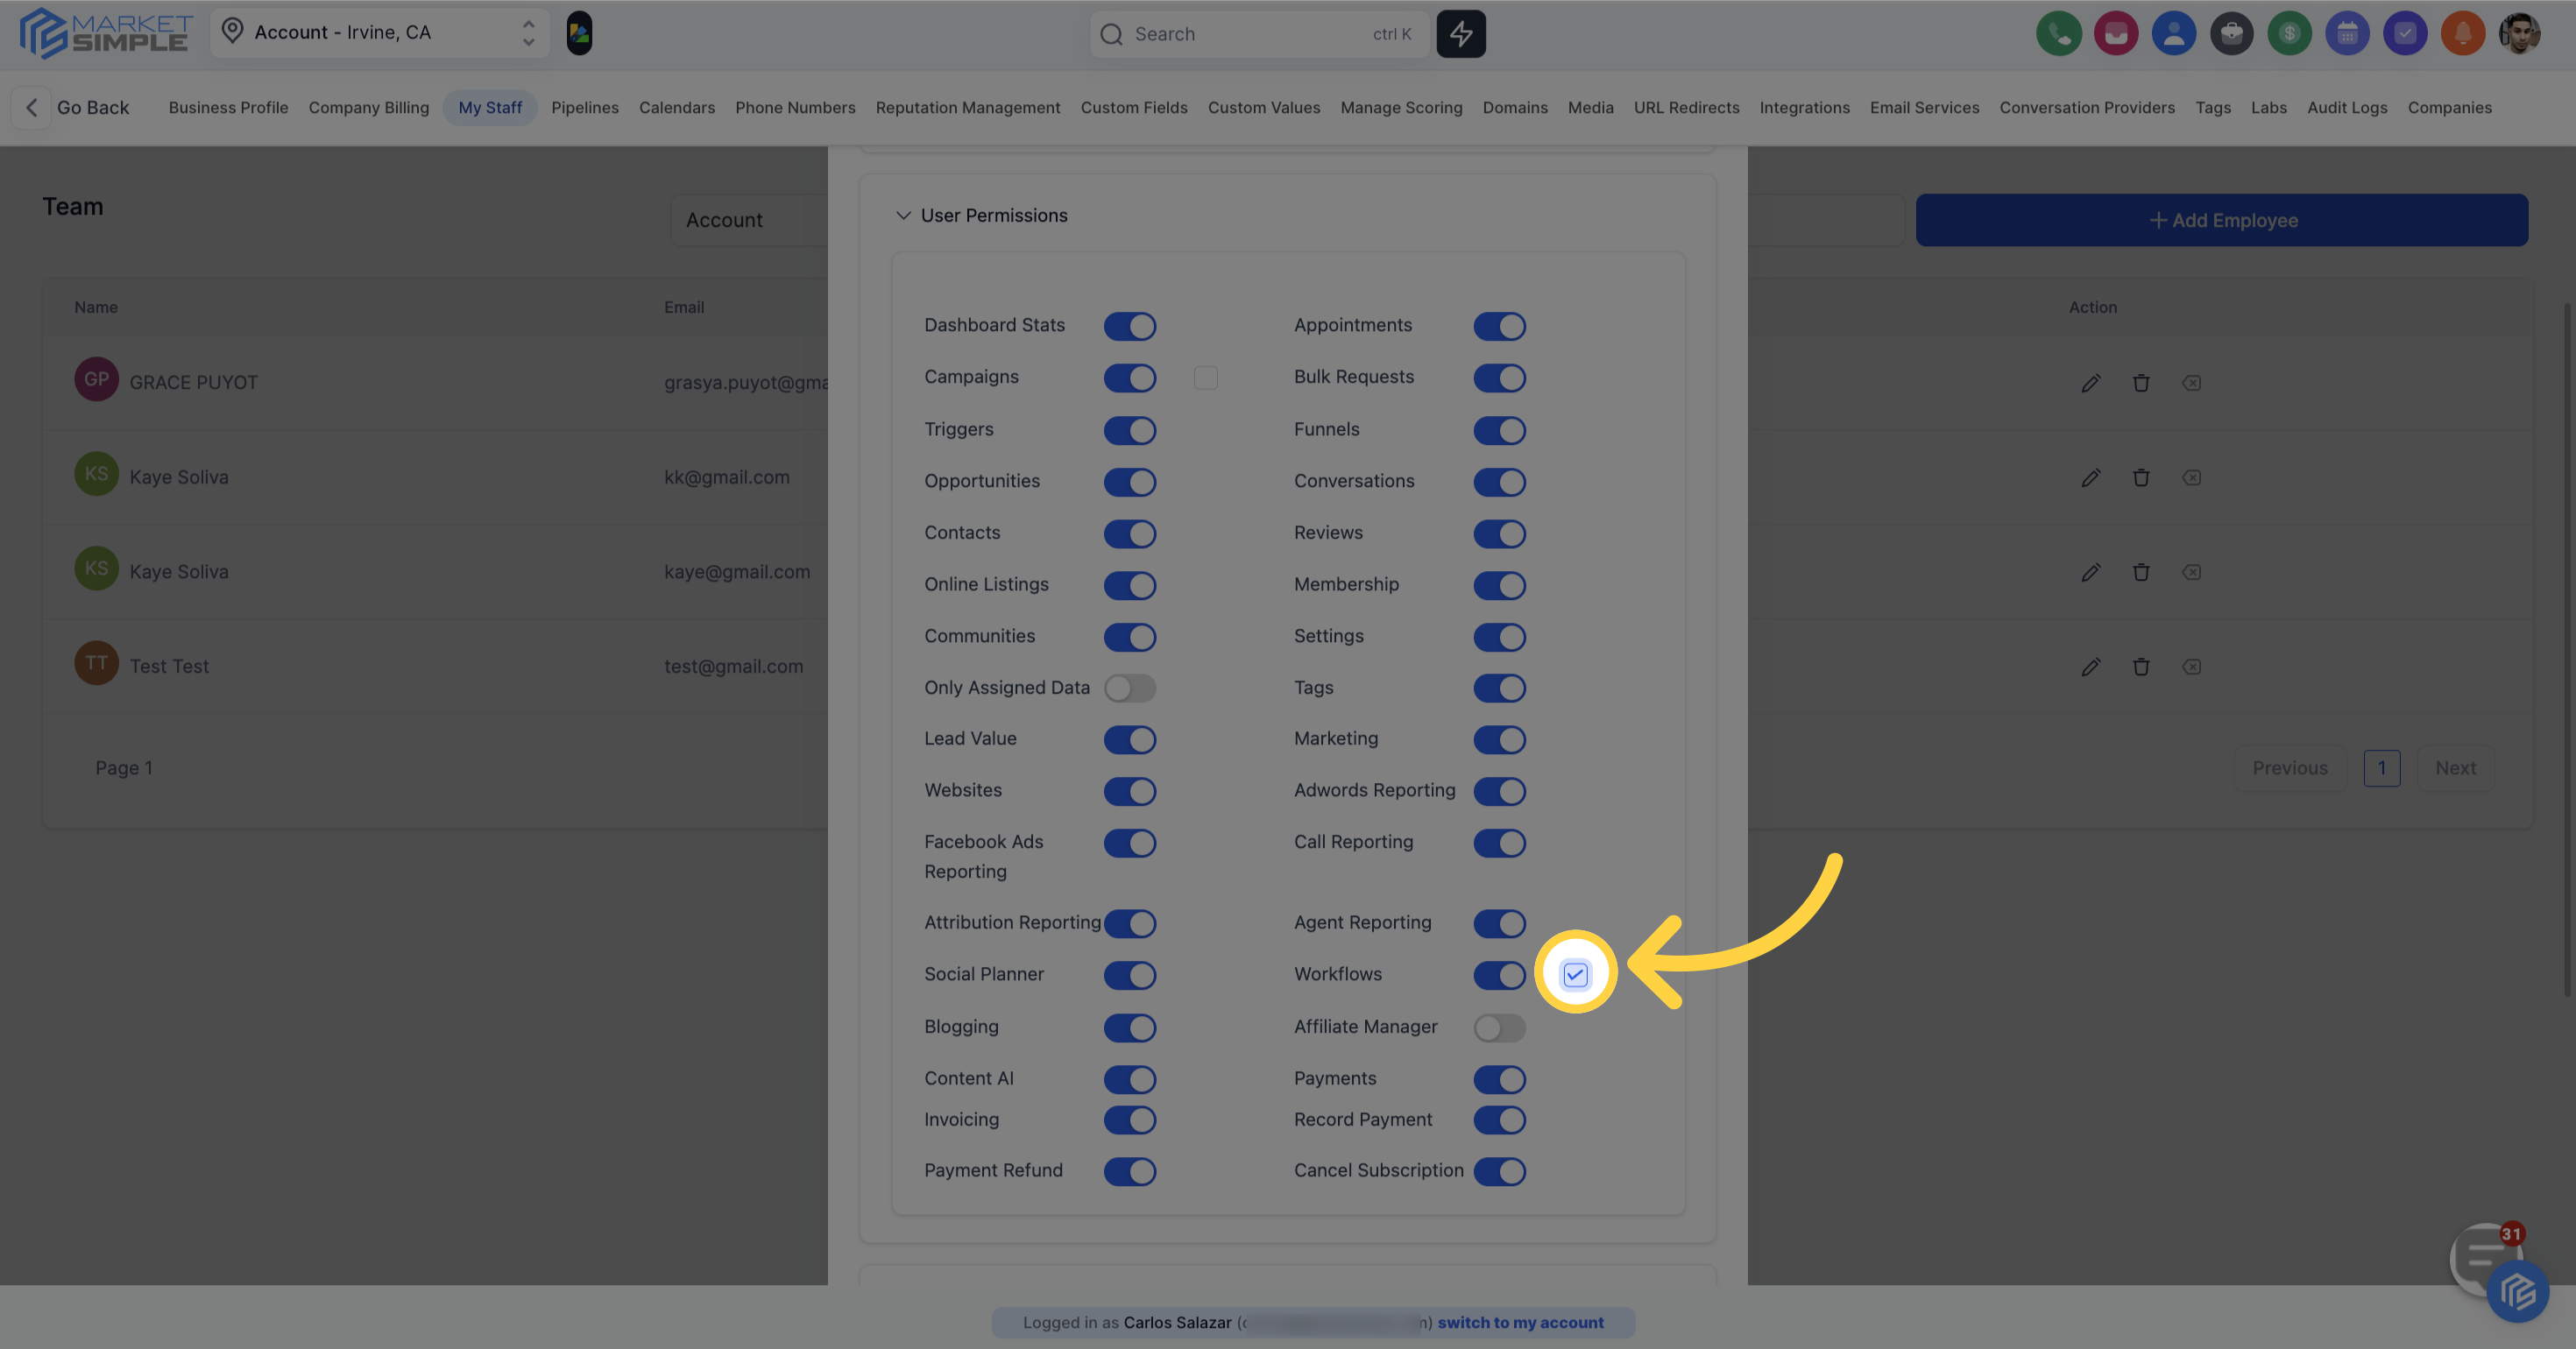
Click 'Read only' if you want to limit the use of the workflow
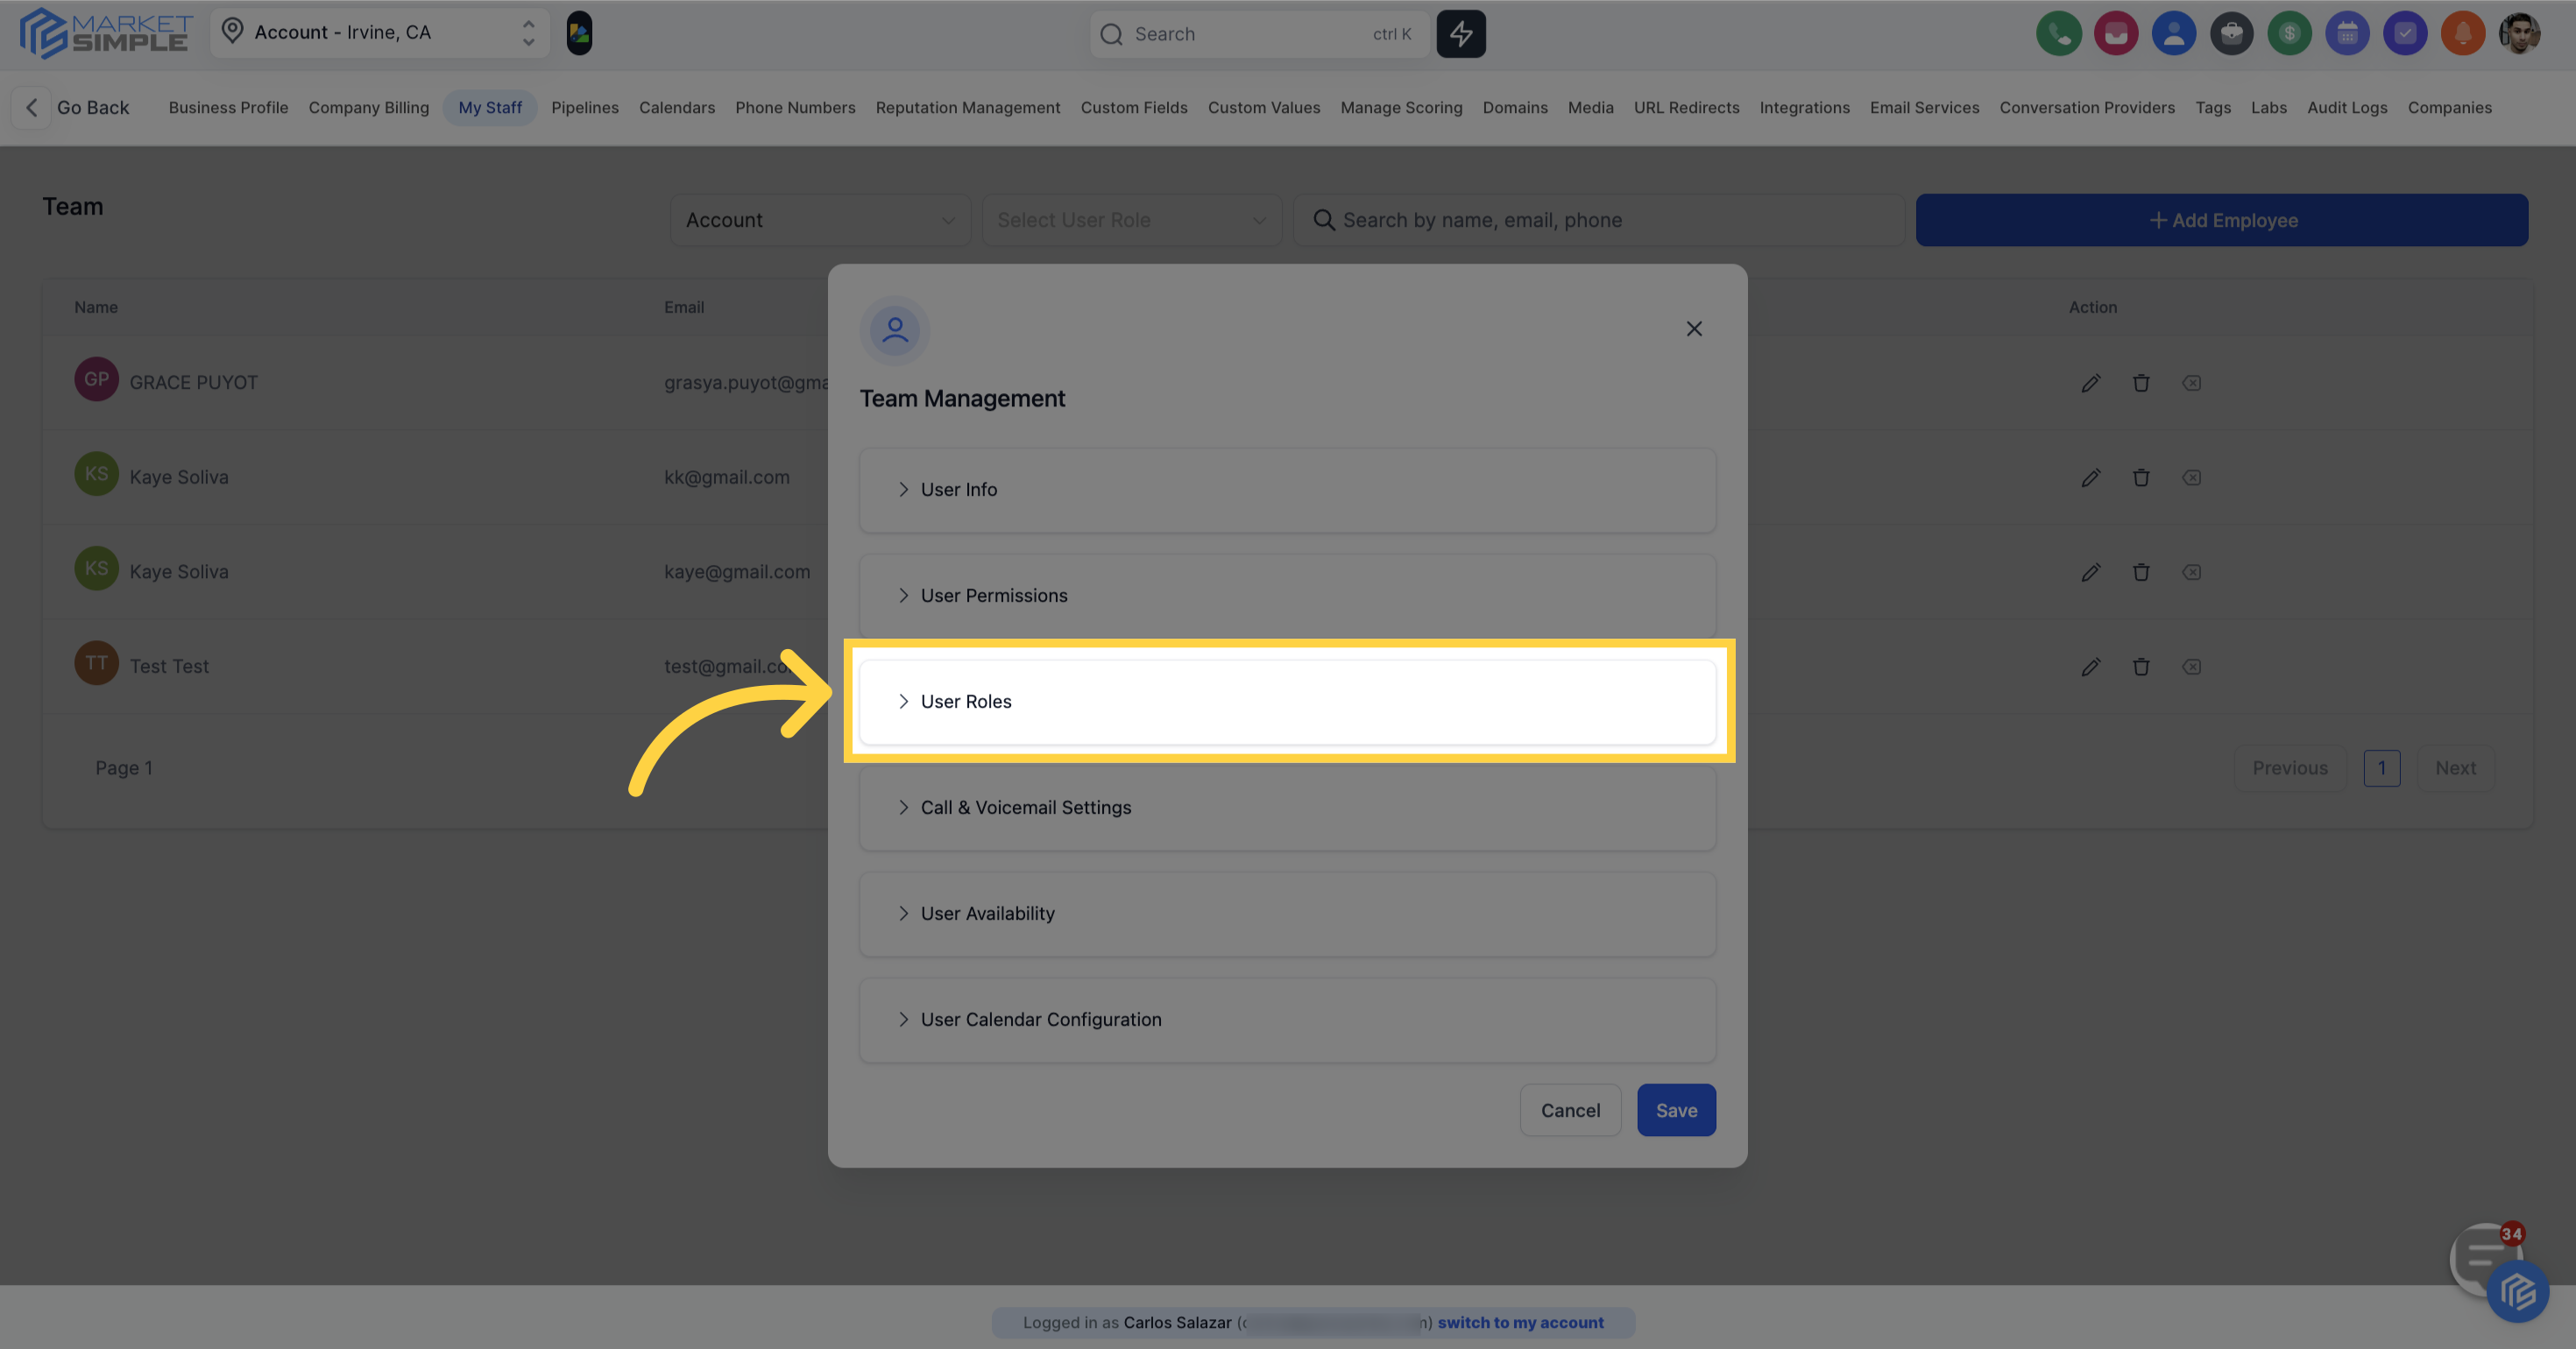
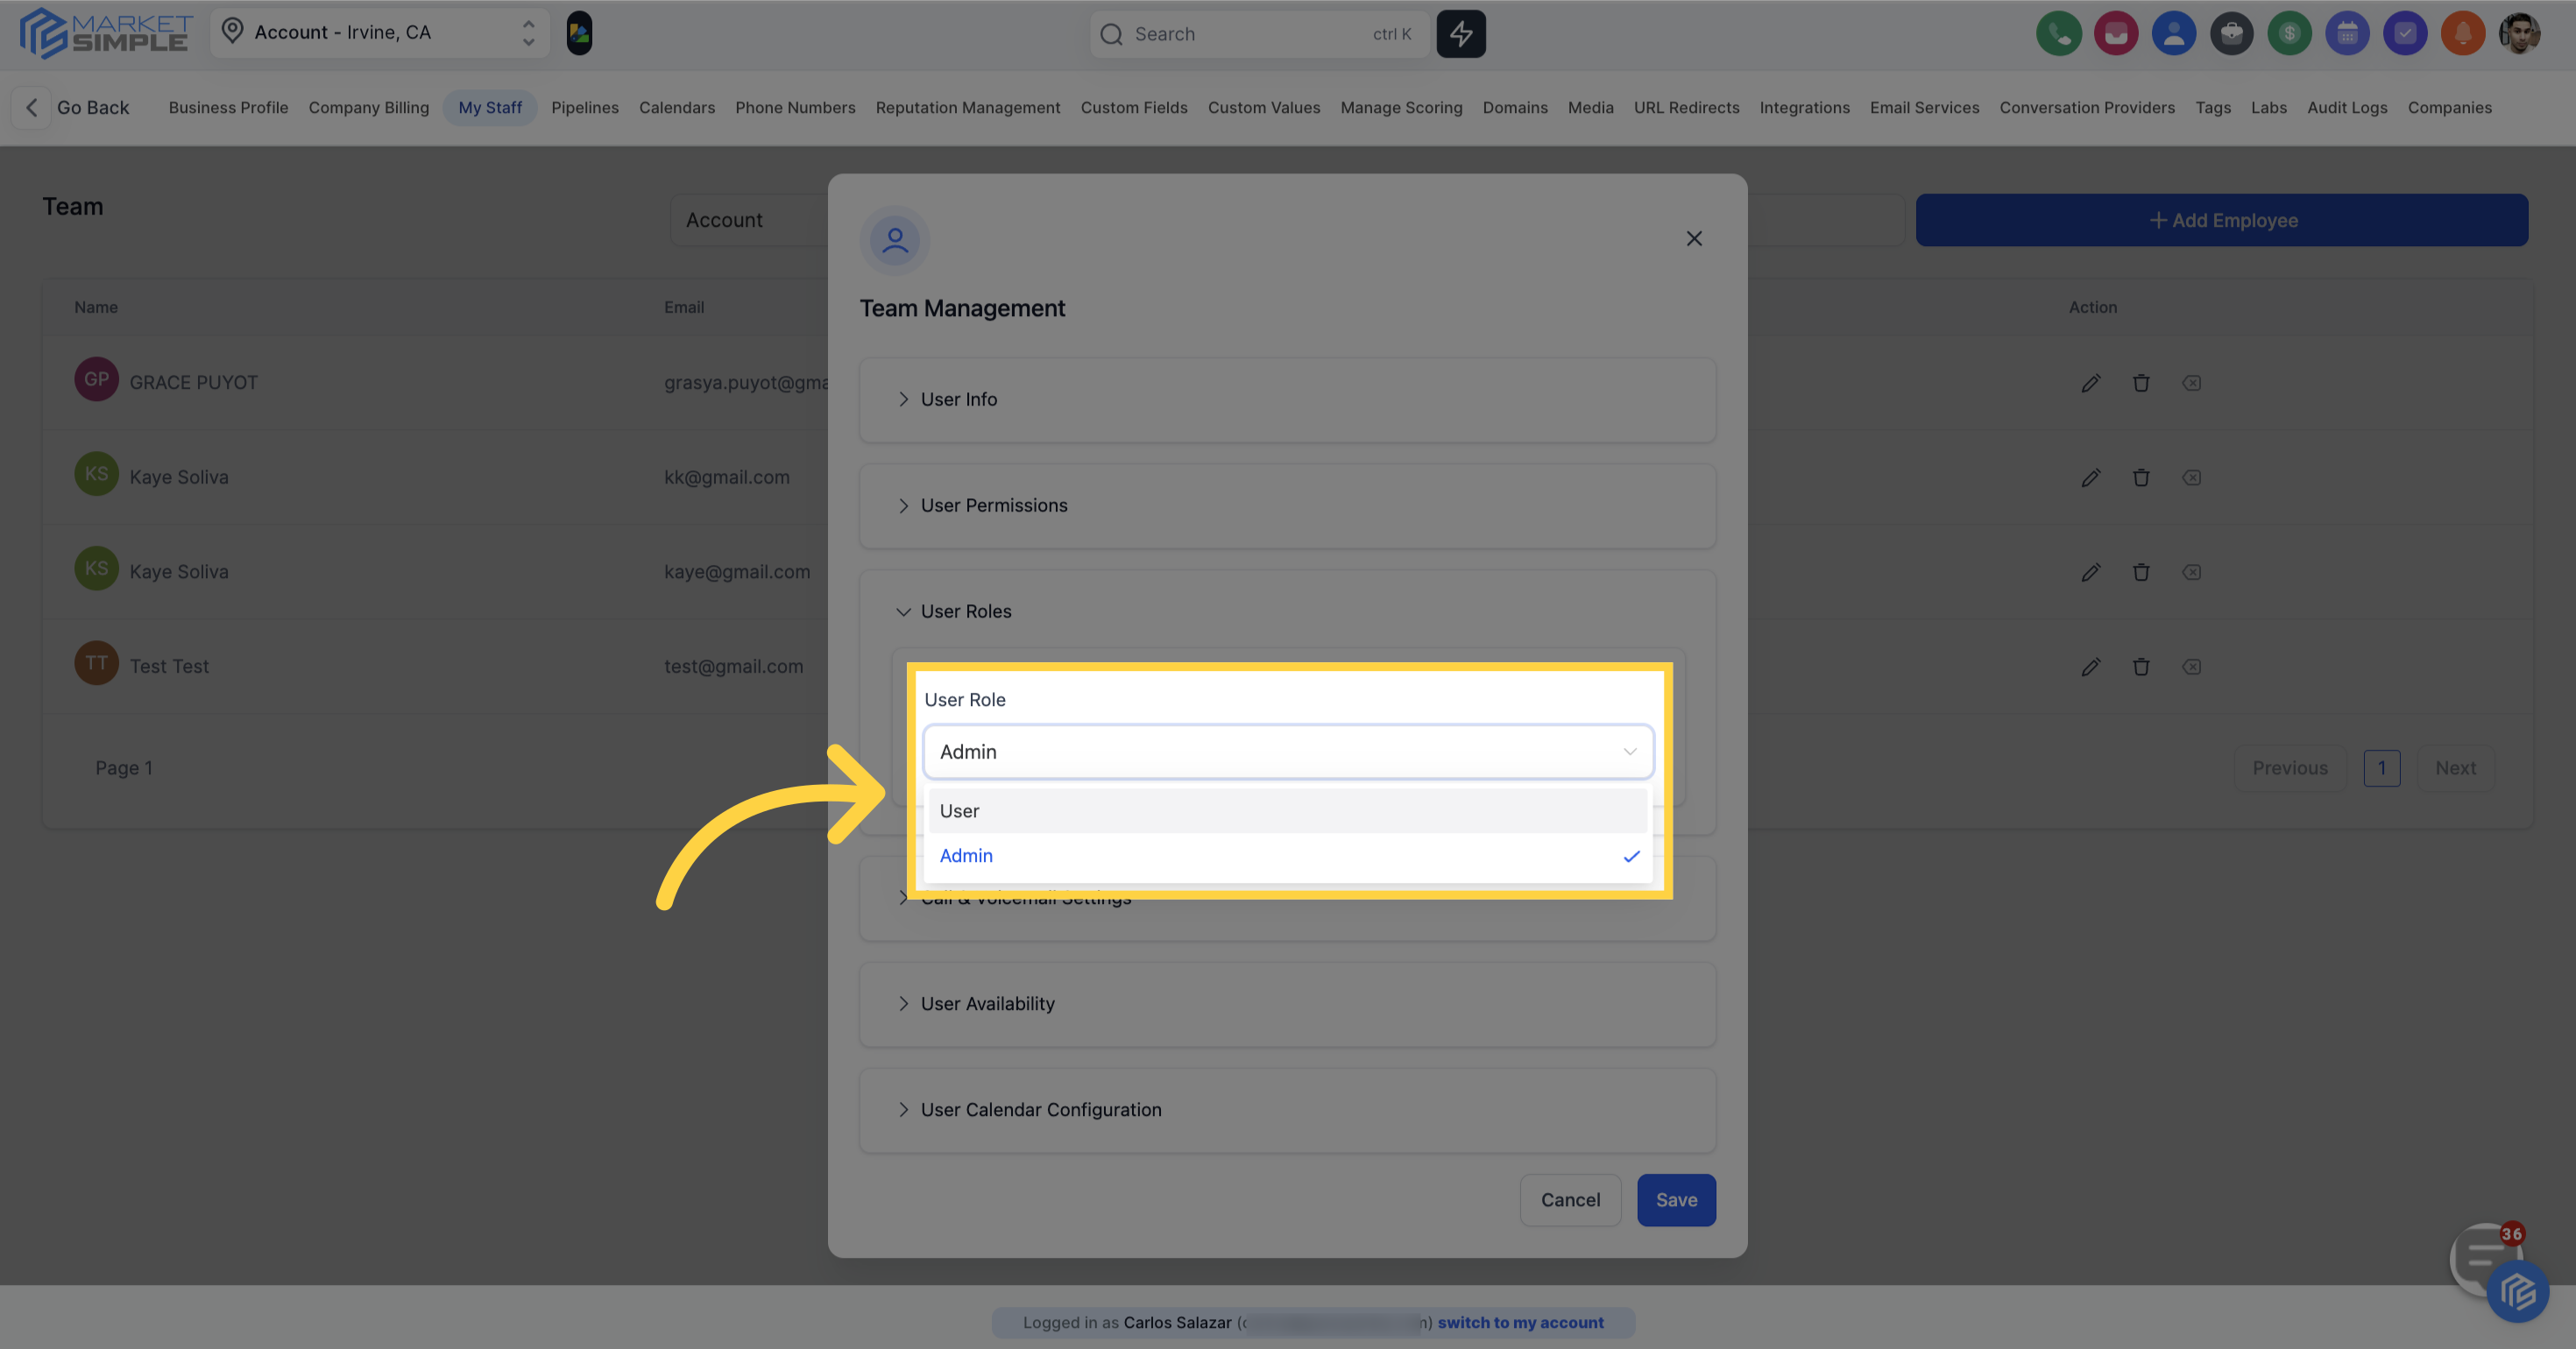
In the User Roles section, you can assign a user either as a general user or as an administrator. This feature enables you to efficiently oversee and distribute access levels and responsibilities based on each team member's role in your organization.
Admin:
User:
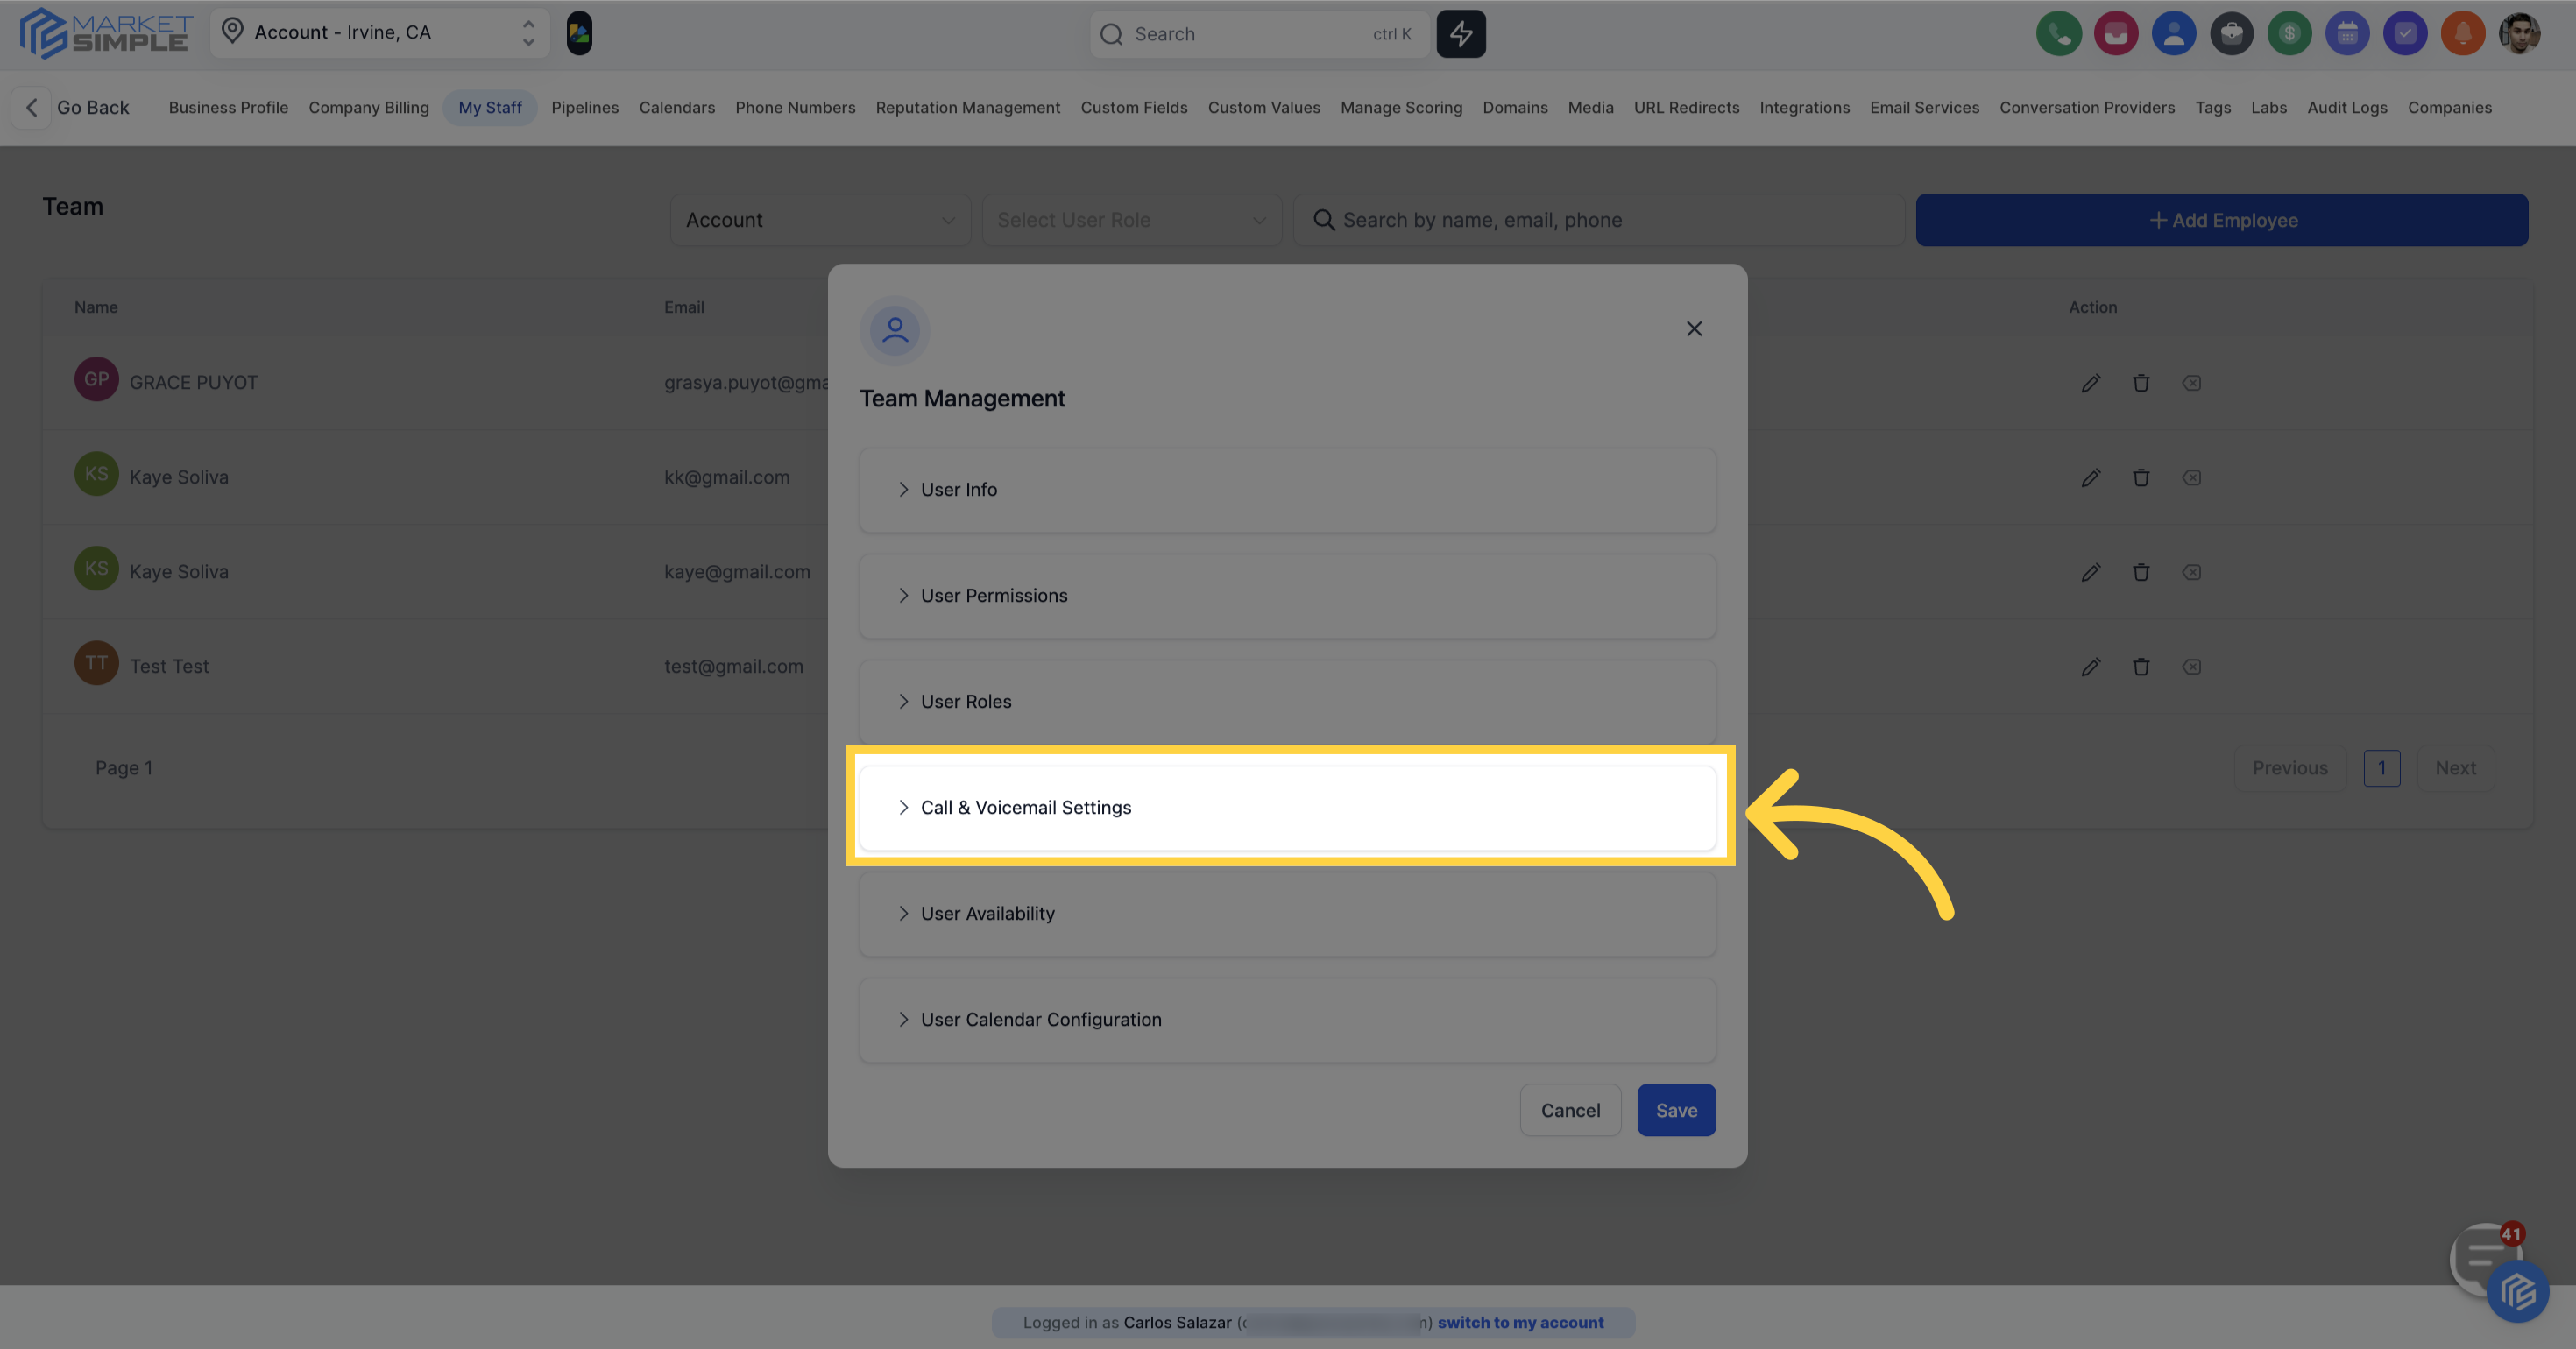
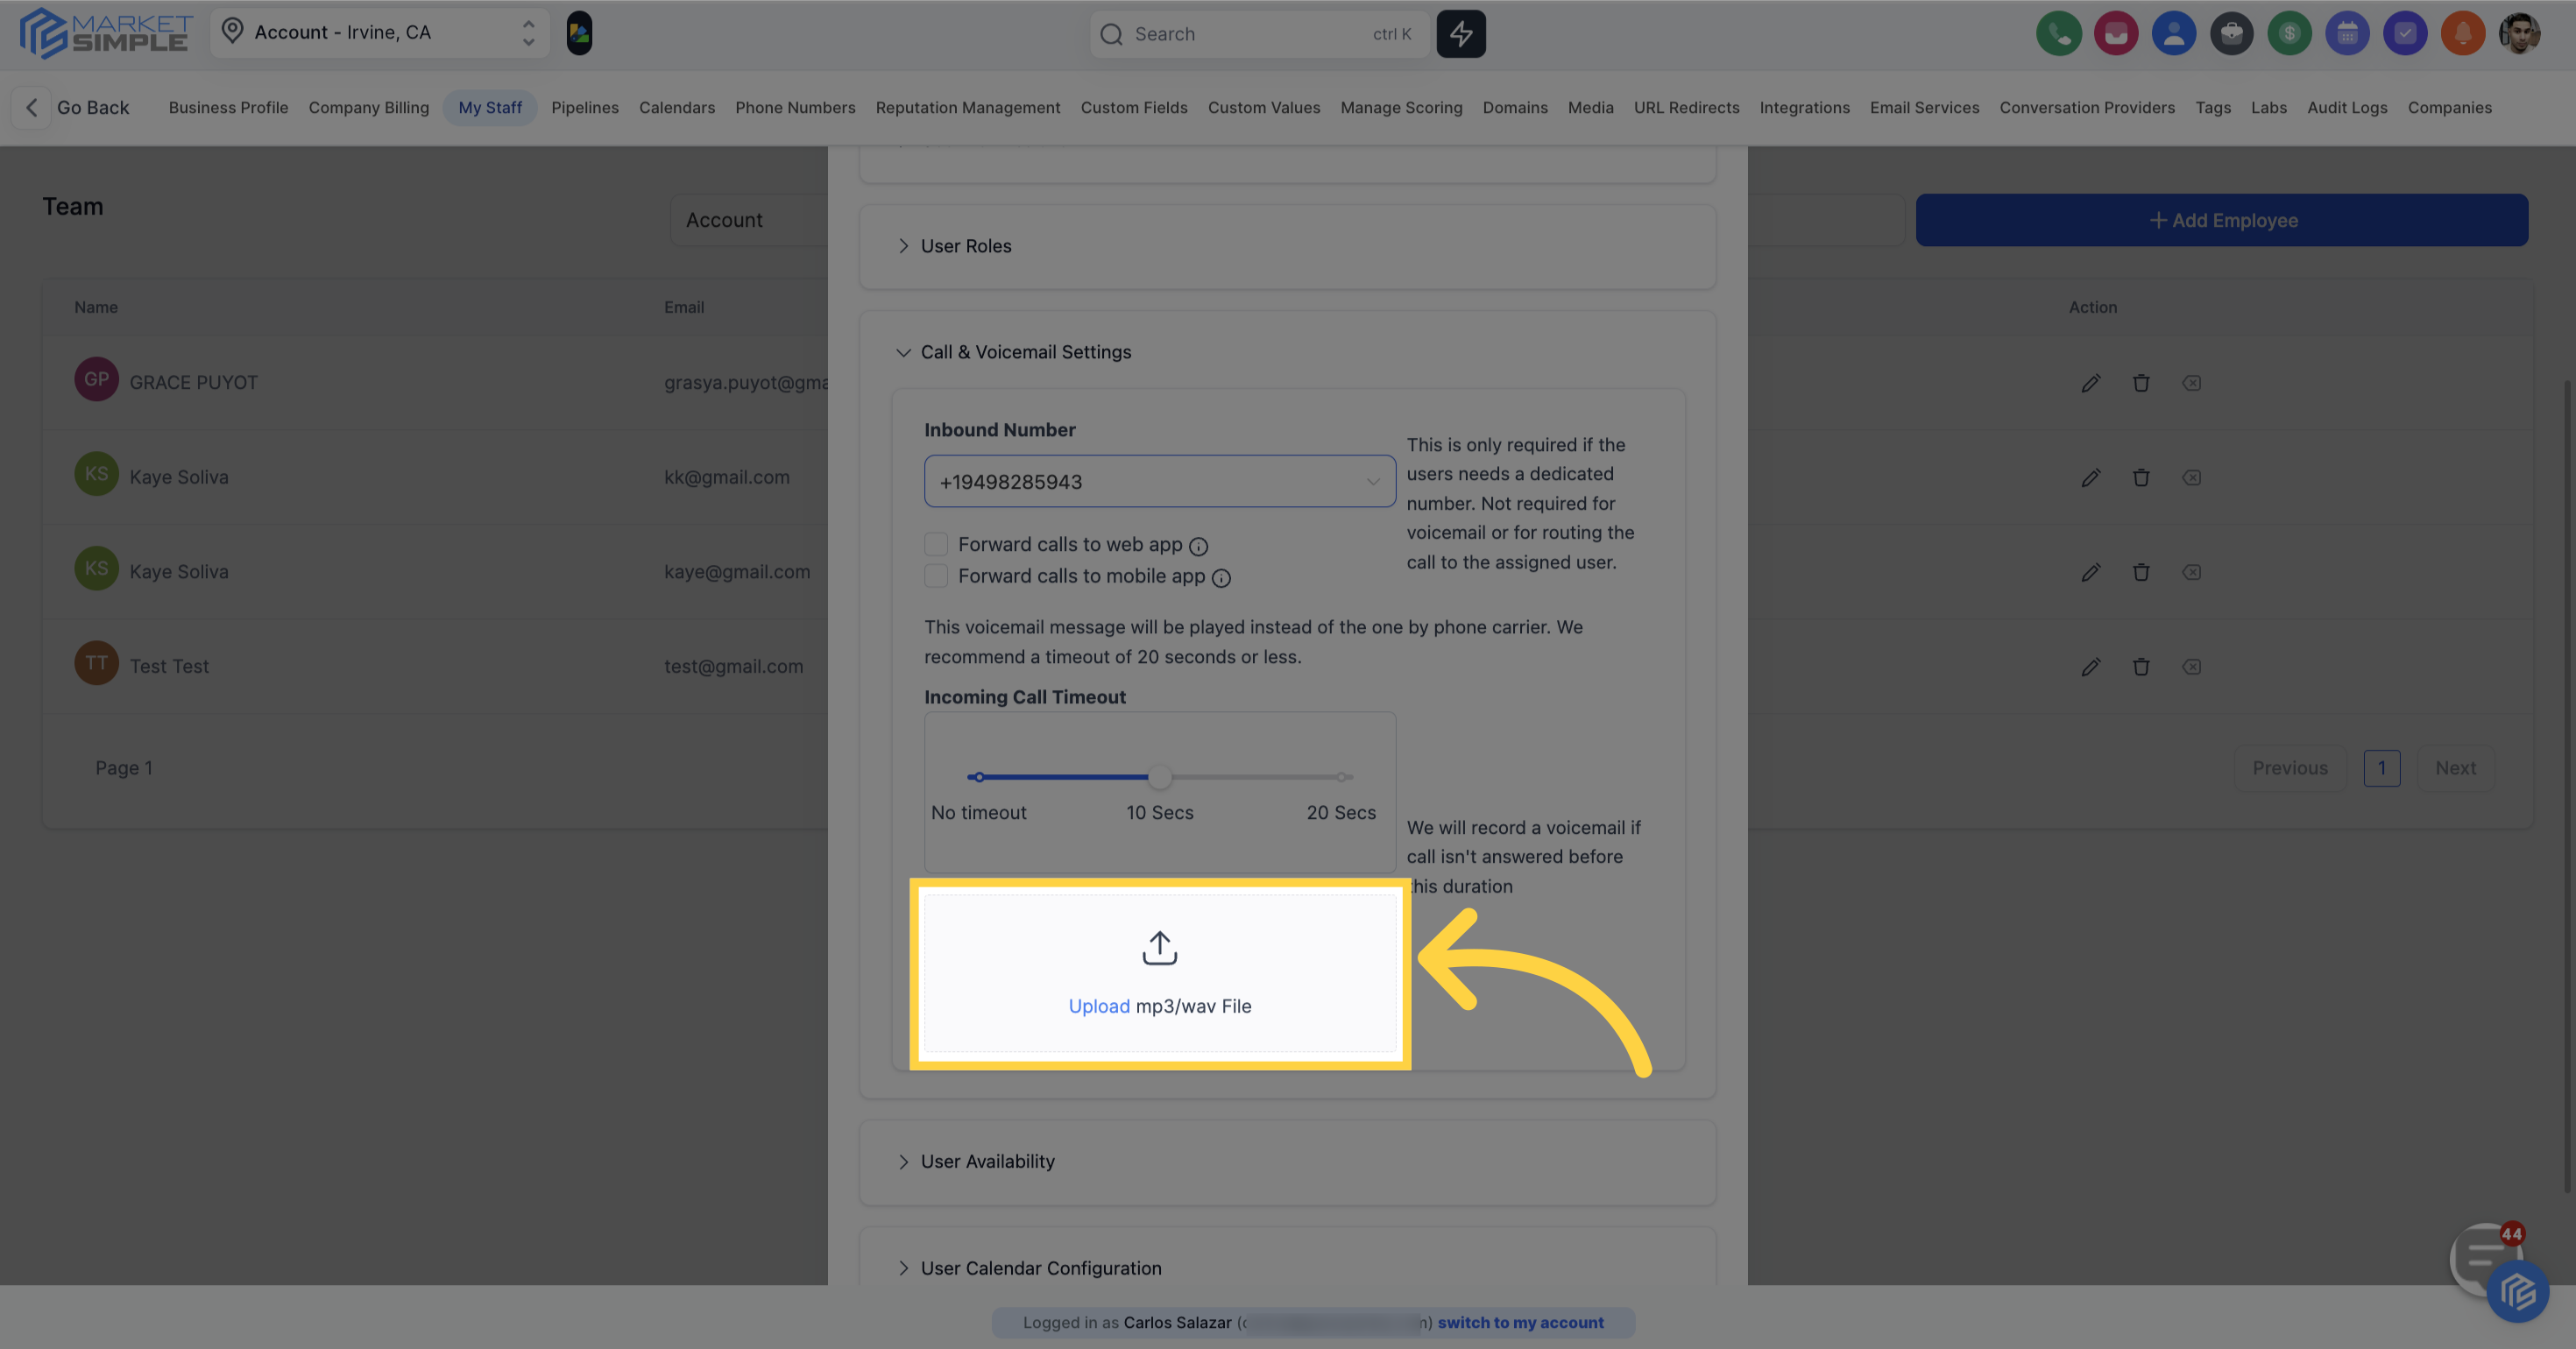
In the Call & Voicemail Settings, you have the freedom to set an incoming call timeout duration and upload an MP3 or WAV file to serve as the user's voicemail greeting. These features allow you to customize the calling experience for your team members and the individuals who contact them. Additionally, you can assign an inbound Twilio number if the user needs a dedicated contact number.
Inbound Number is required if the users needs a dedicated number. Not required for voicemail or for routing the call to the assigned user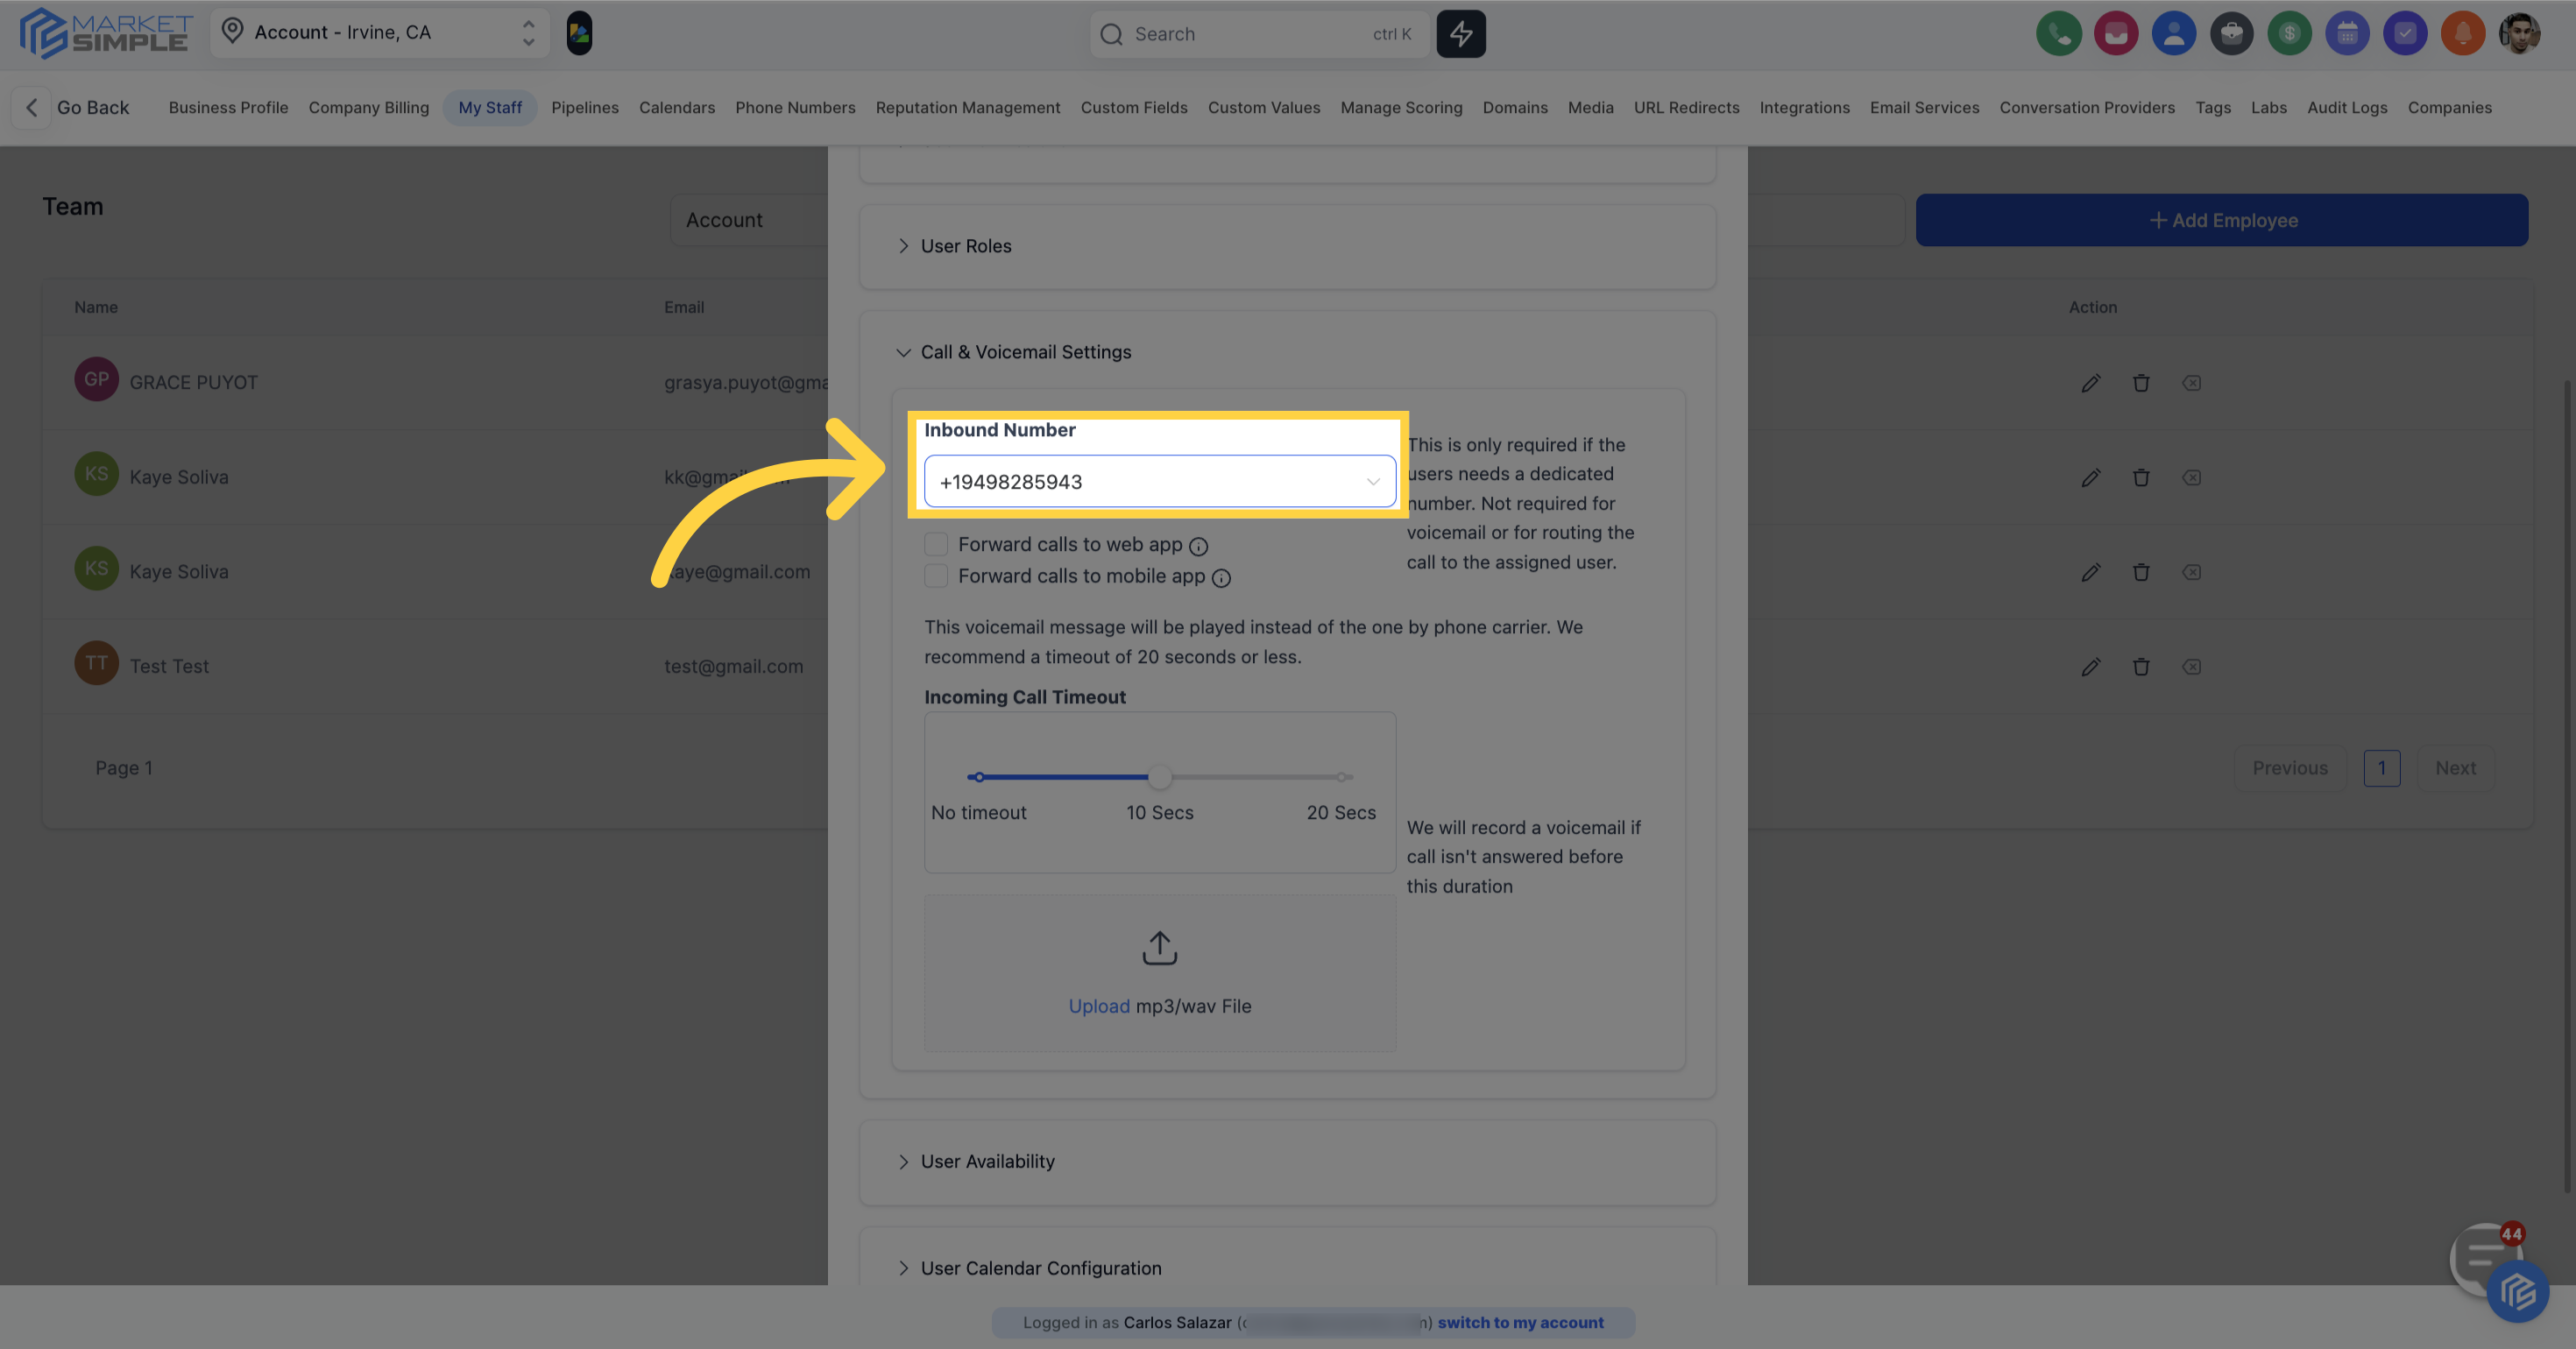
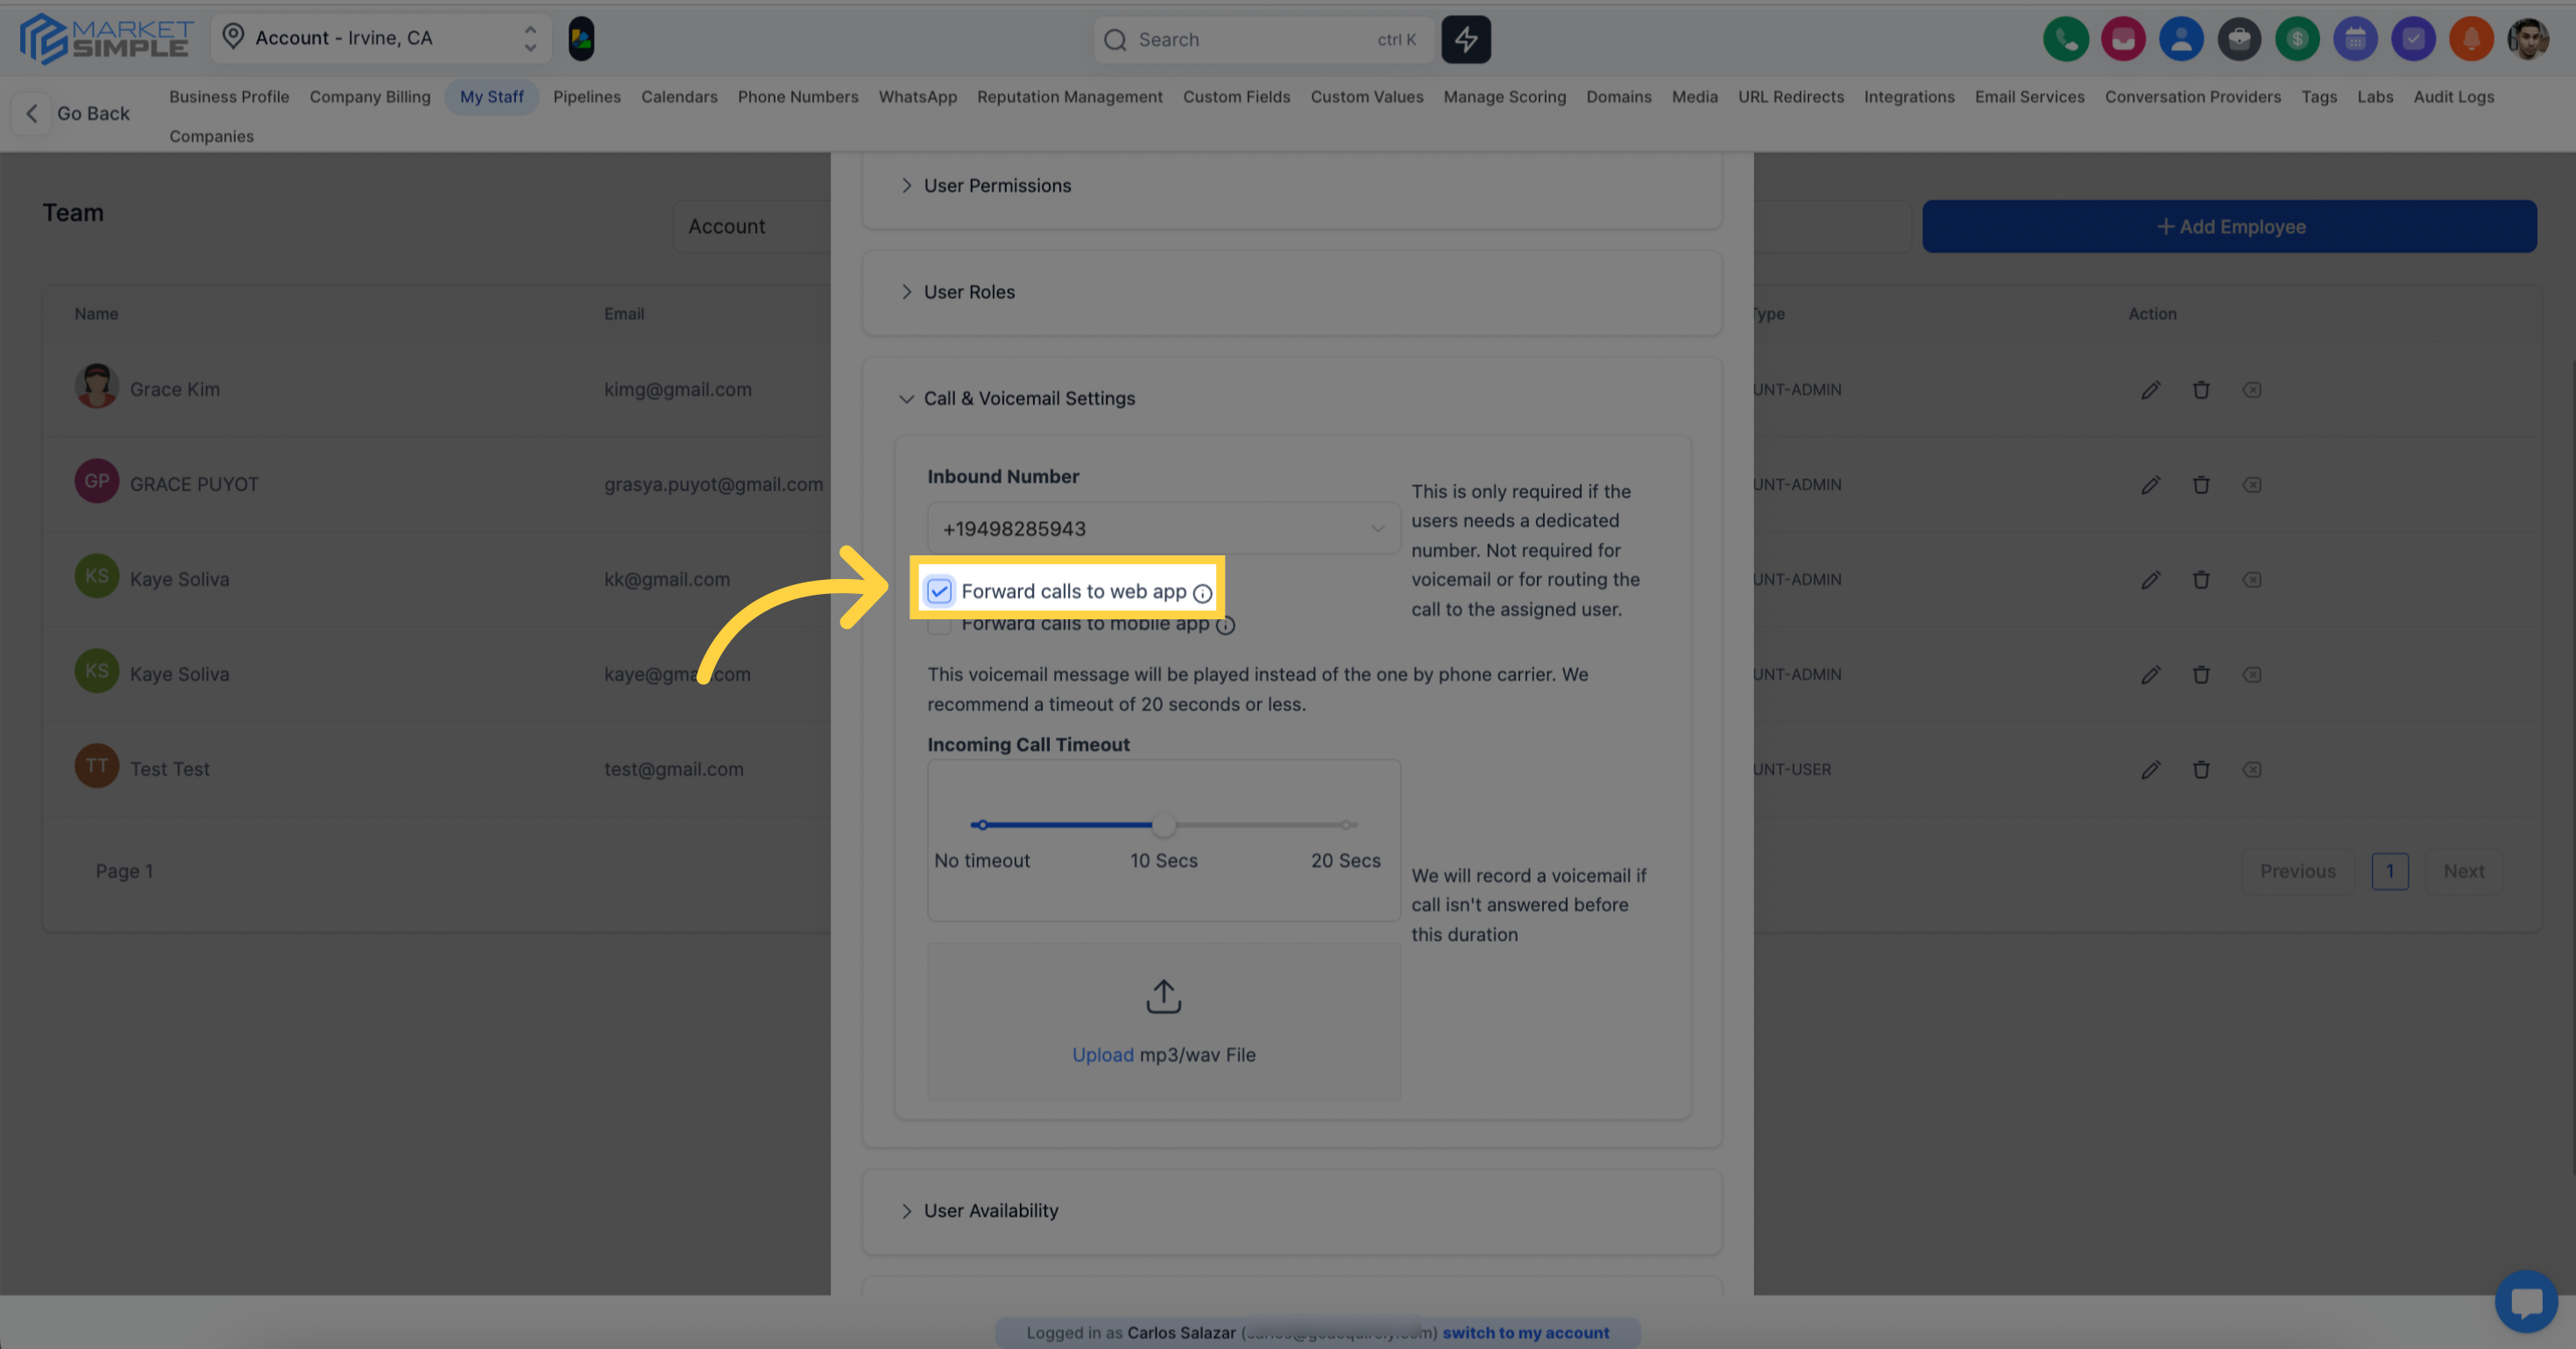
When selected, Calls will be routed to your web app
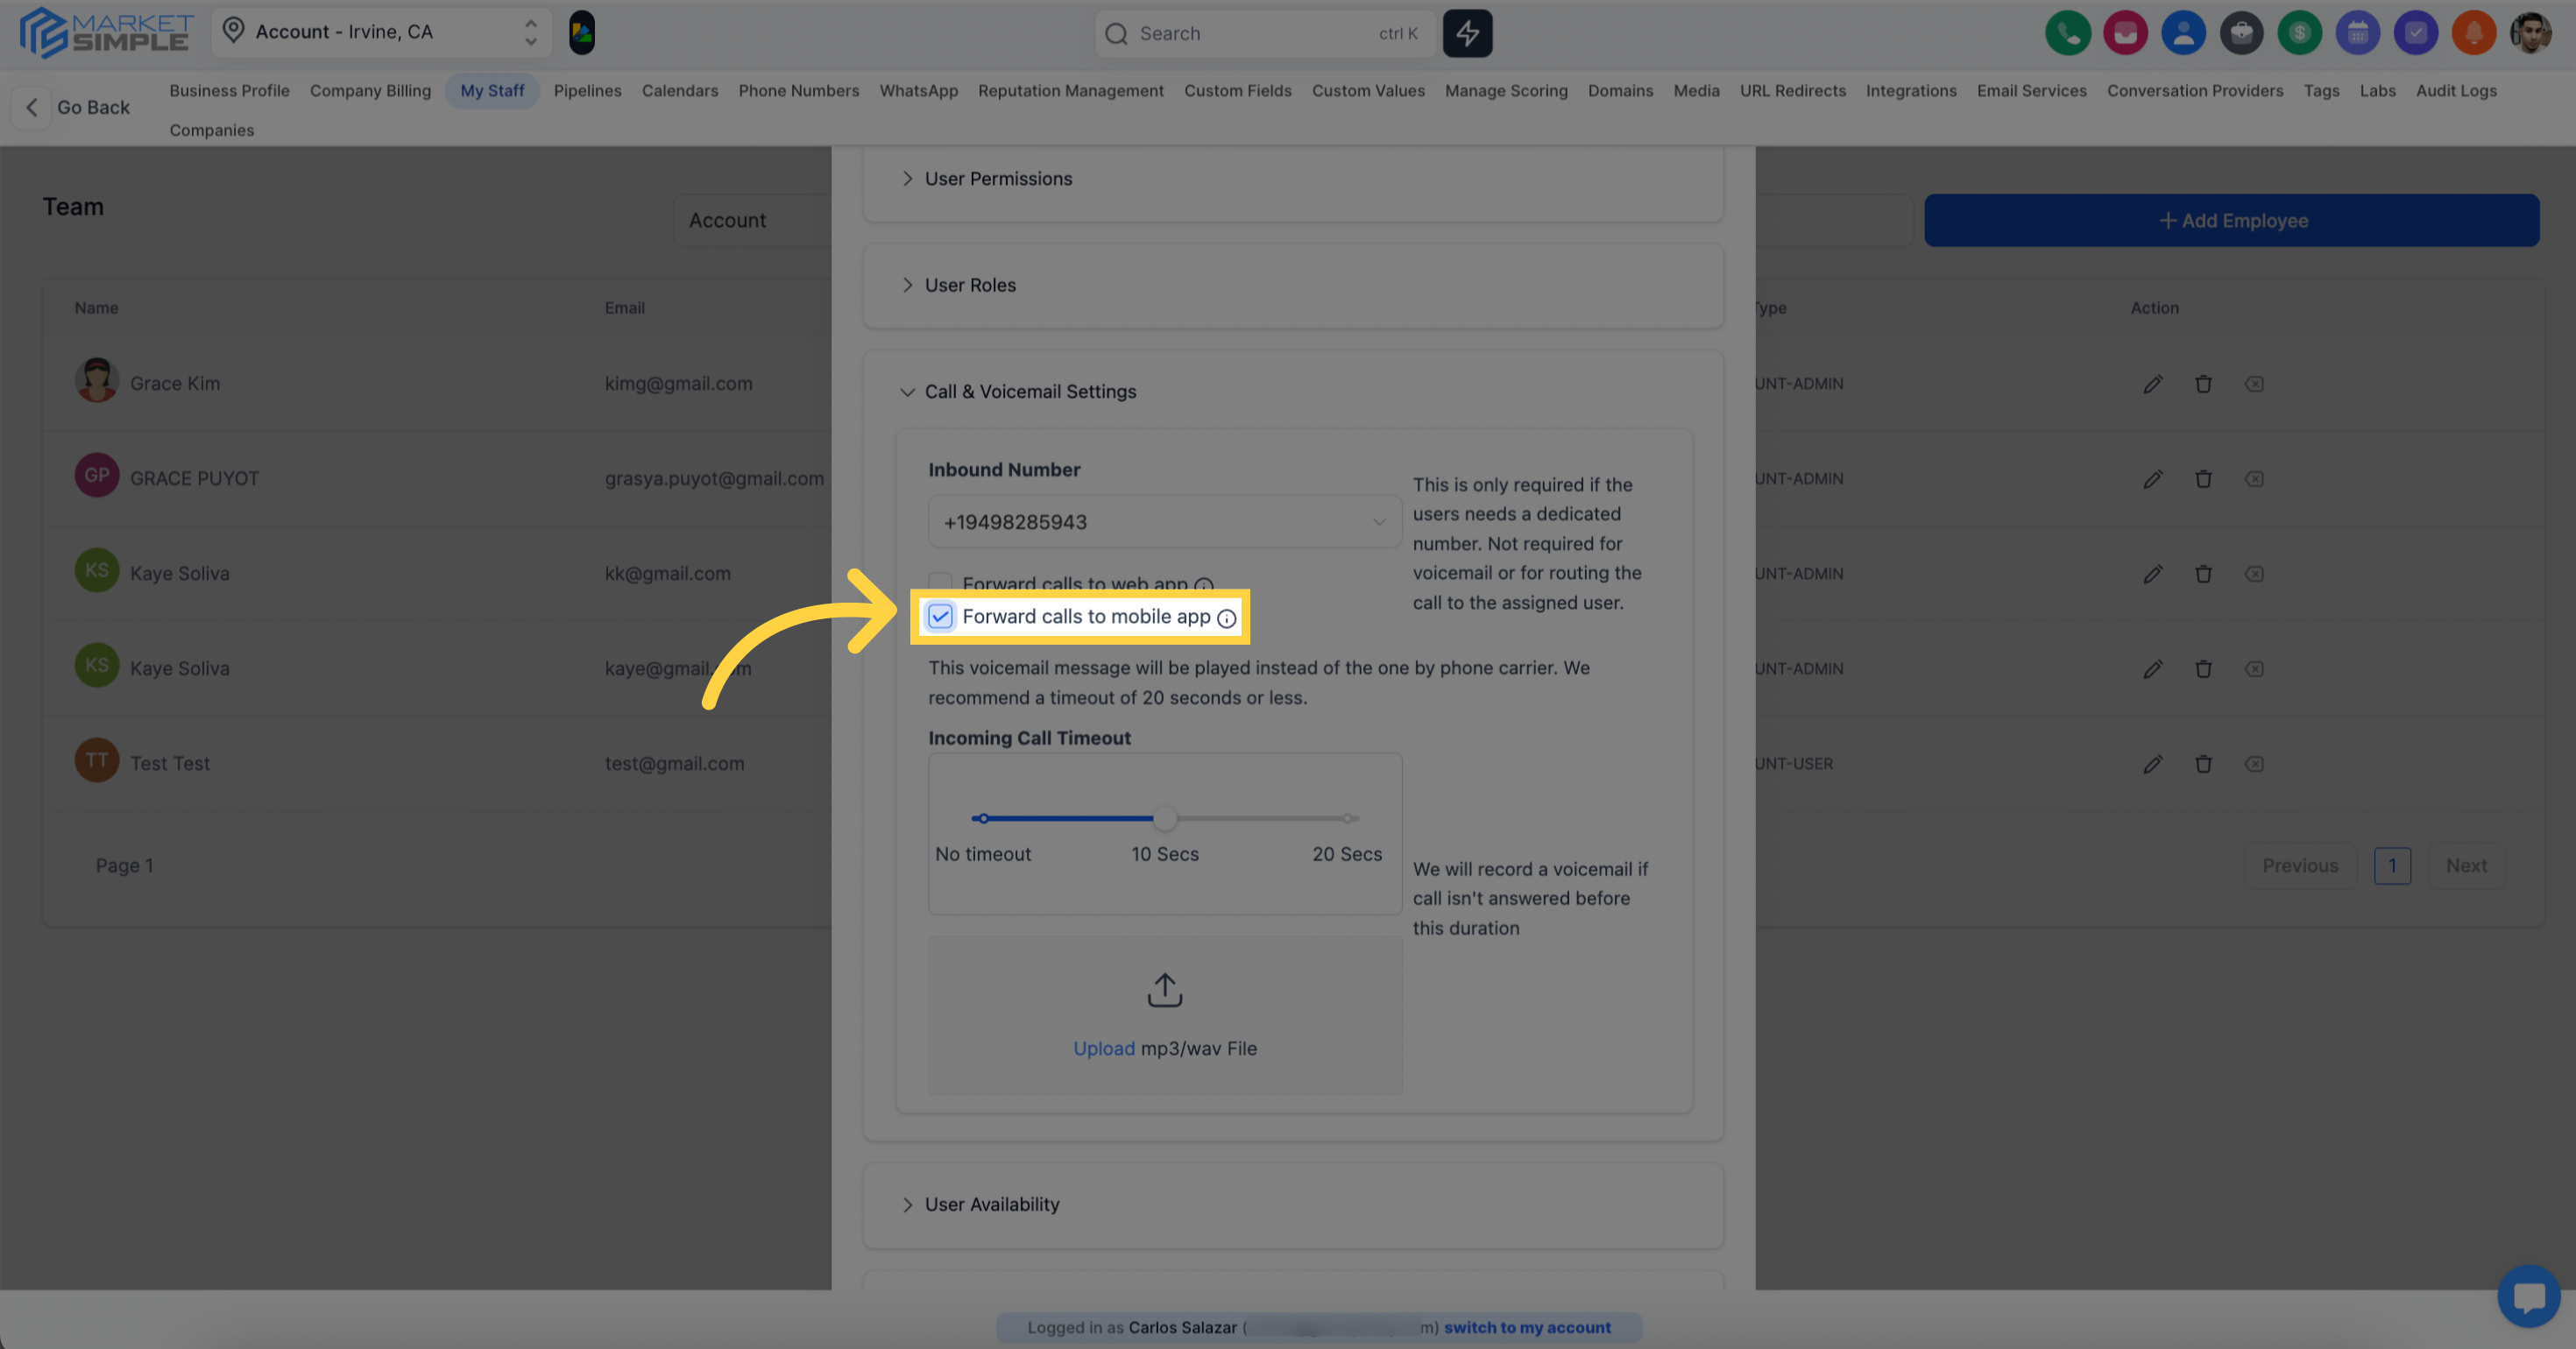
When selected, Calls will be routed to your mobile app (Supported in both IOS and Android)
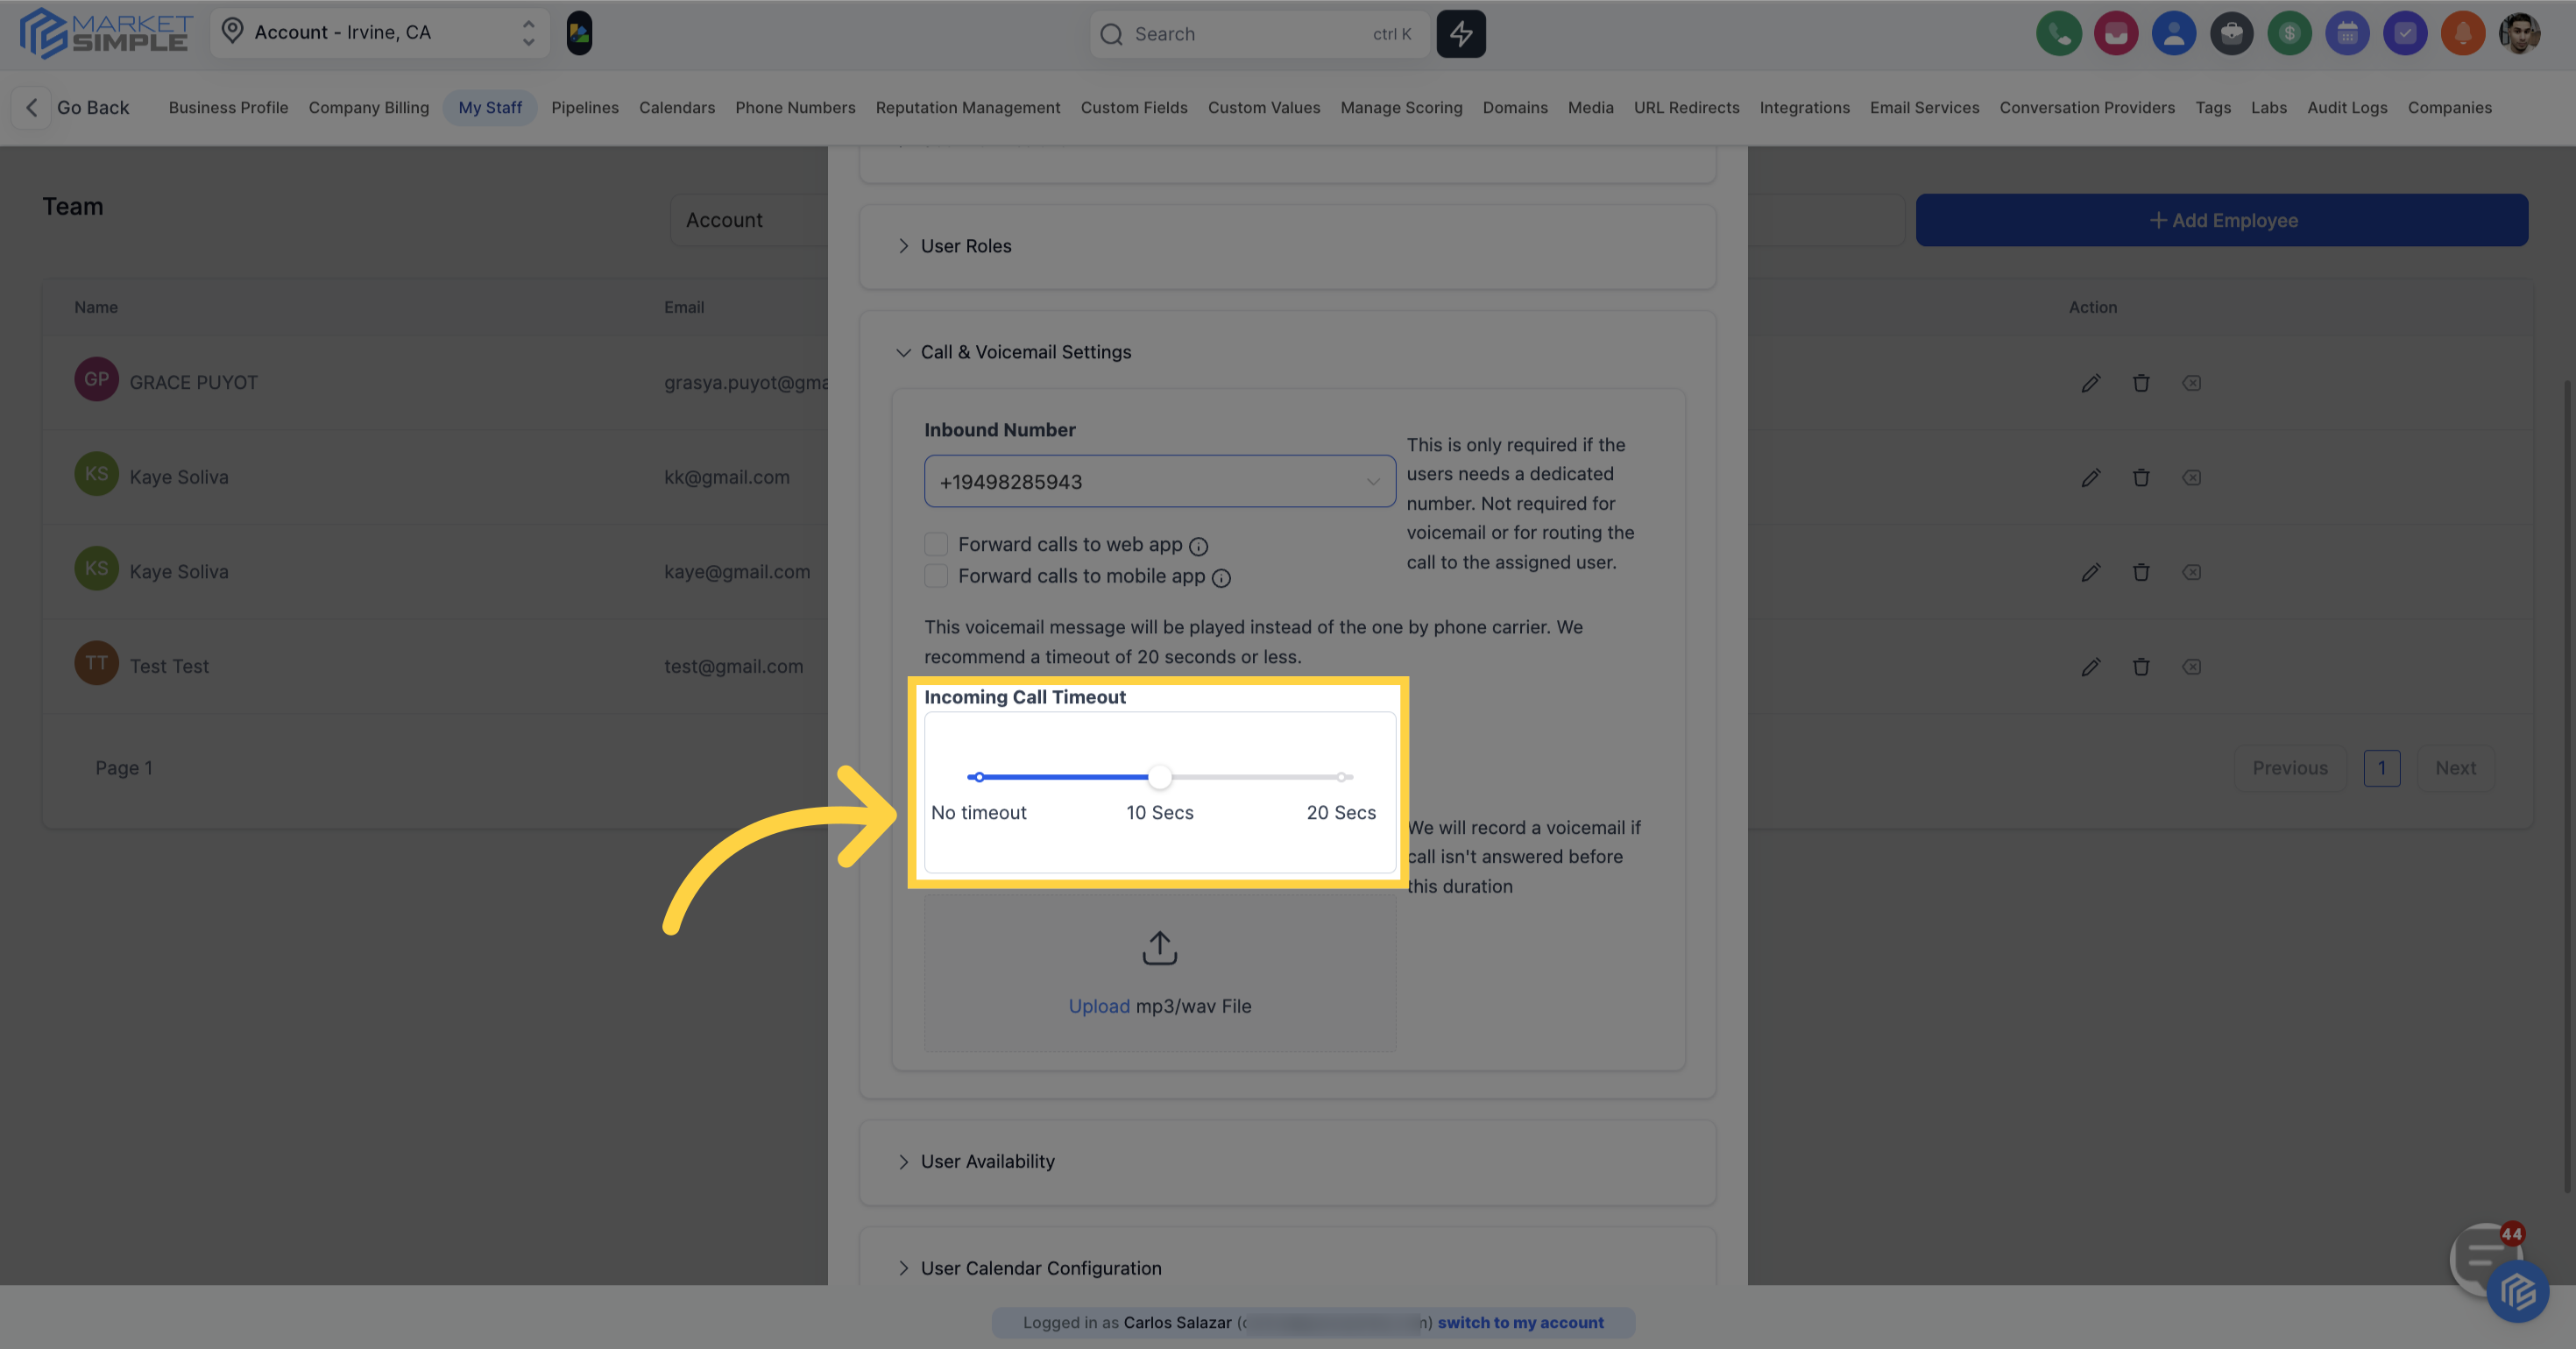
You can set the call time-out limit
This voicemail message will play instead of the one provided by your phone carrier. For the best results, we suggest setting a timeout of 20 seconds or less.

We'll record a voicemail message if the call isn't answered within this specified time duration.
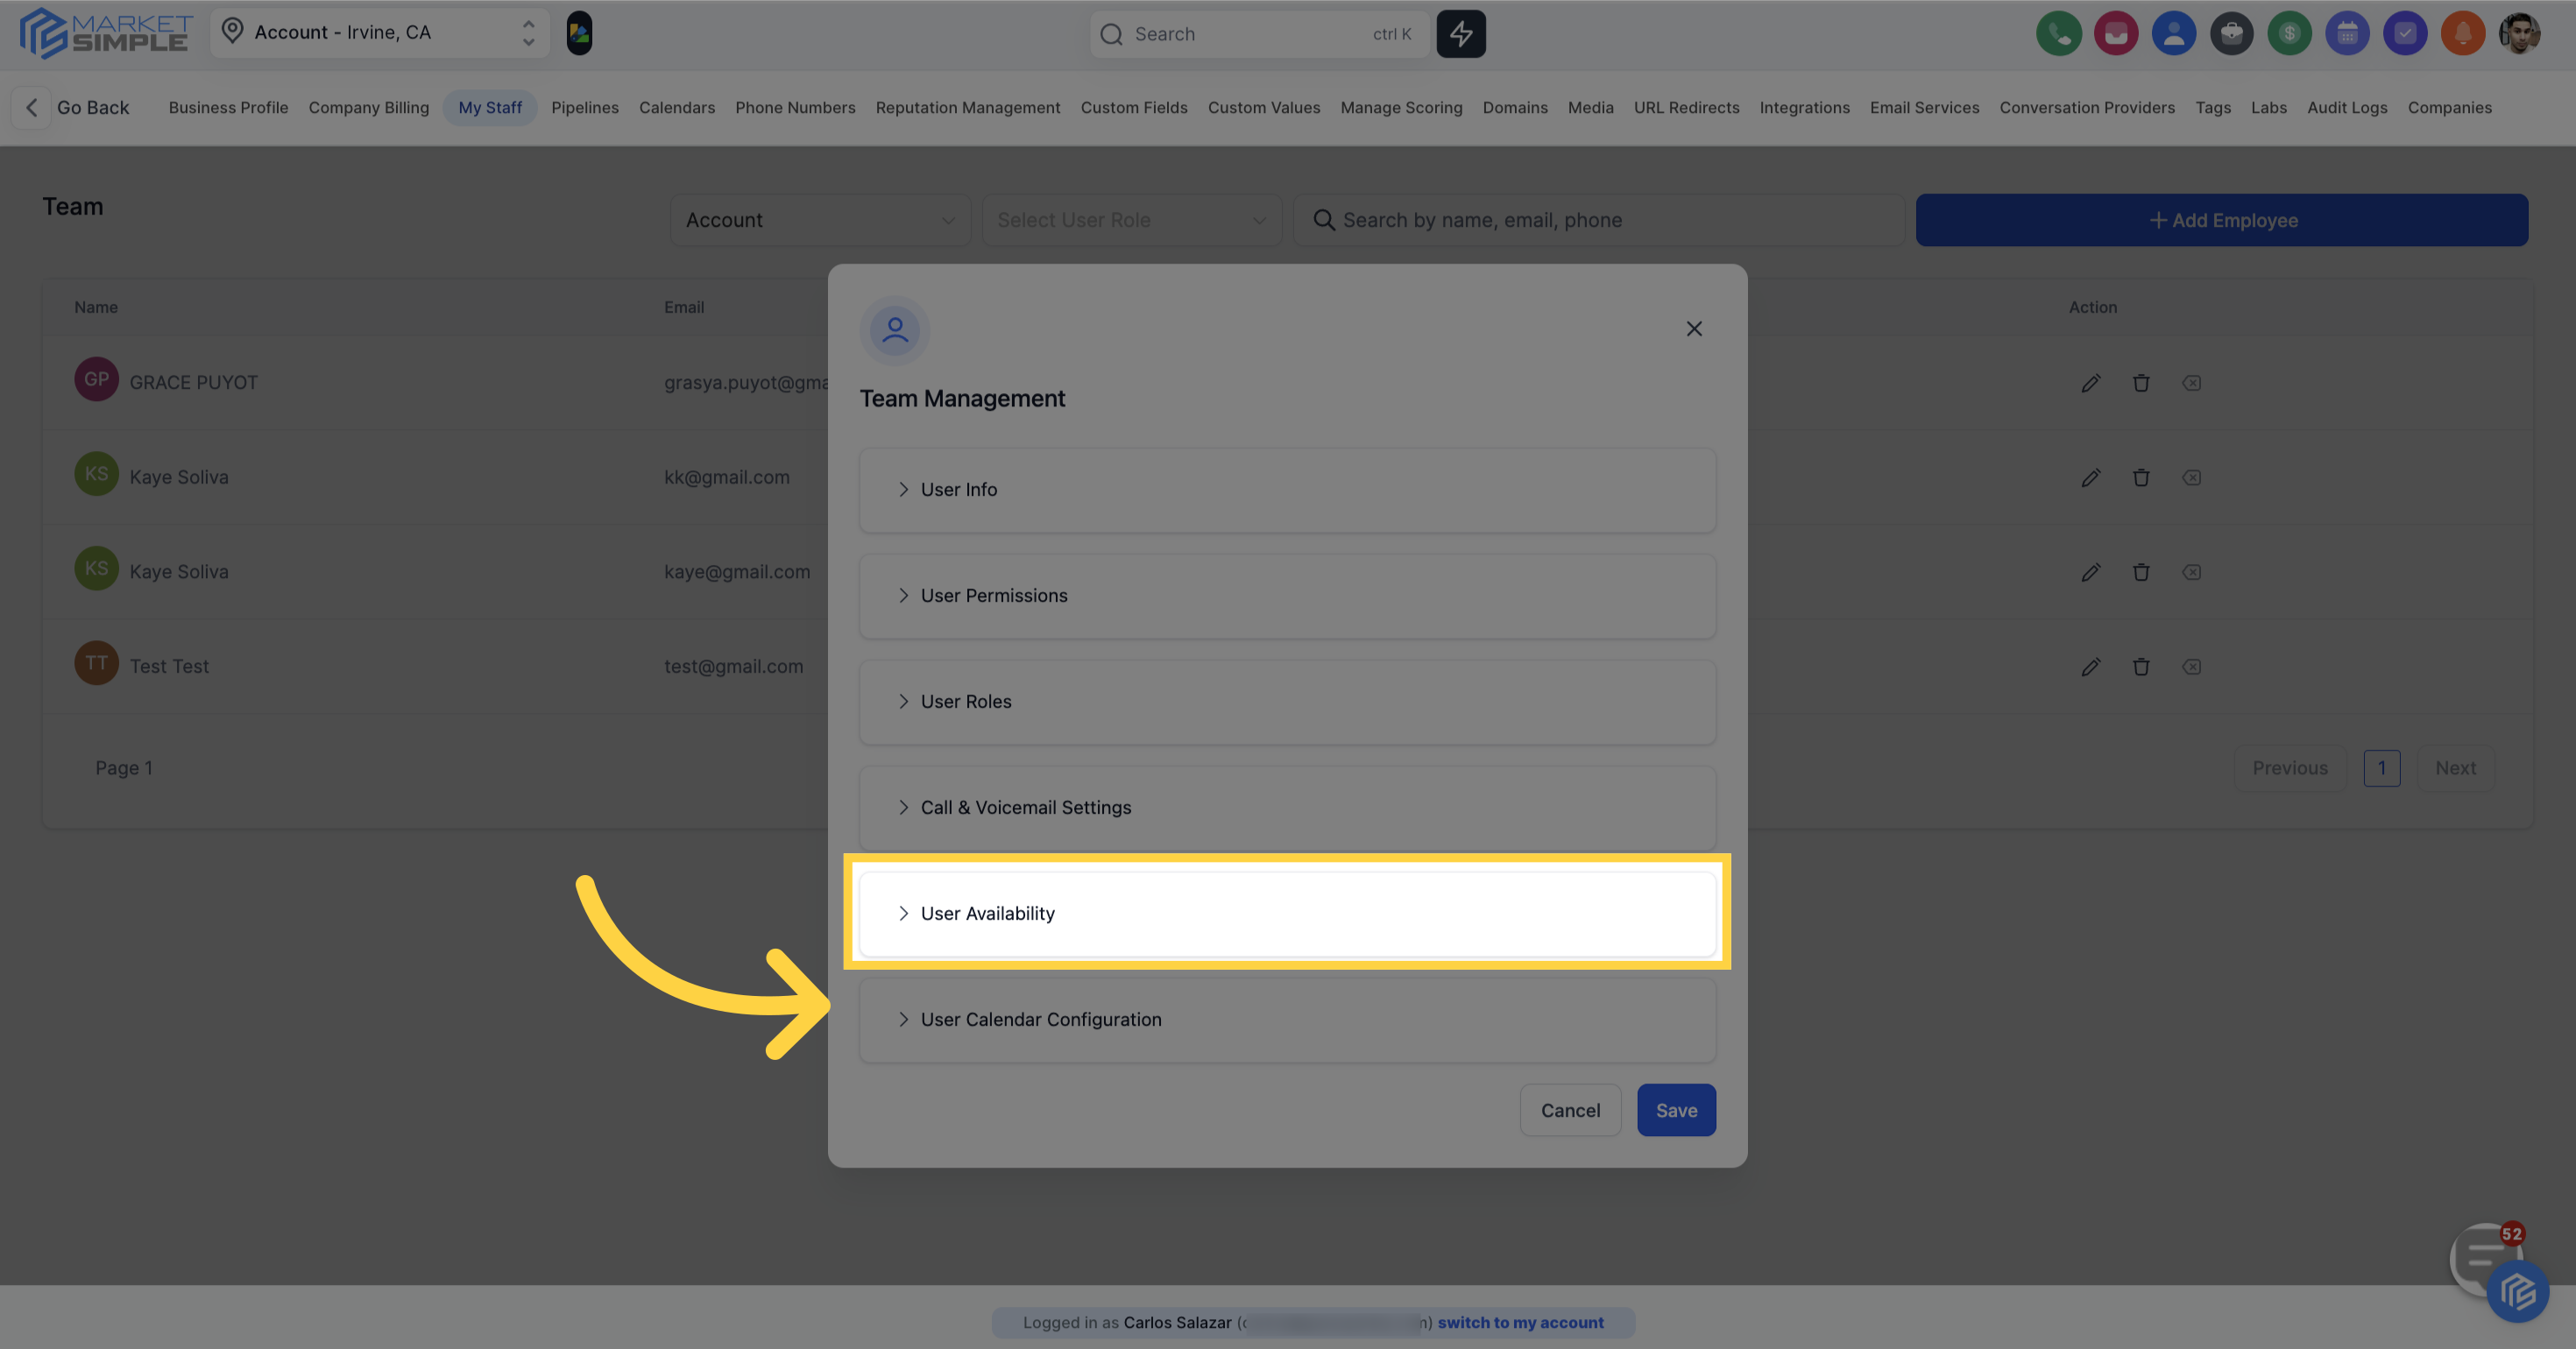
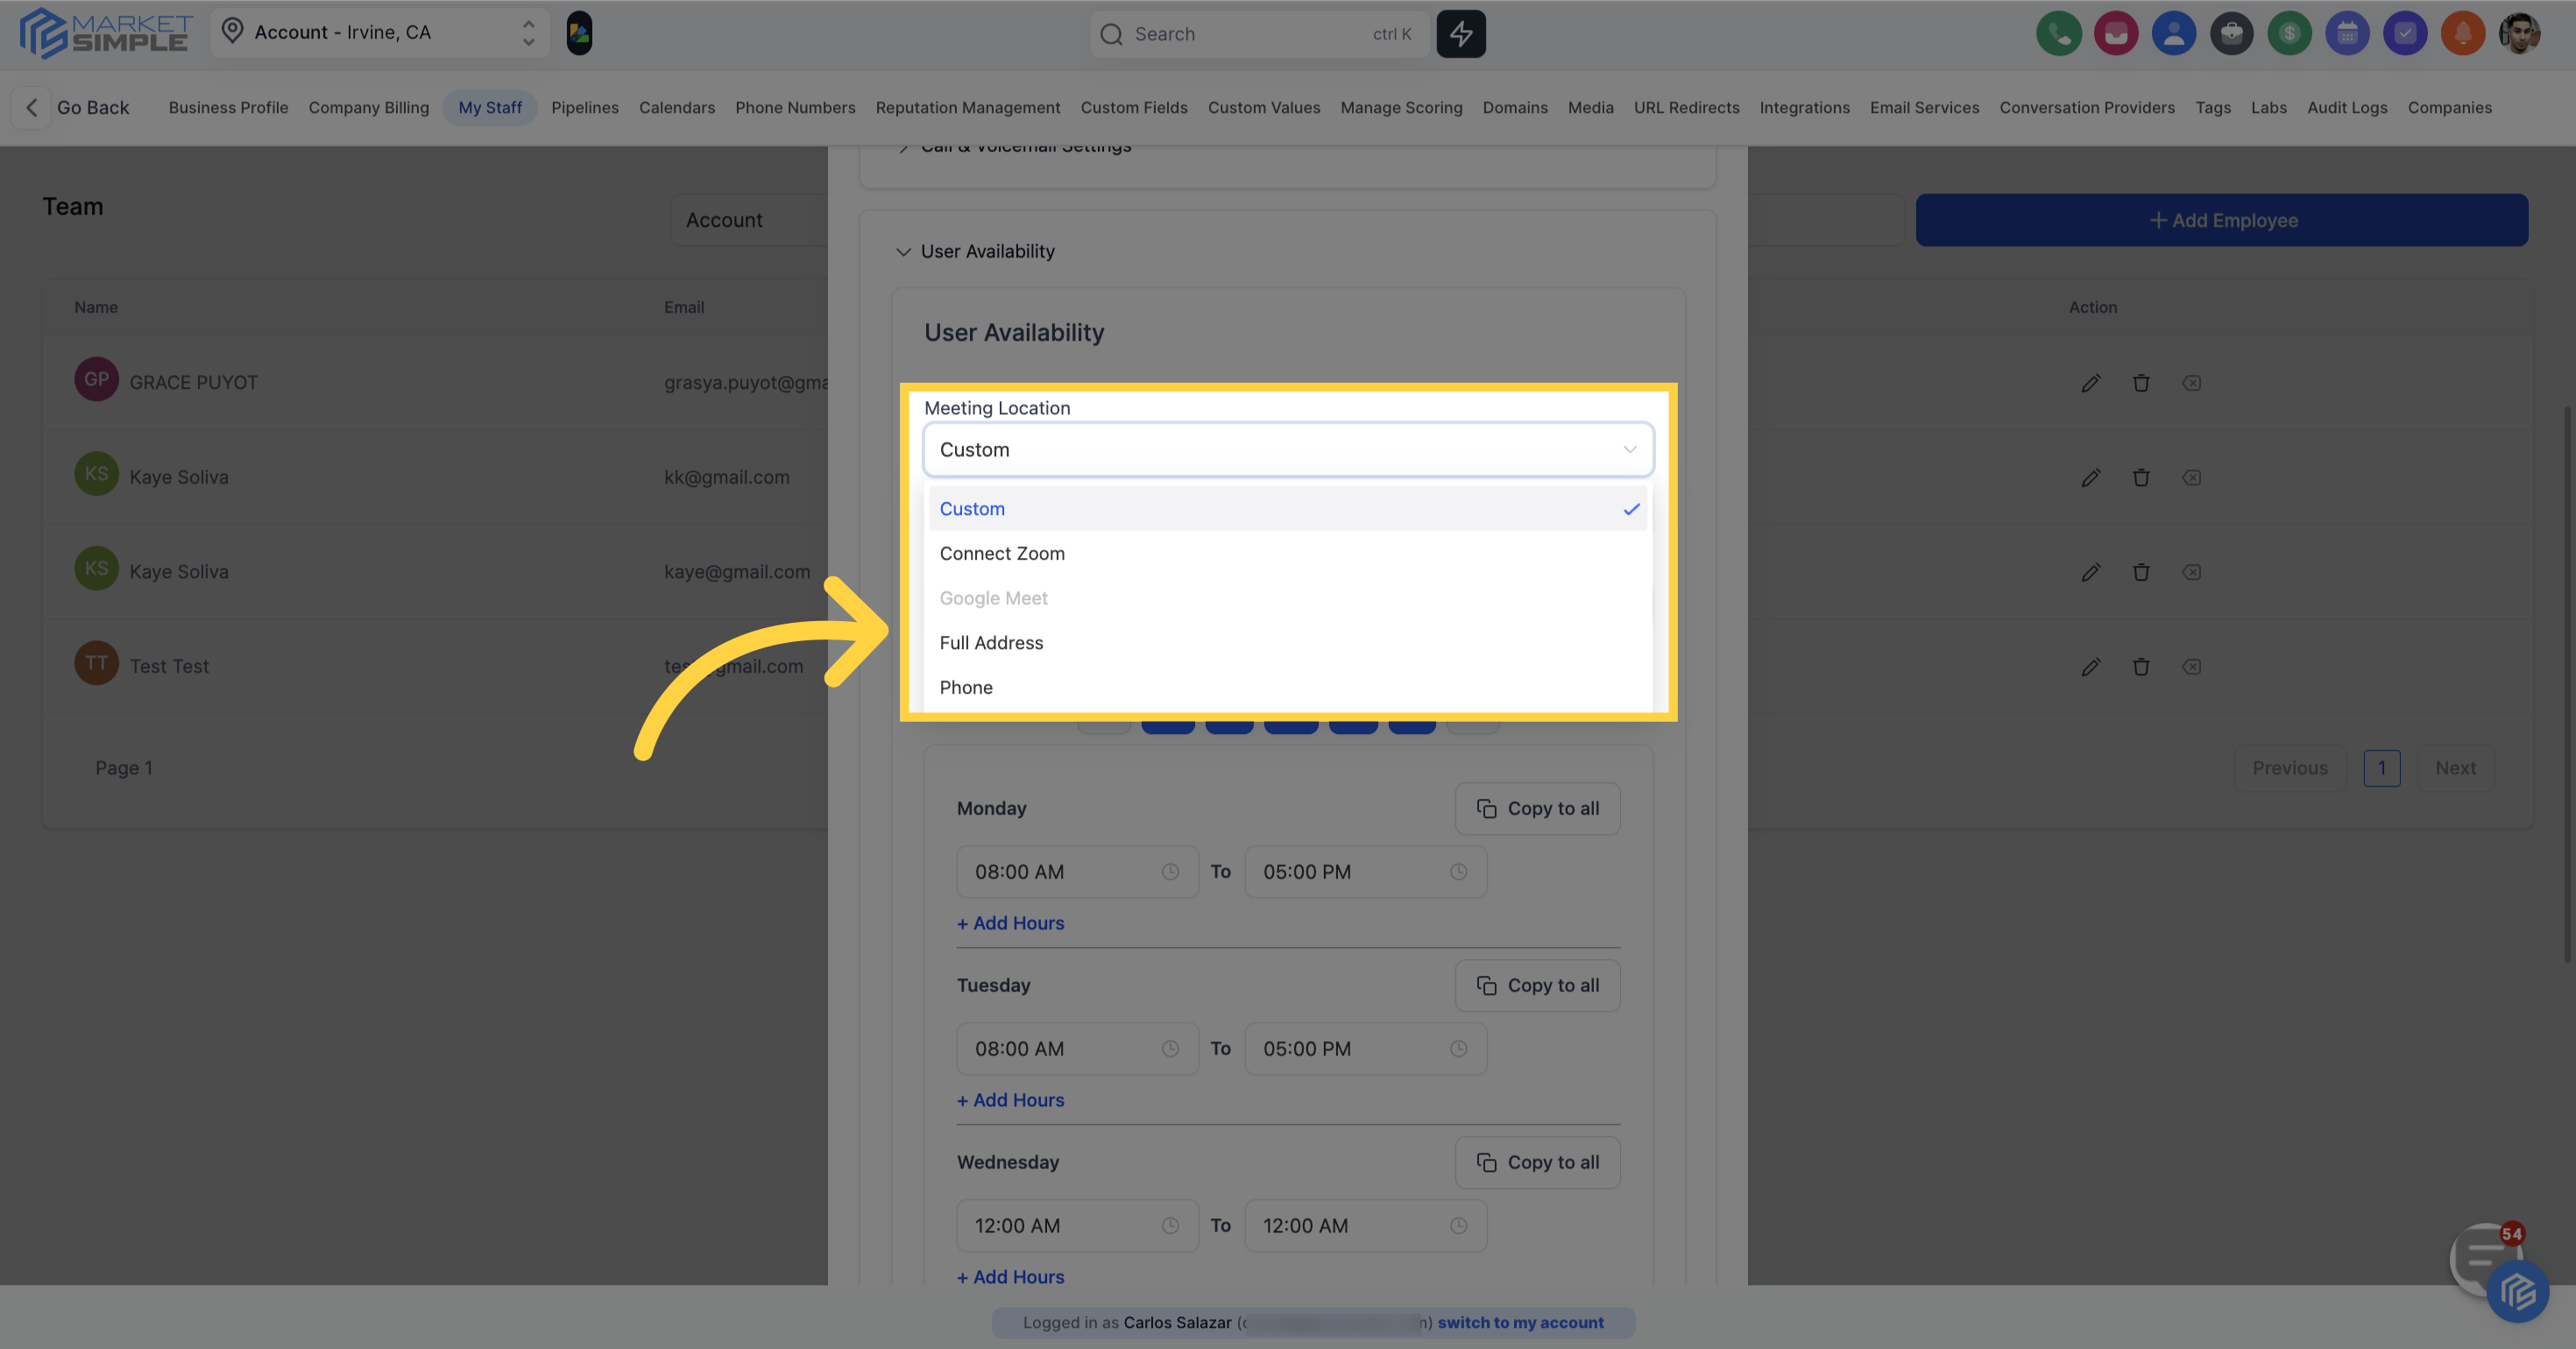
In the User Availability section, you have the option to establish your team members' calendar availability for meetings.
Choose a meeting location from the dropdown list
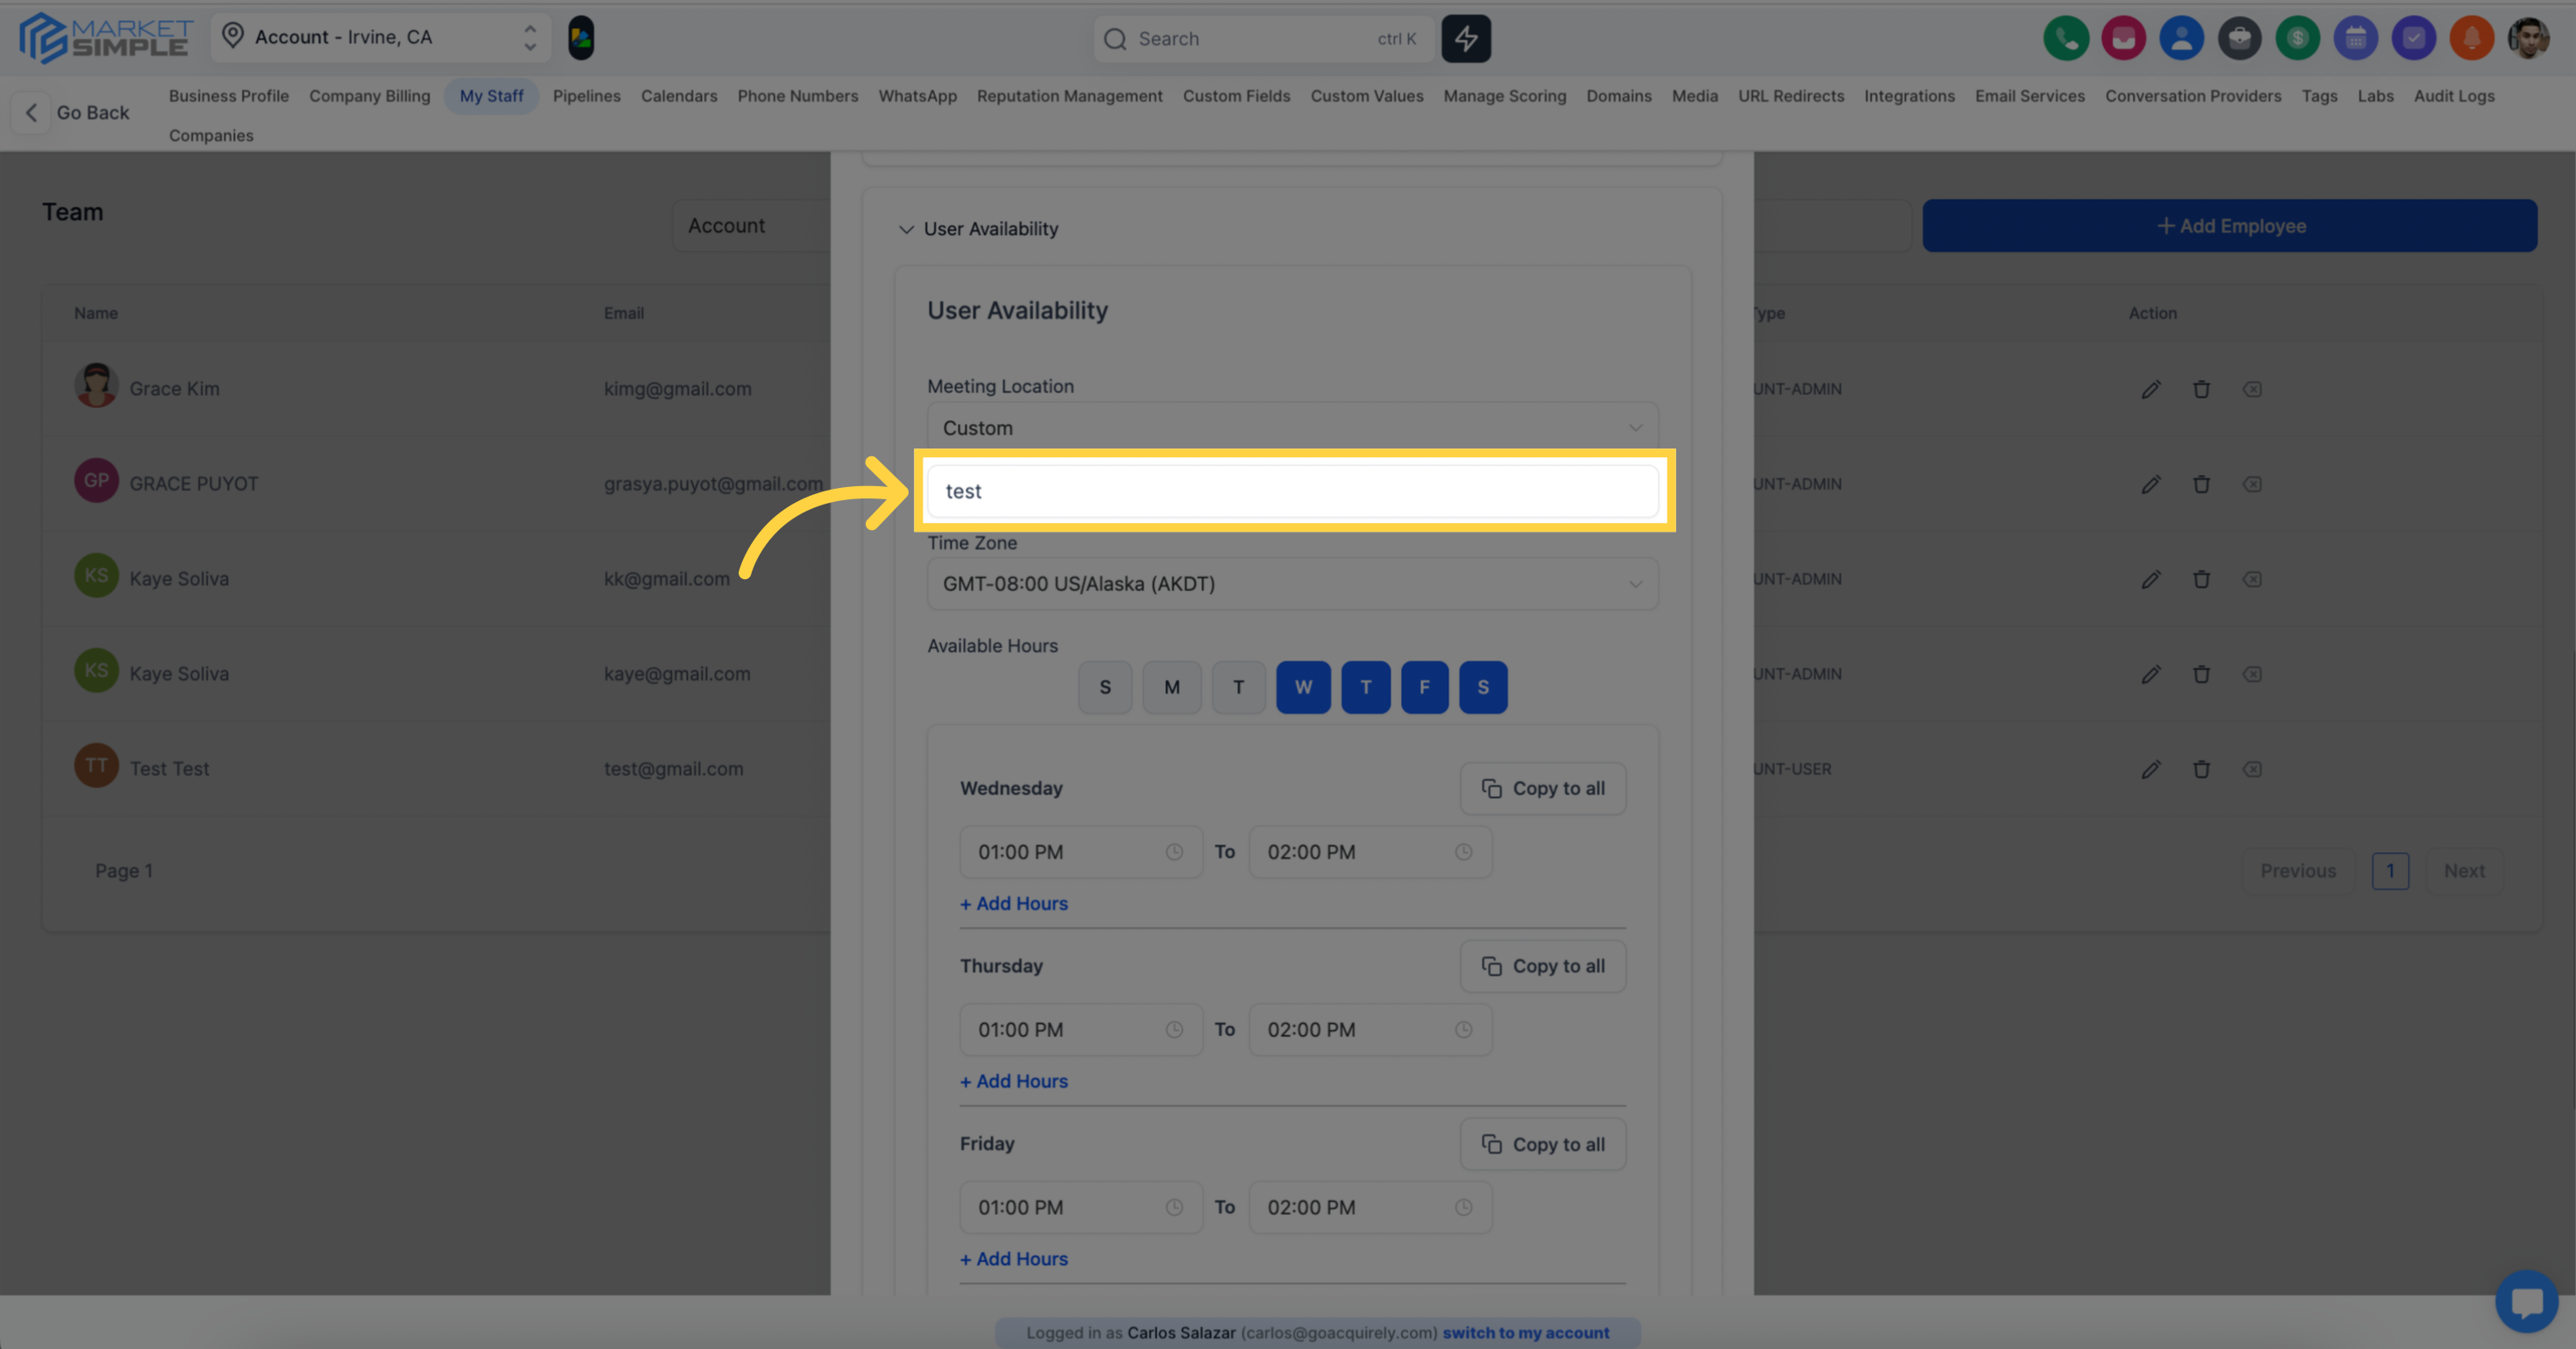
If you select a custom location, type the meeting place in the provided text box.
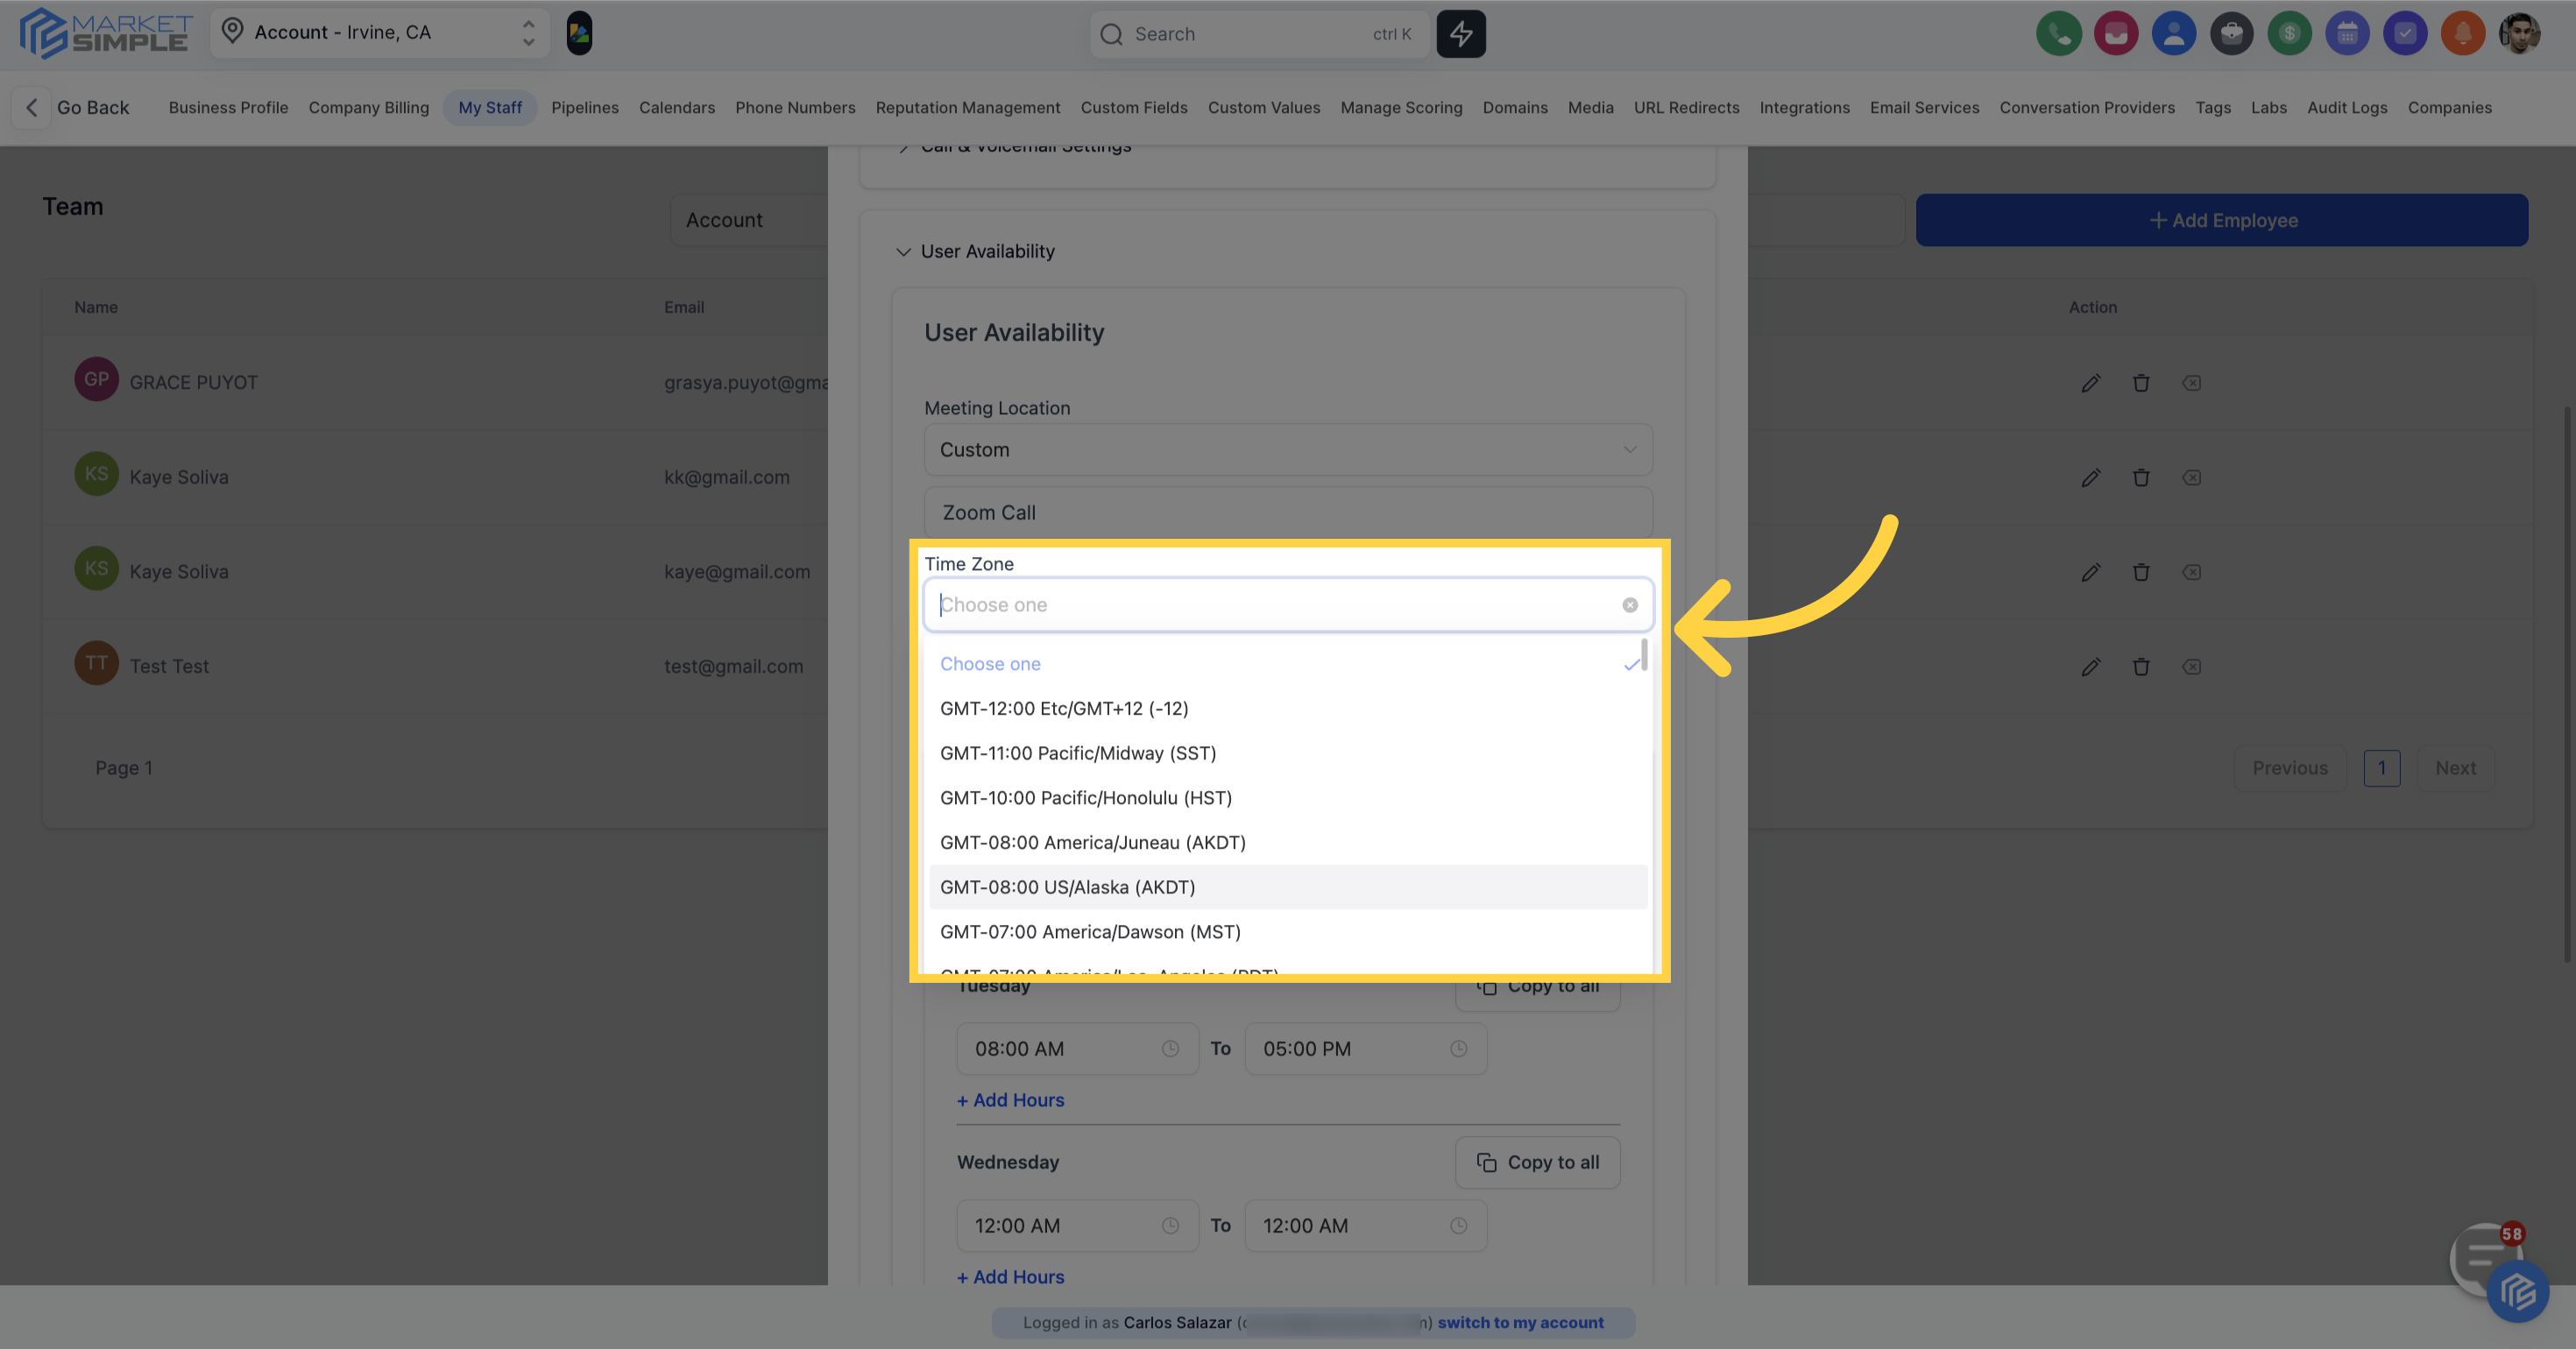
Ensure you select the correct time zone for your team member by choosing from the dropdown
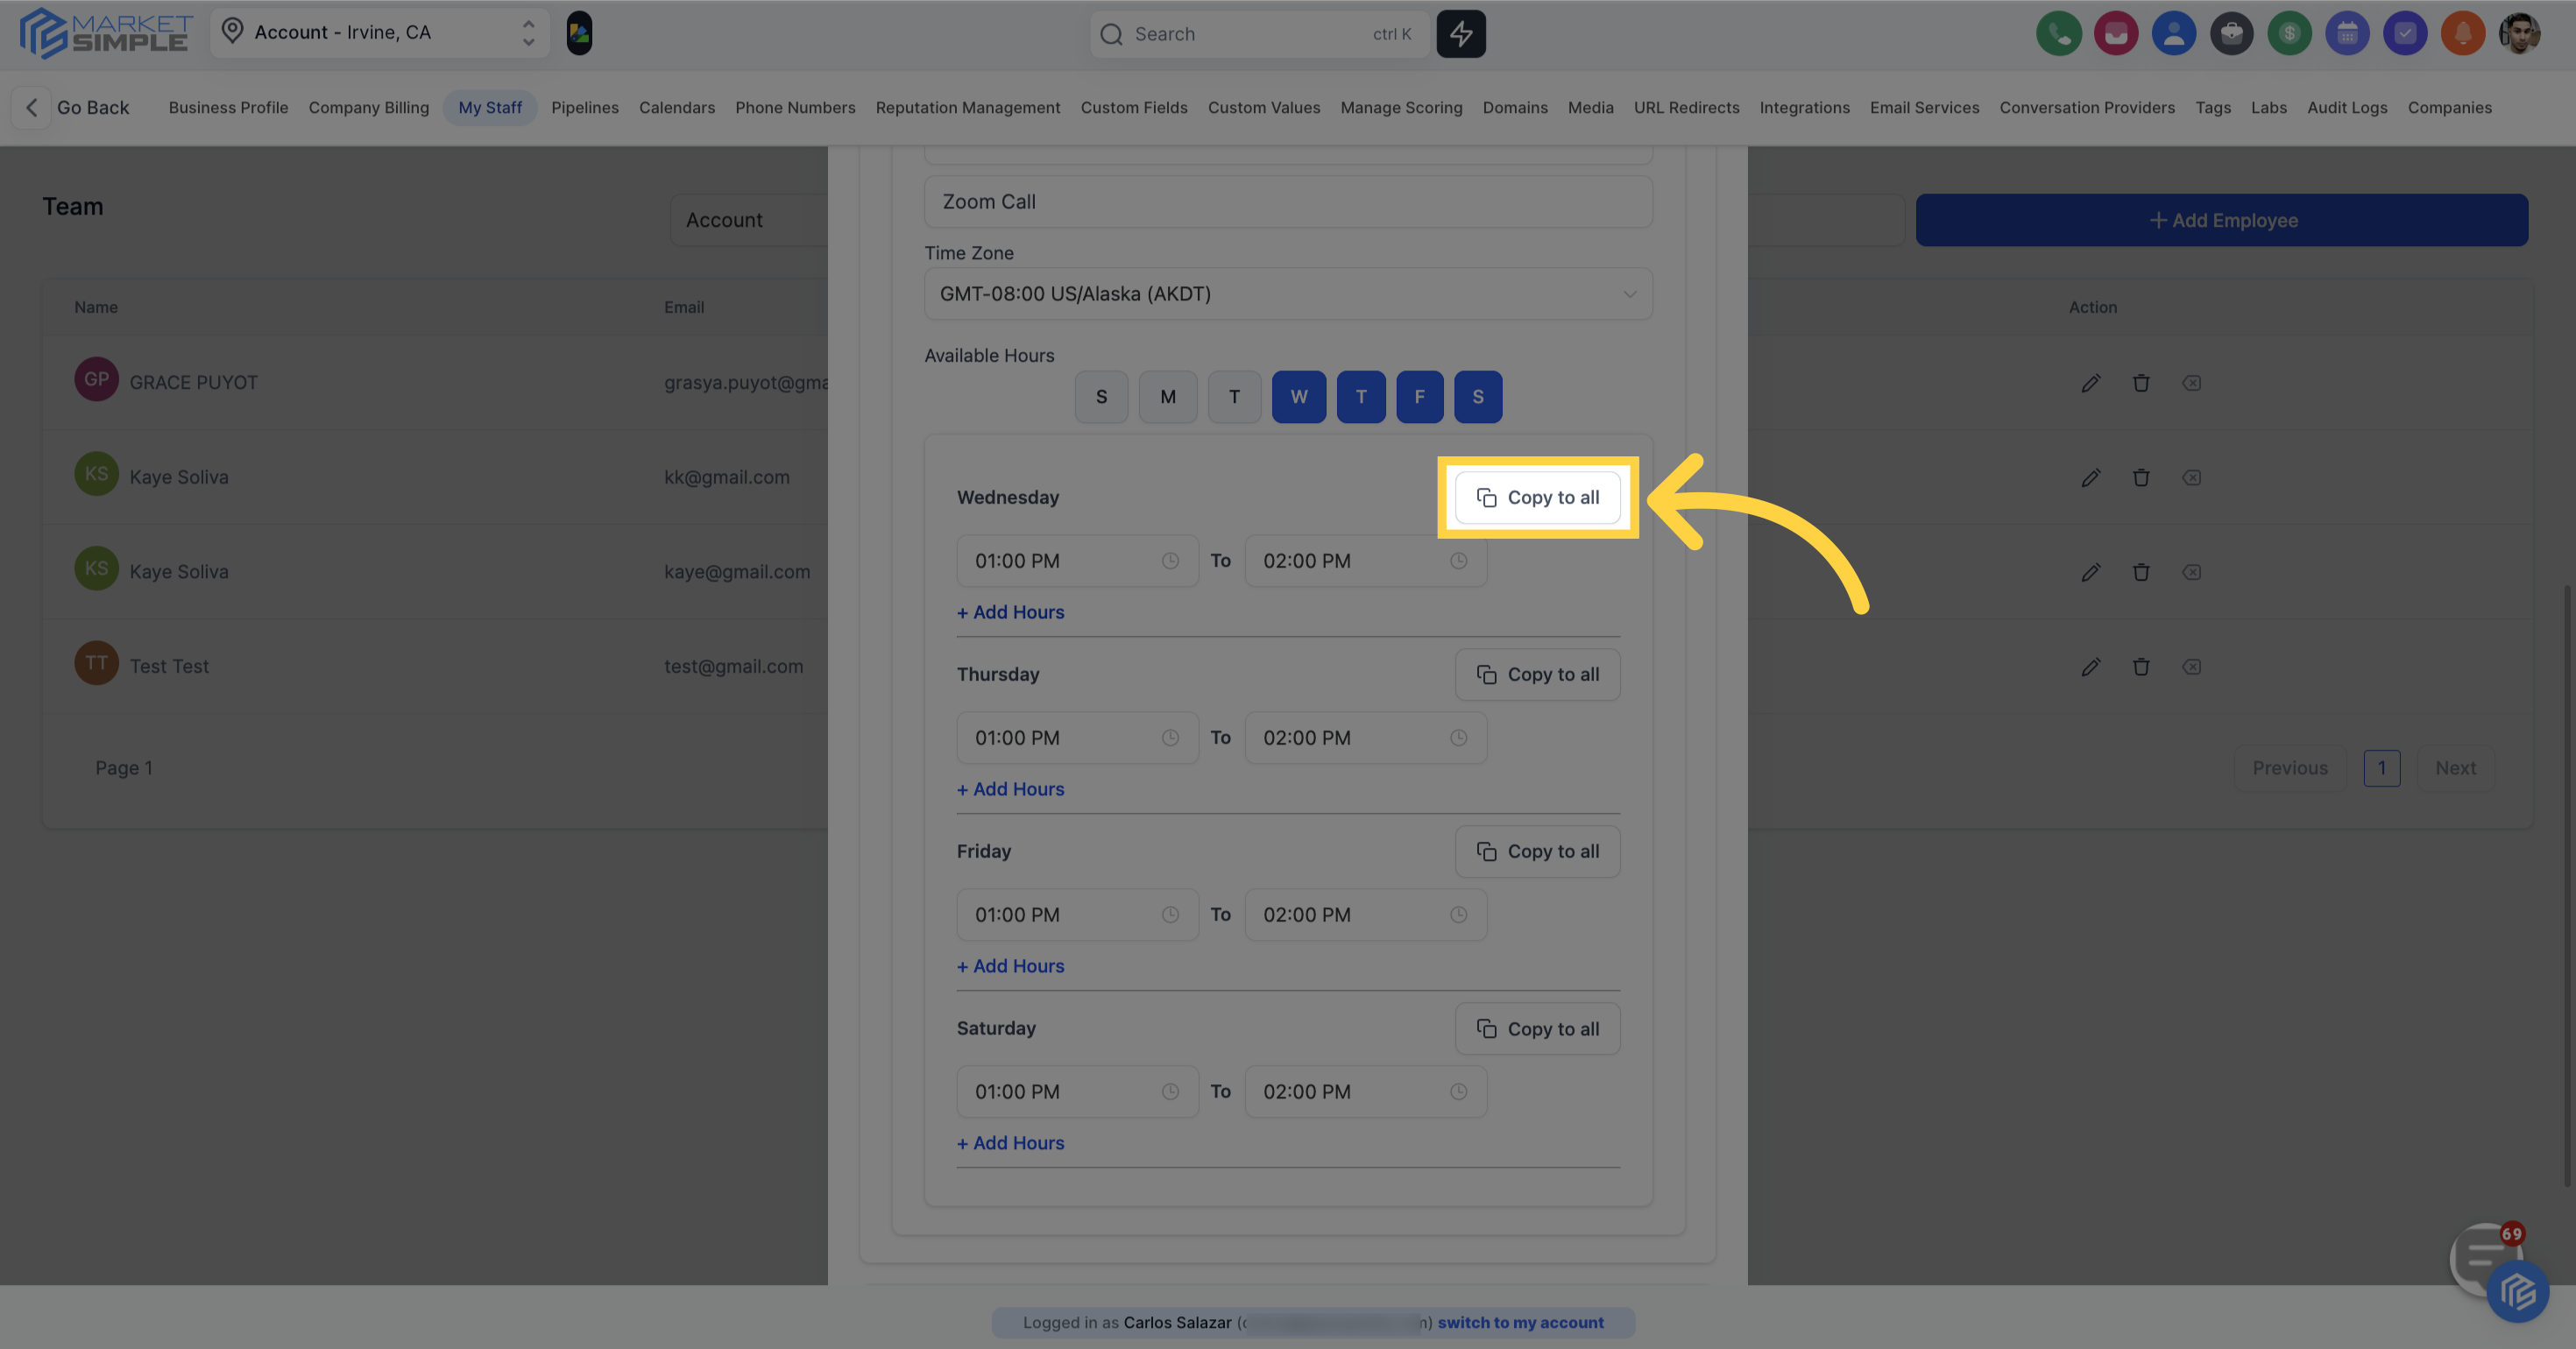
You can customize the days your team member is available by clicking on the days of the week.
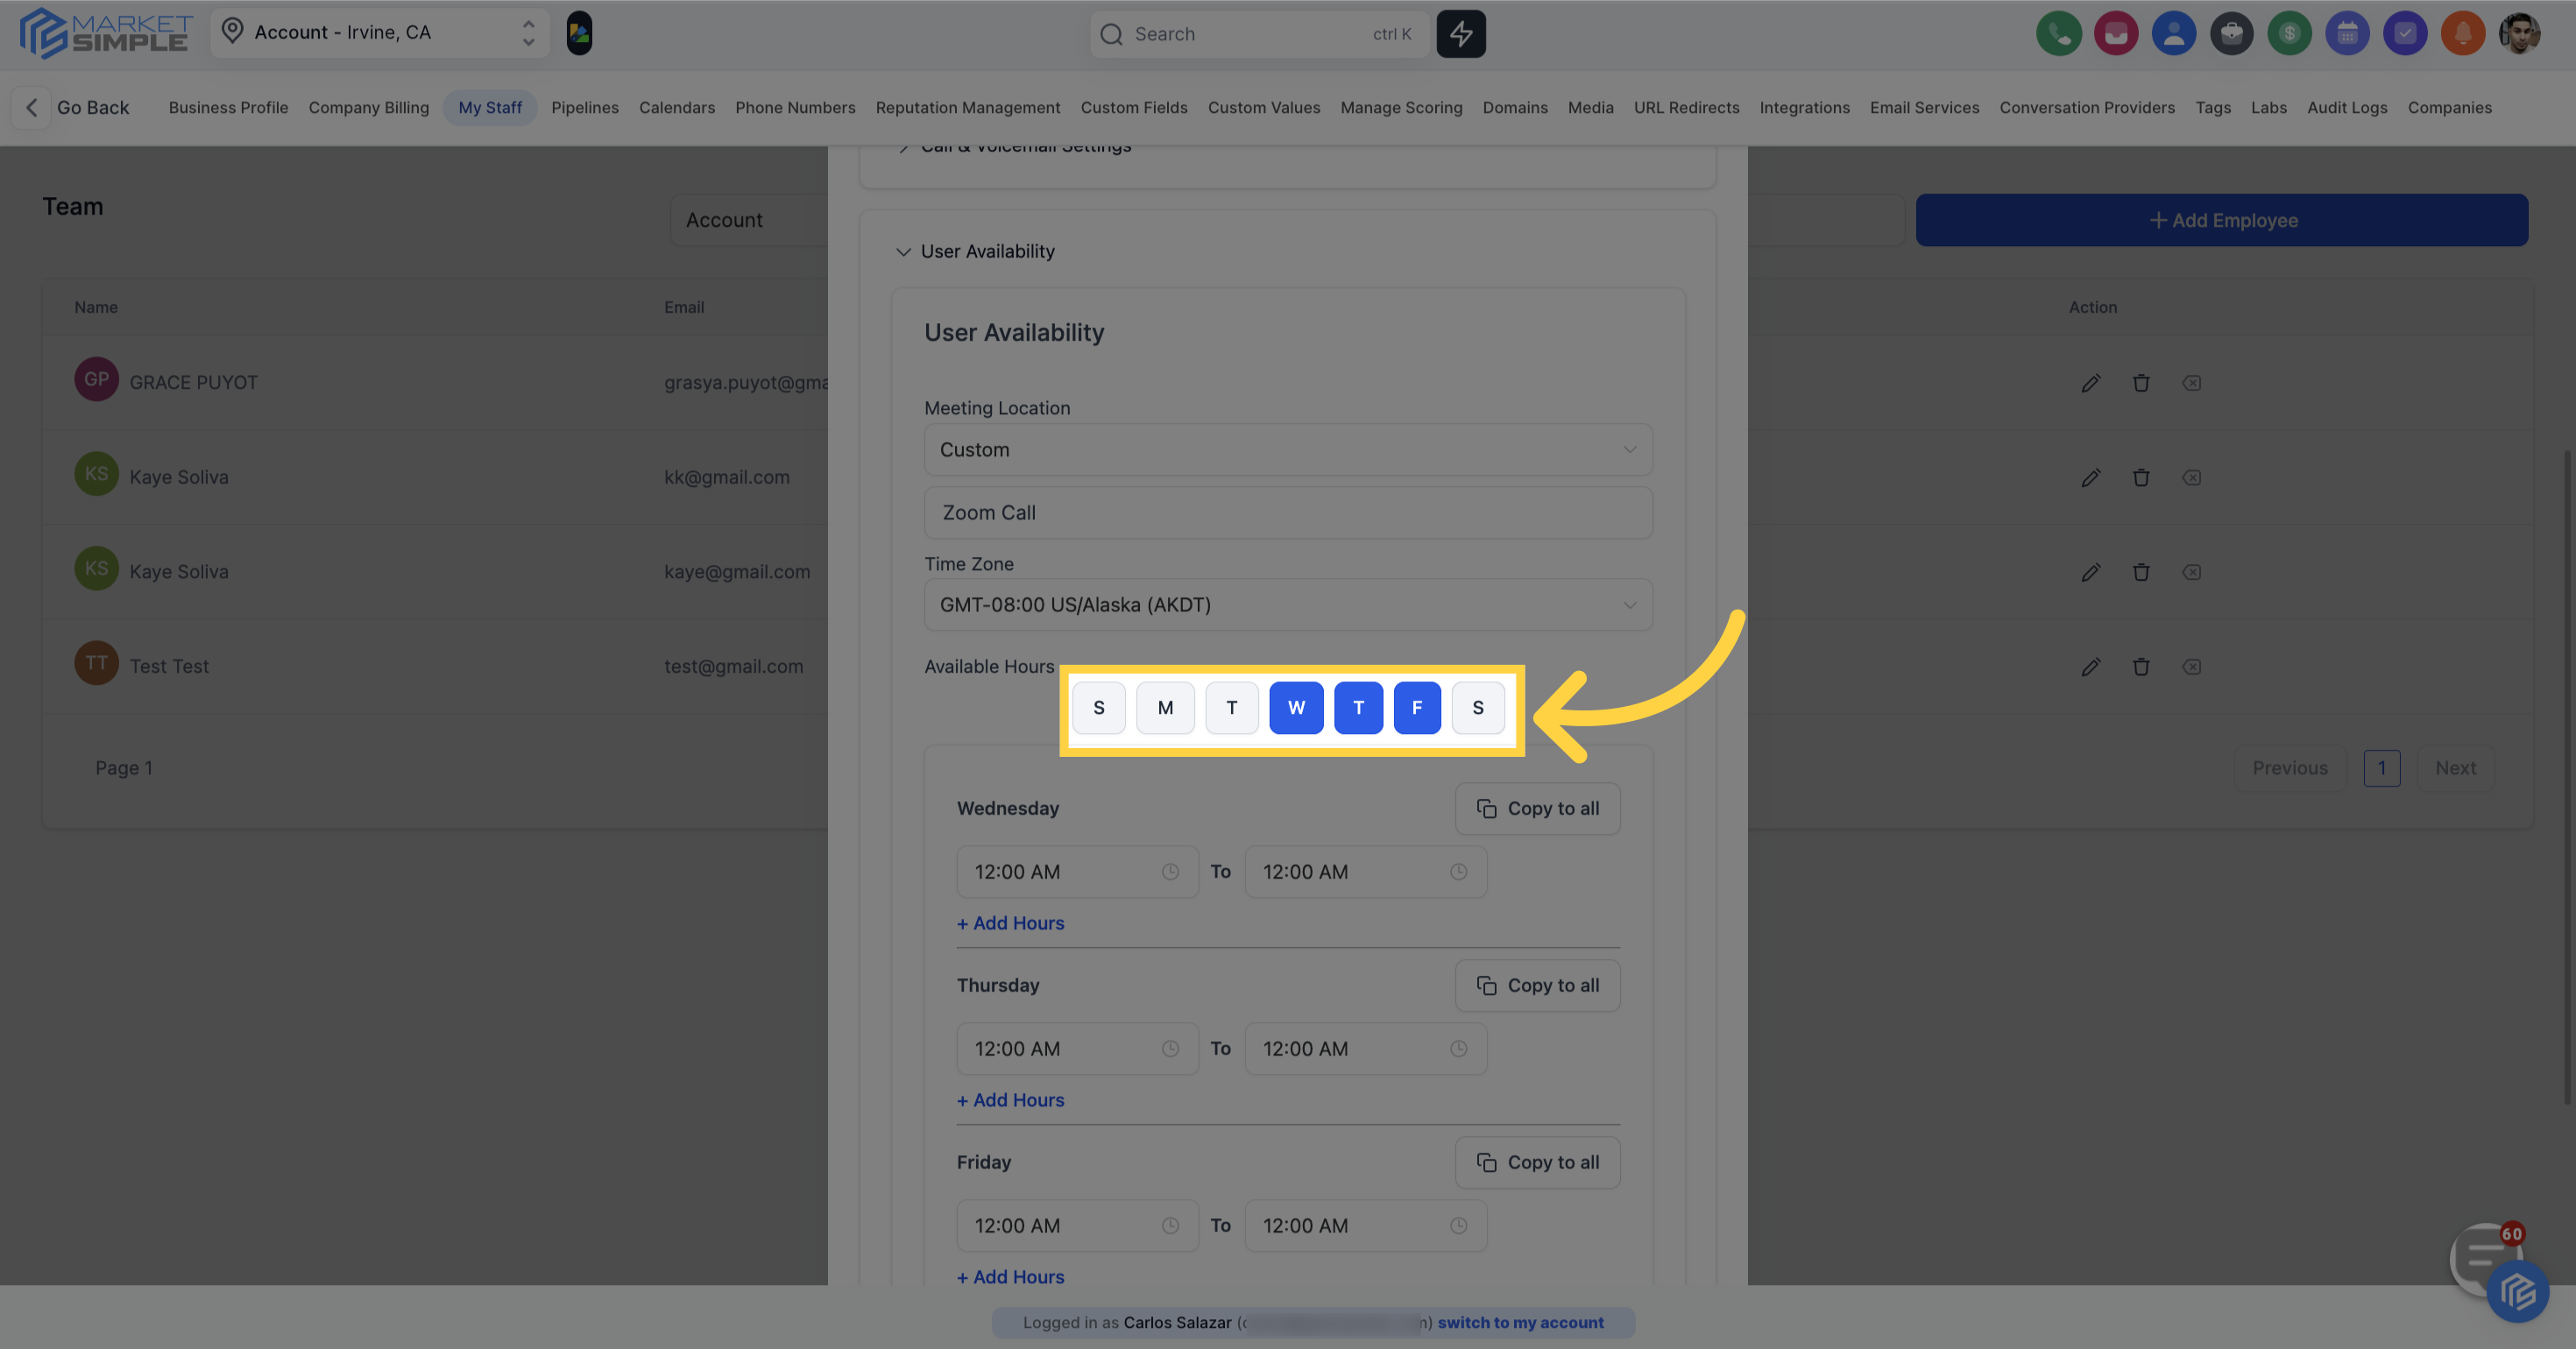
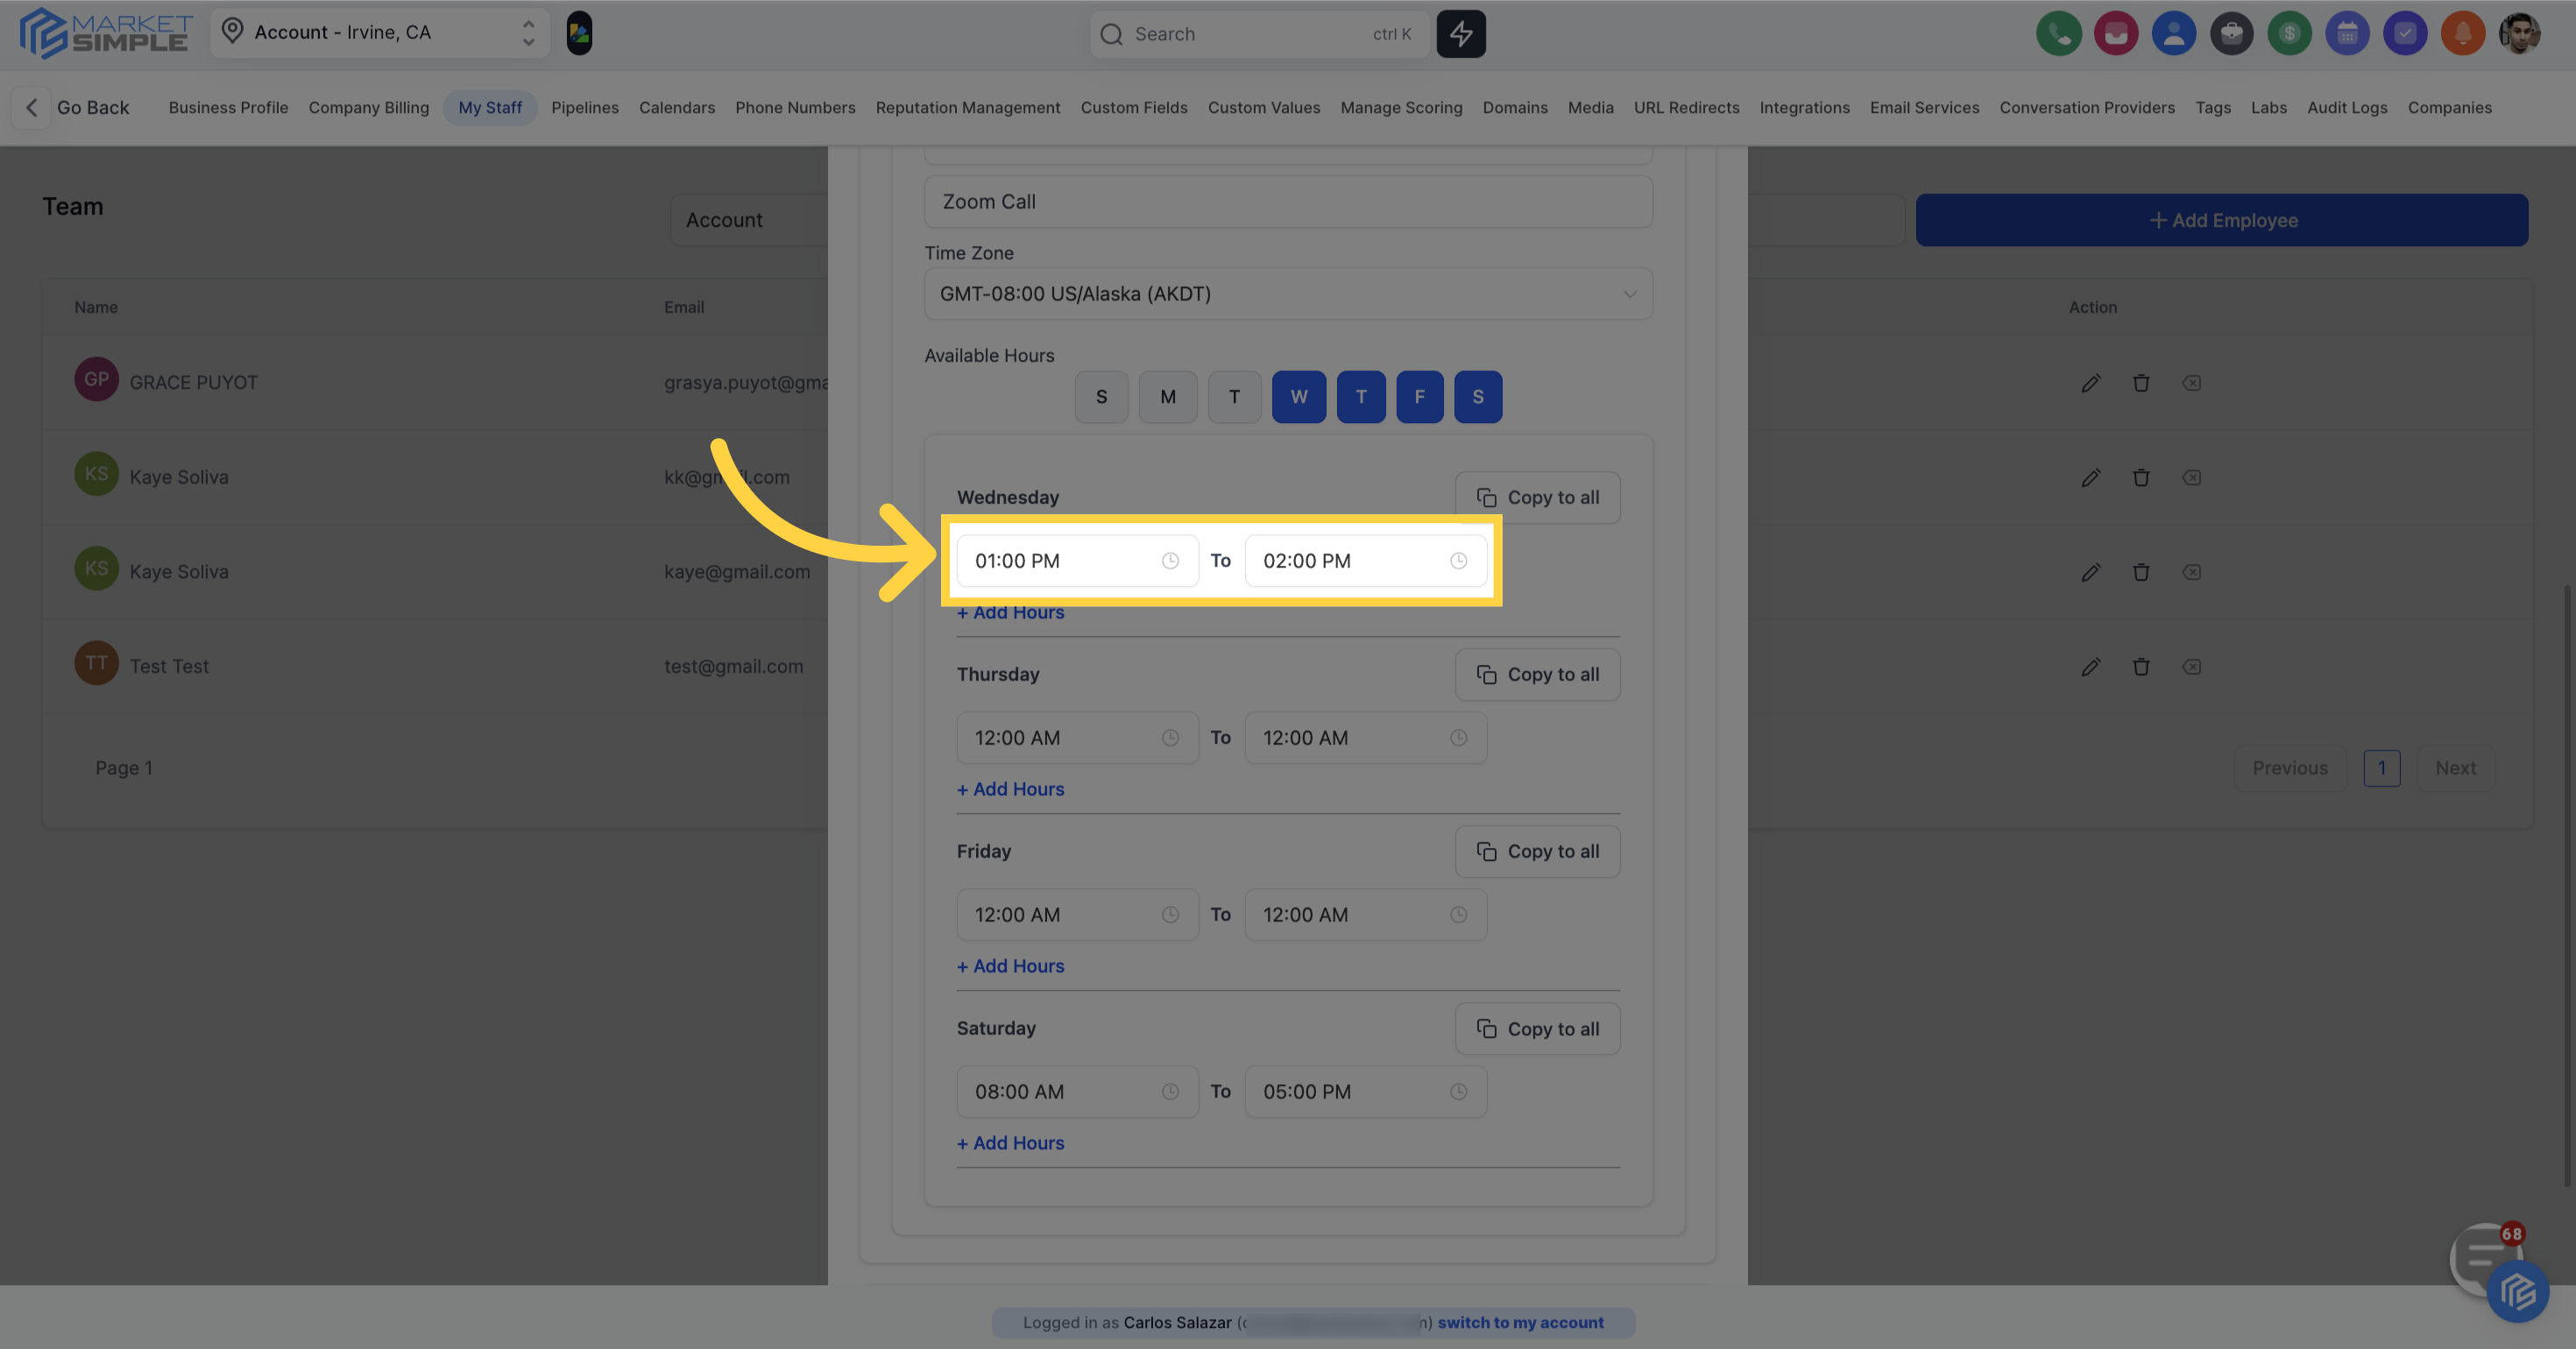
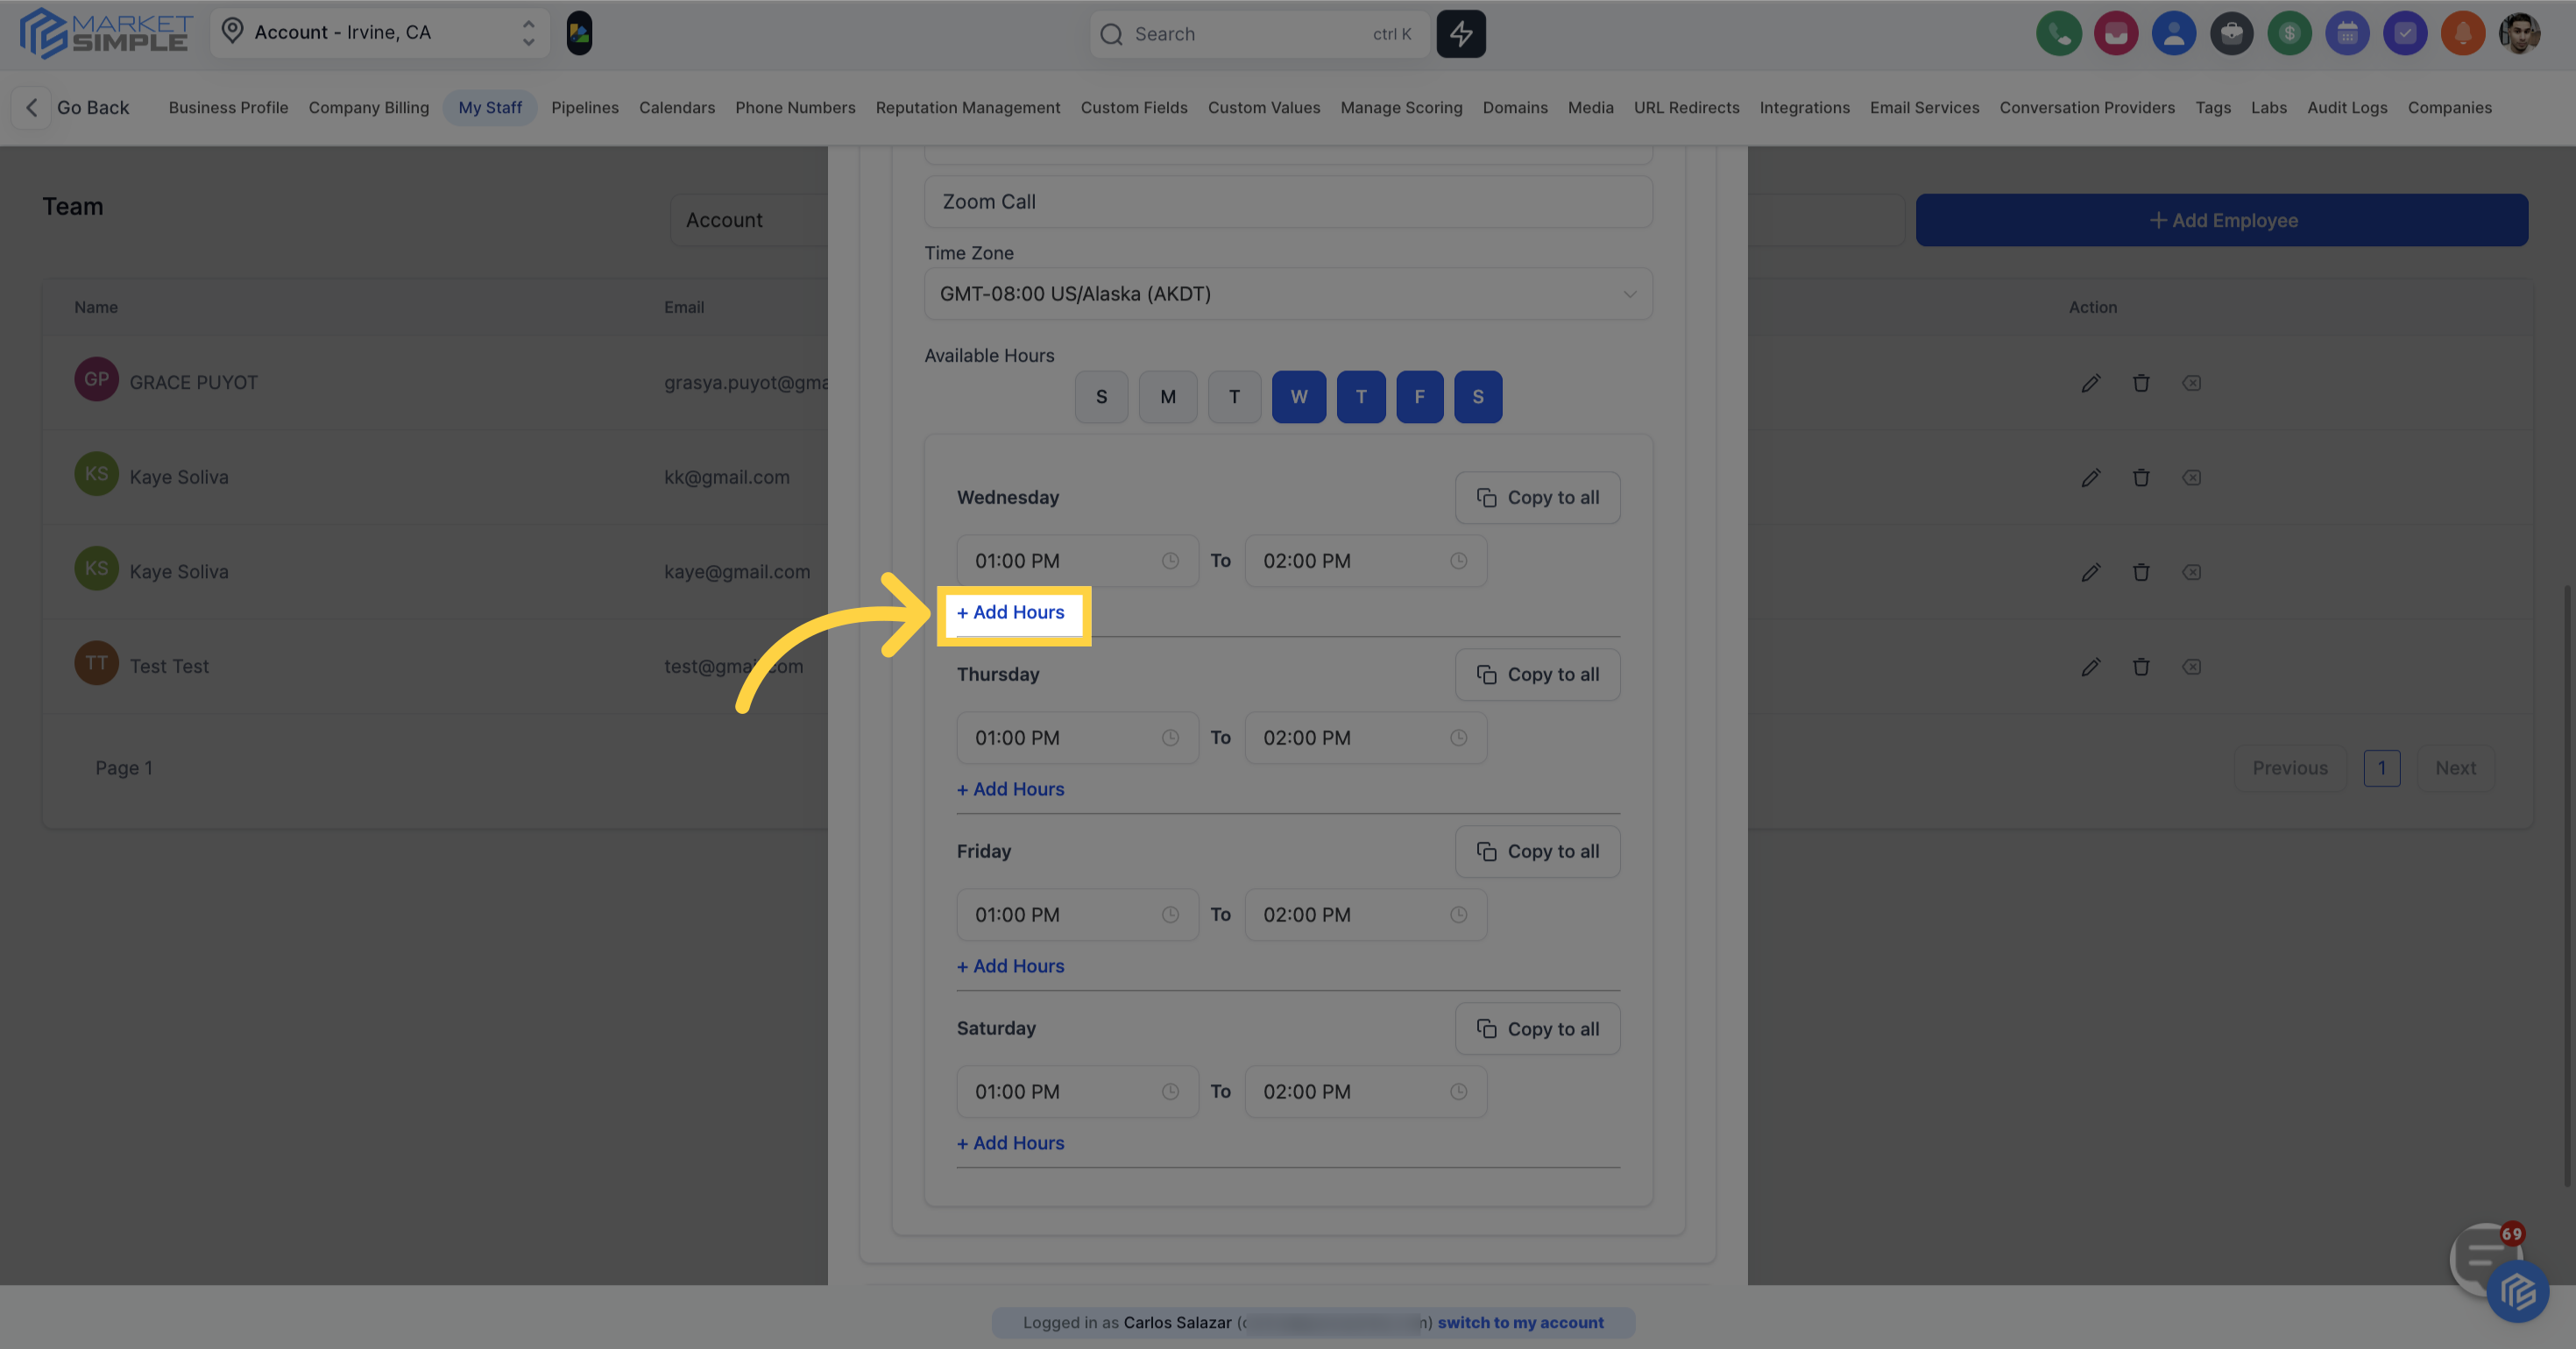
After selecting the available days, specify the preferred available times for each day to align with your team member's schedule.
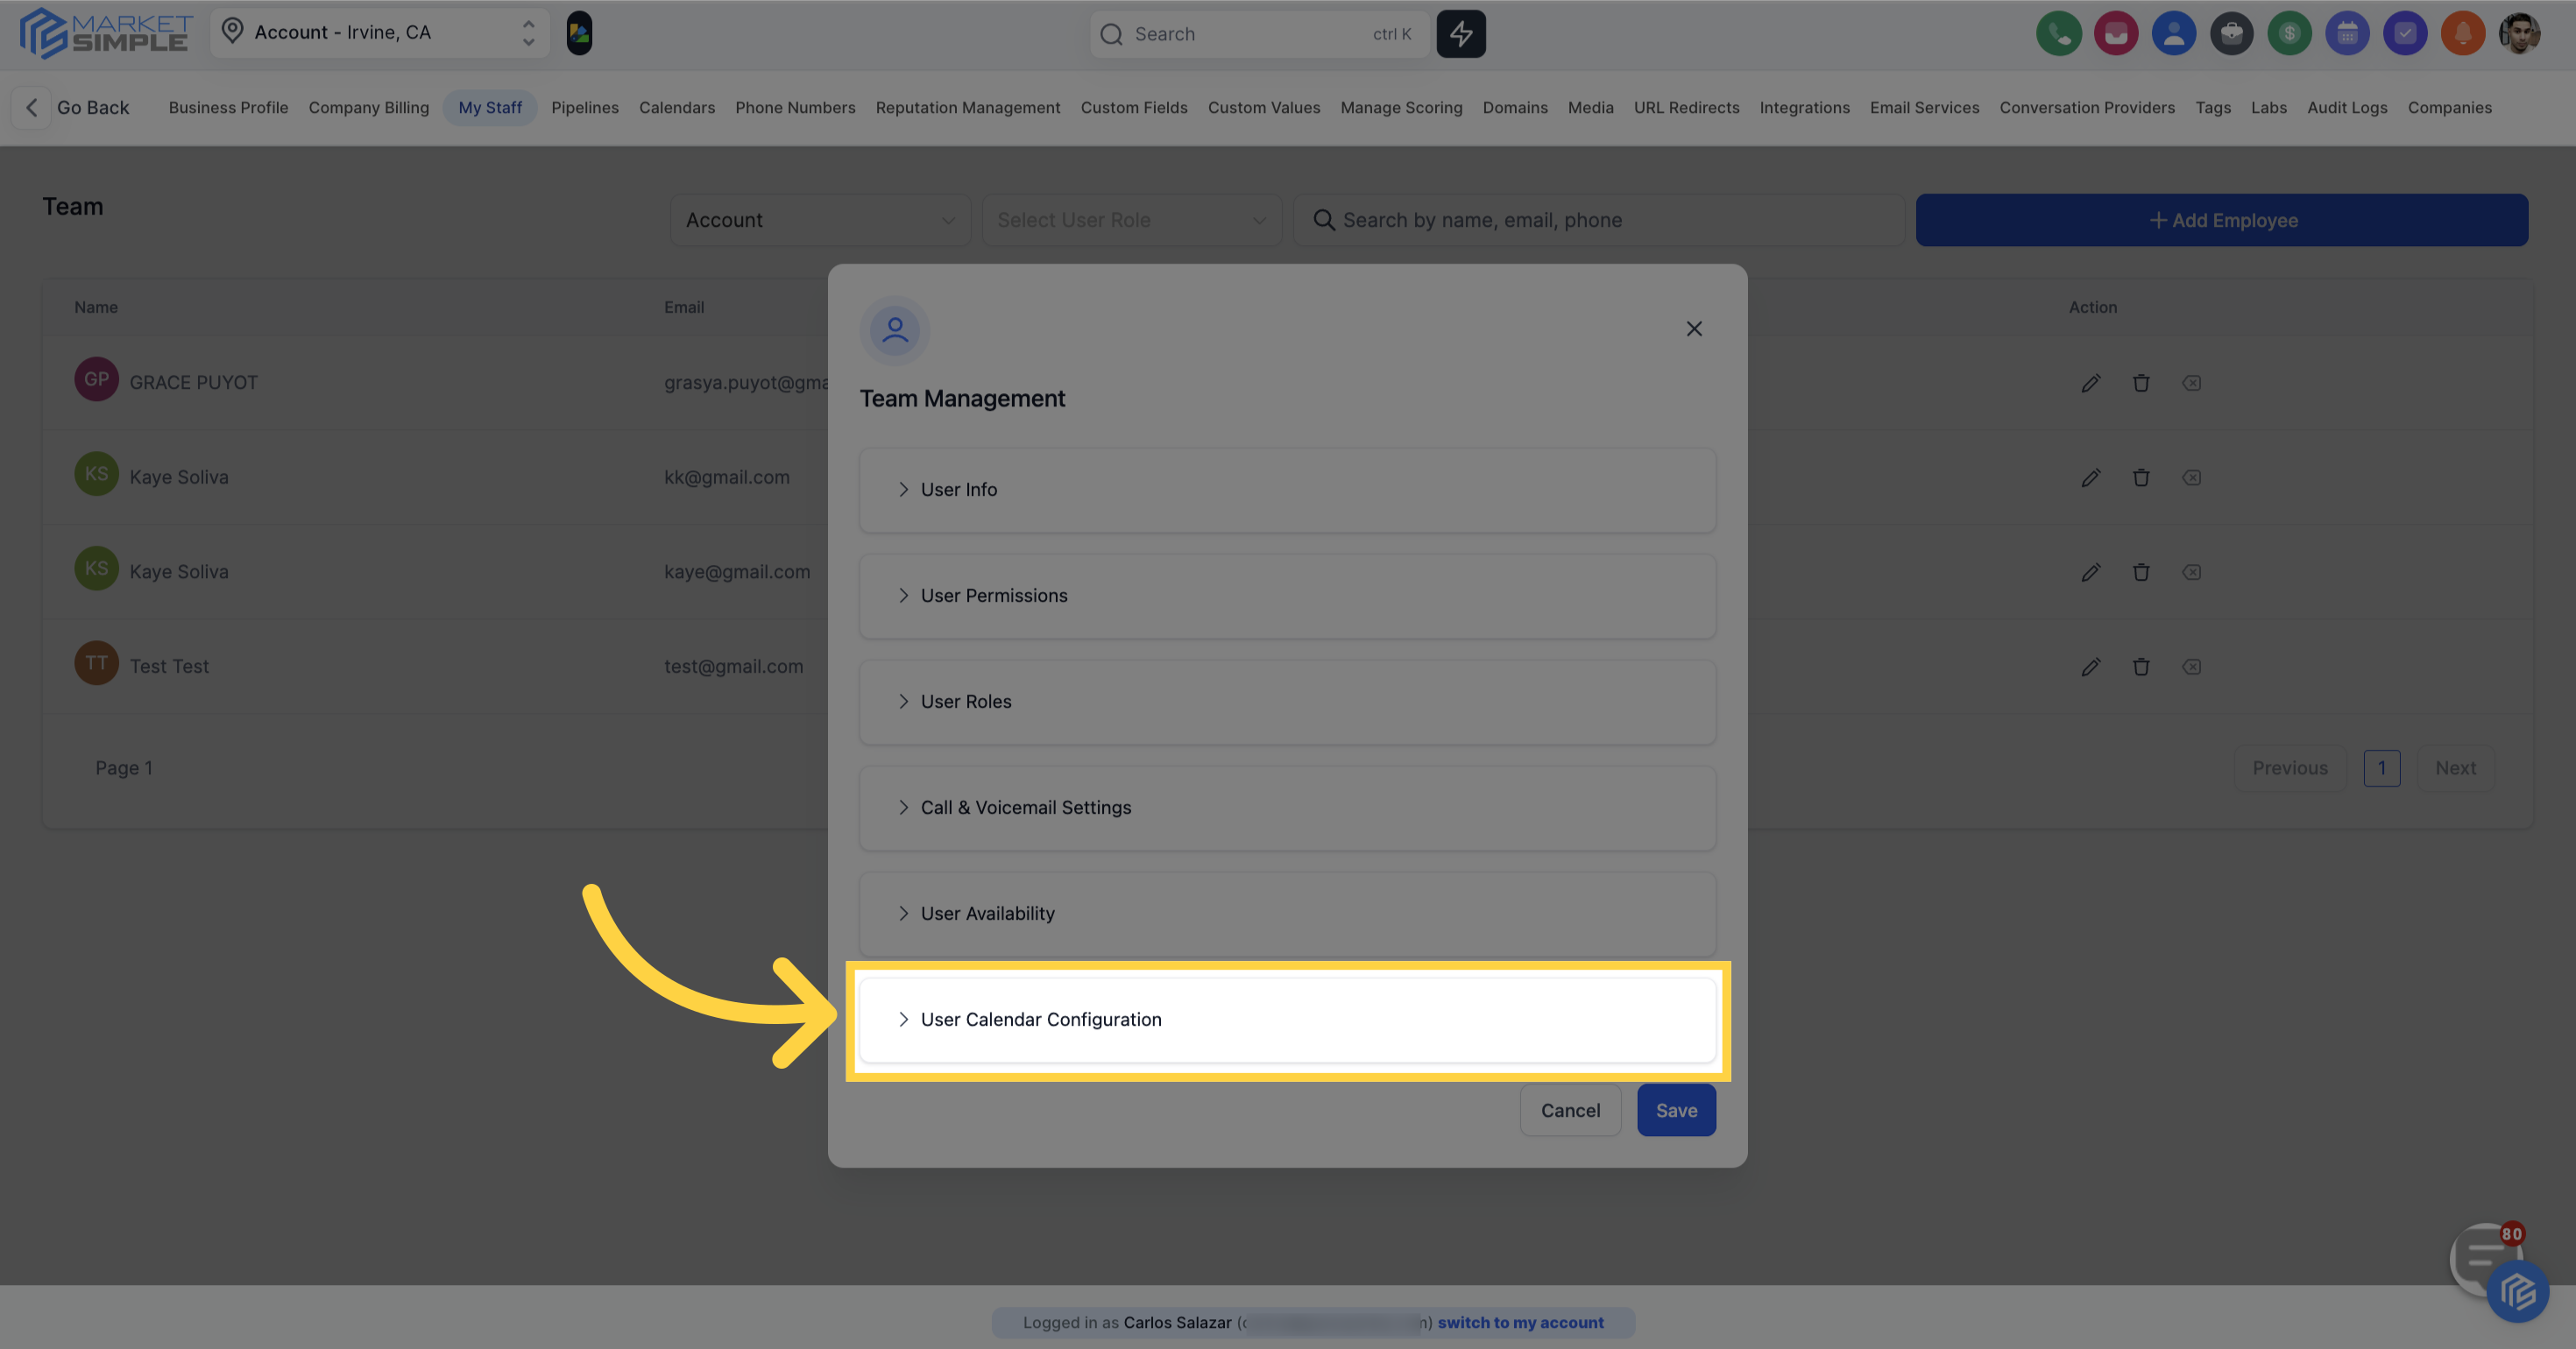
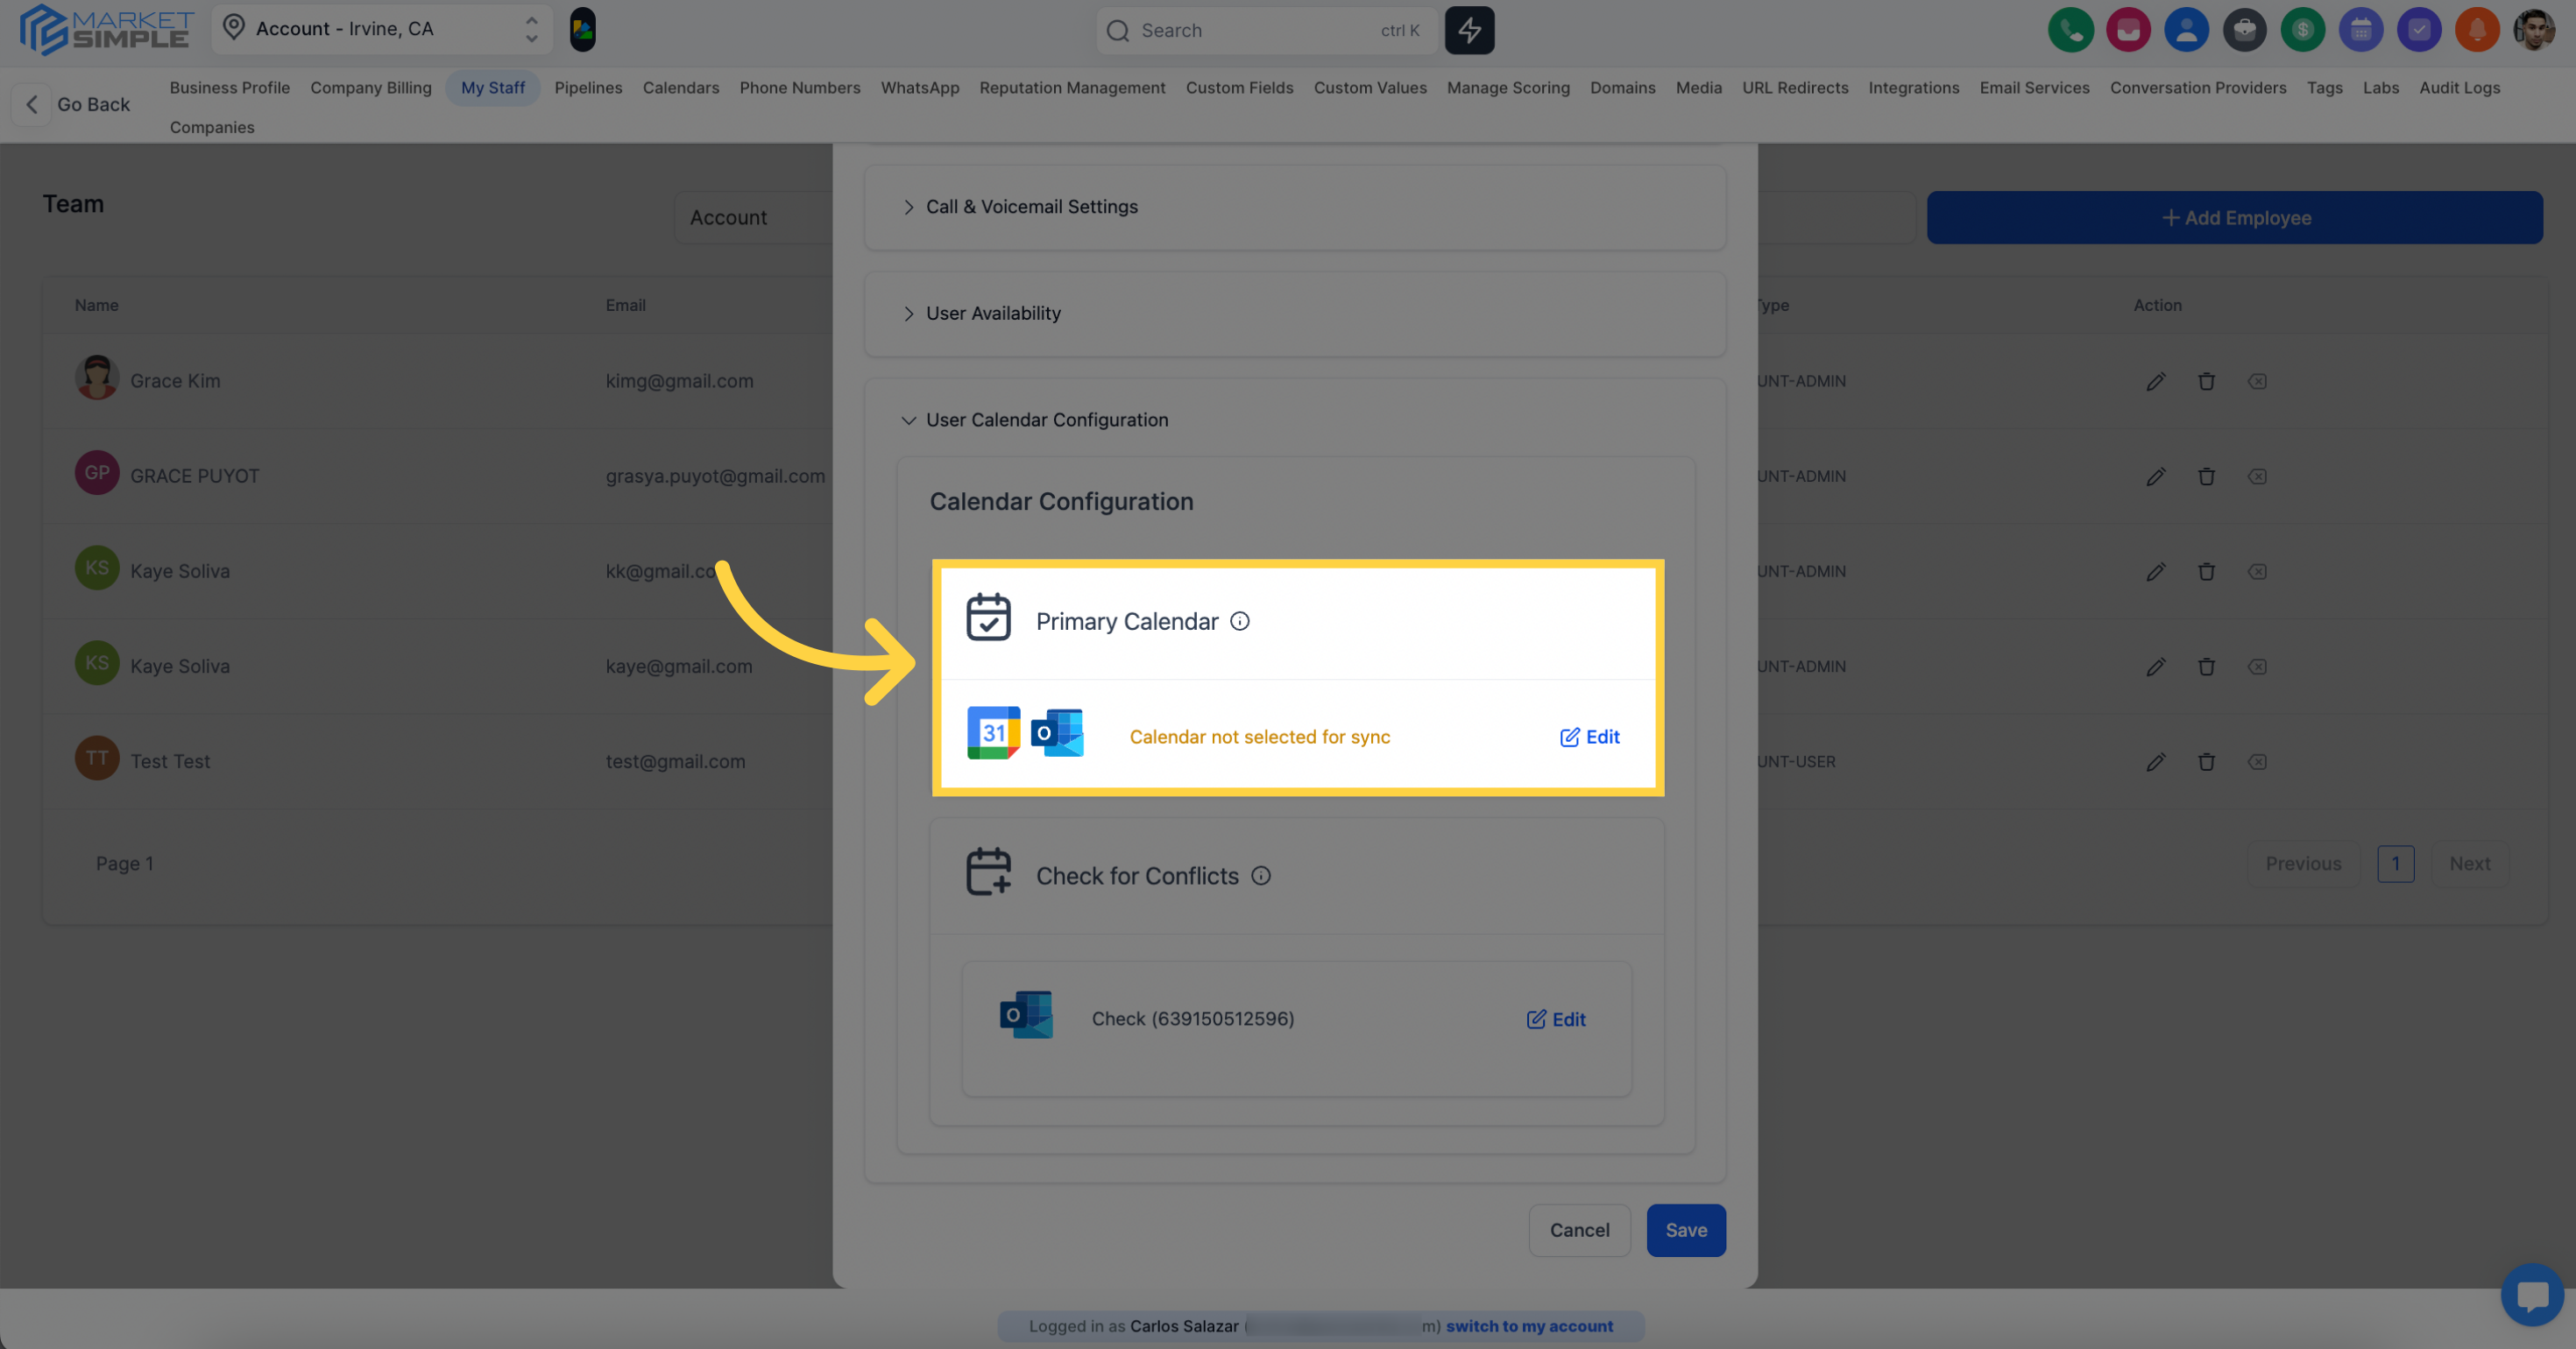
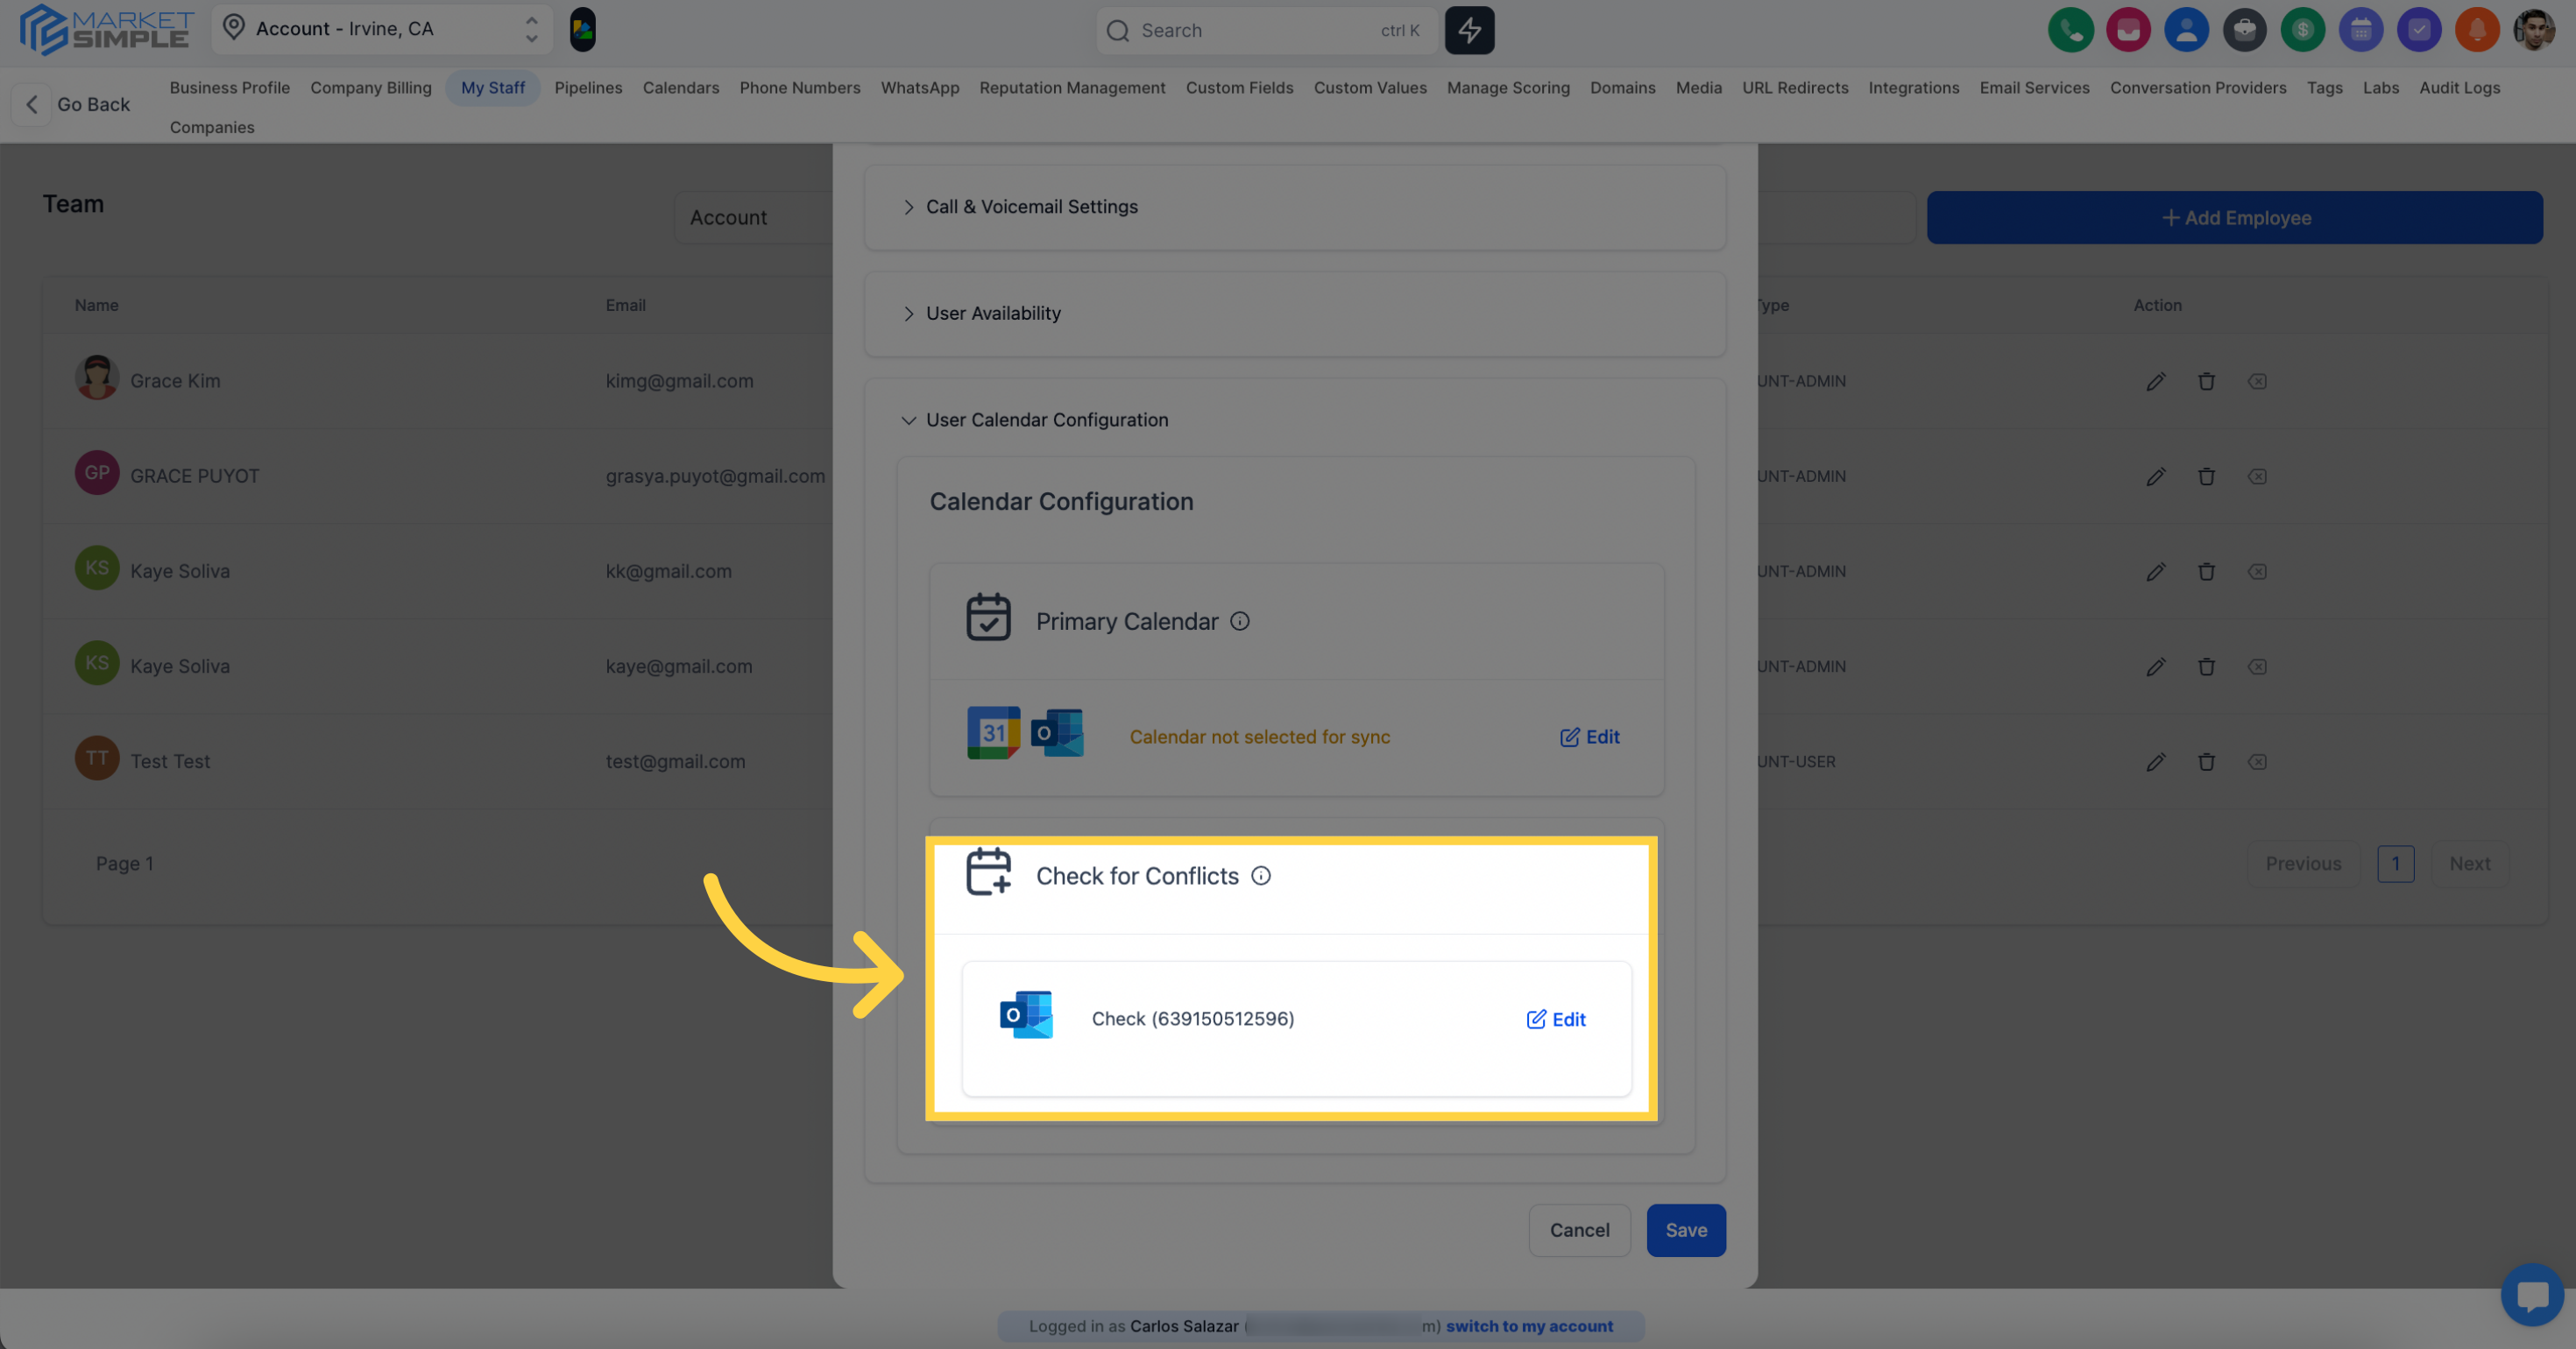
Within the Calendar Configurations, you have the option to link a Google Calendar for your team member, which can be employed for scheduling purposes. Additionally, you can include extra calendars to cross-reference for potential scheduling conflicts in the "Check for Conflicts" section. This helps streamline and manage scheduling activities efficiently.
Click here to save changes
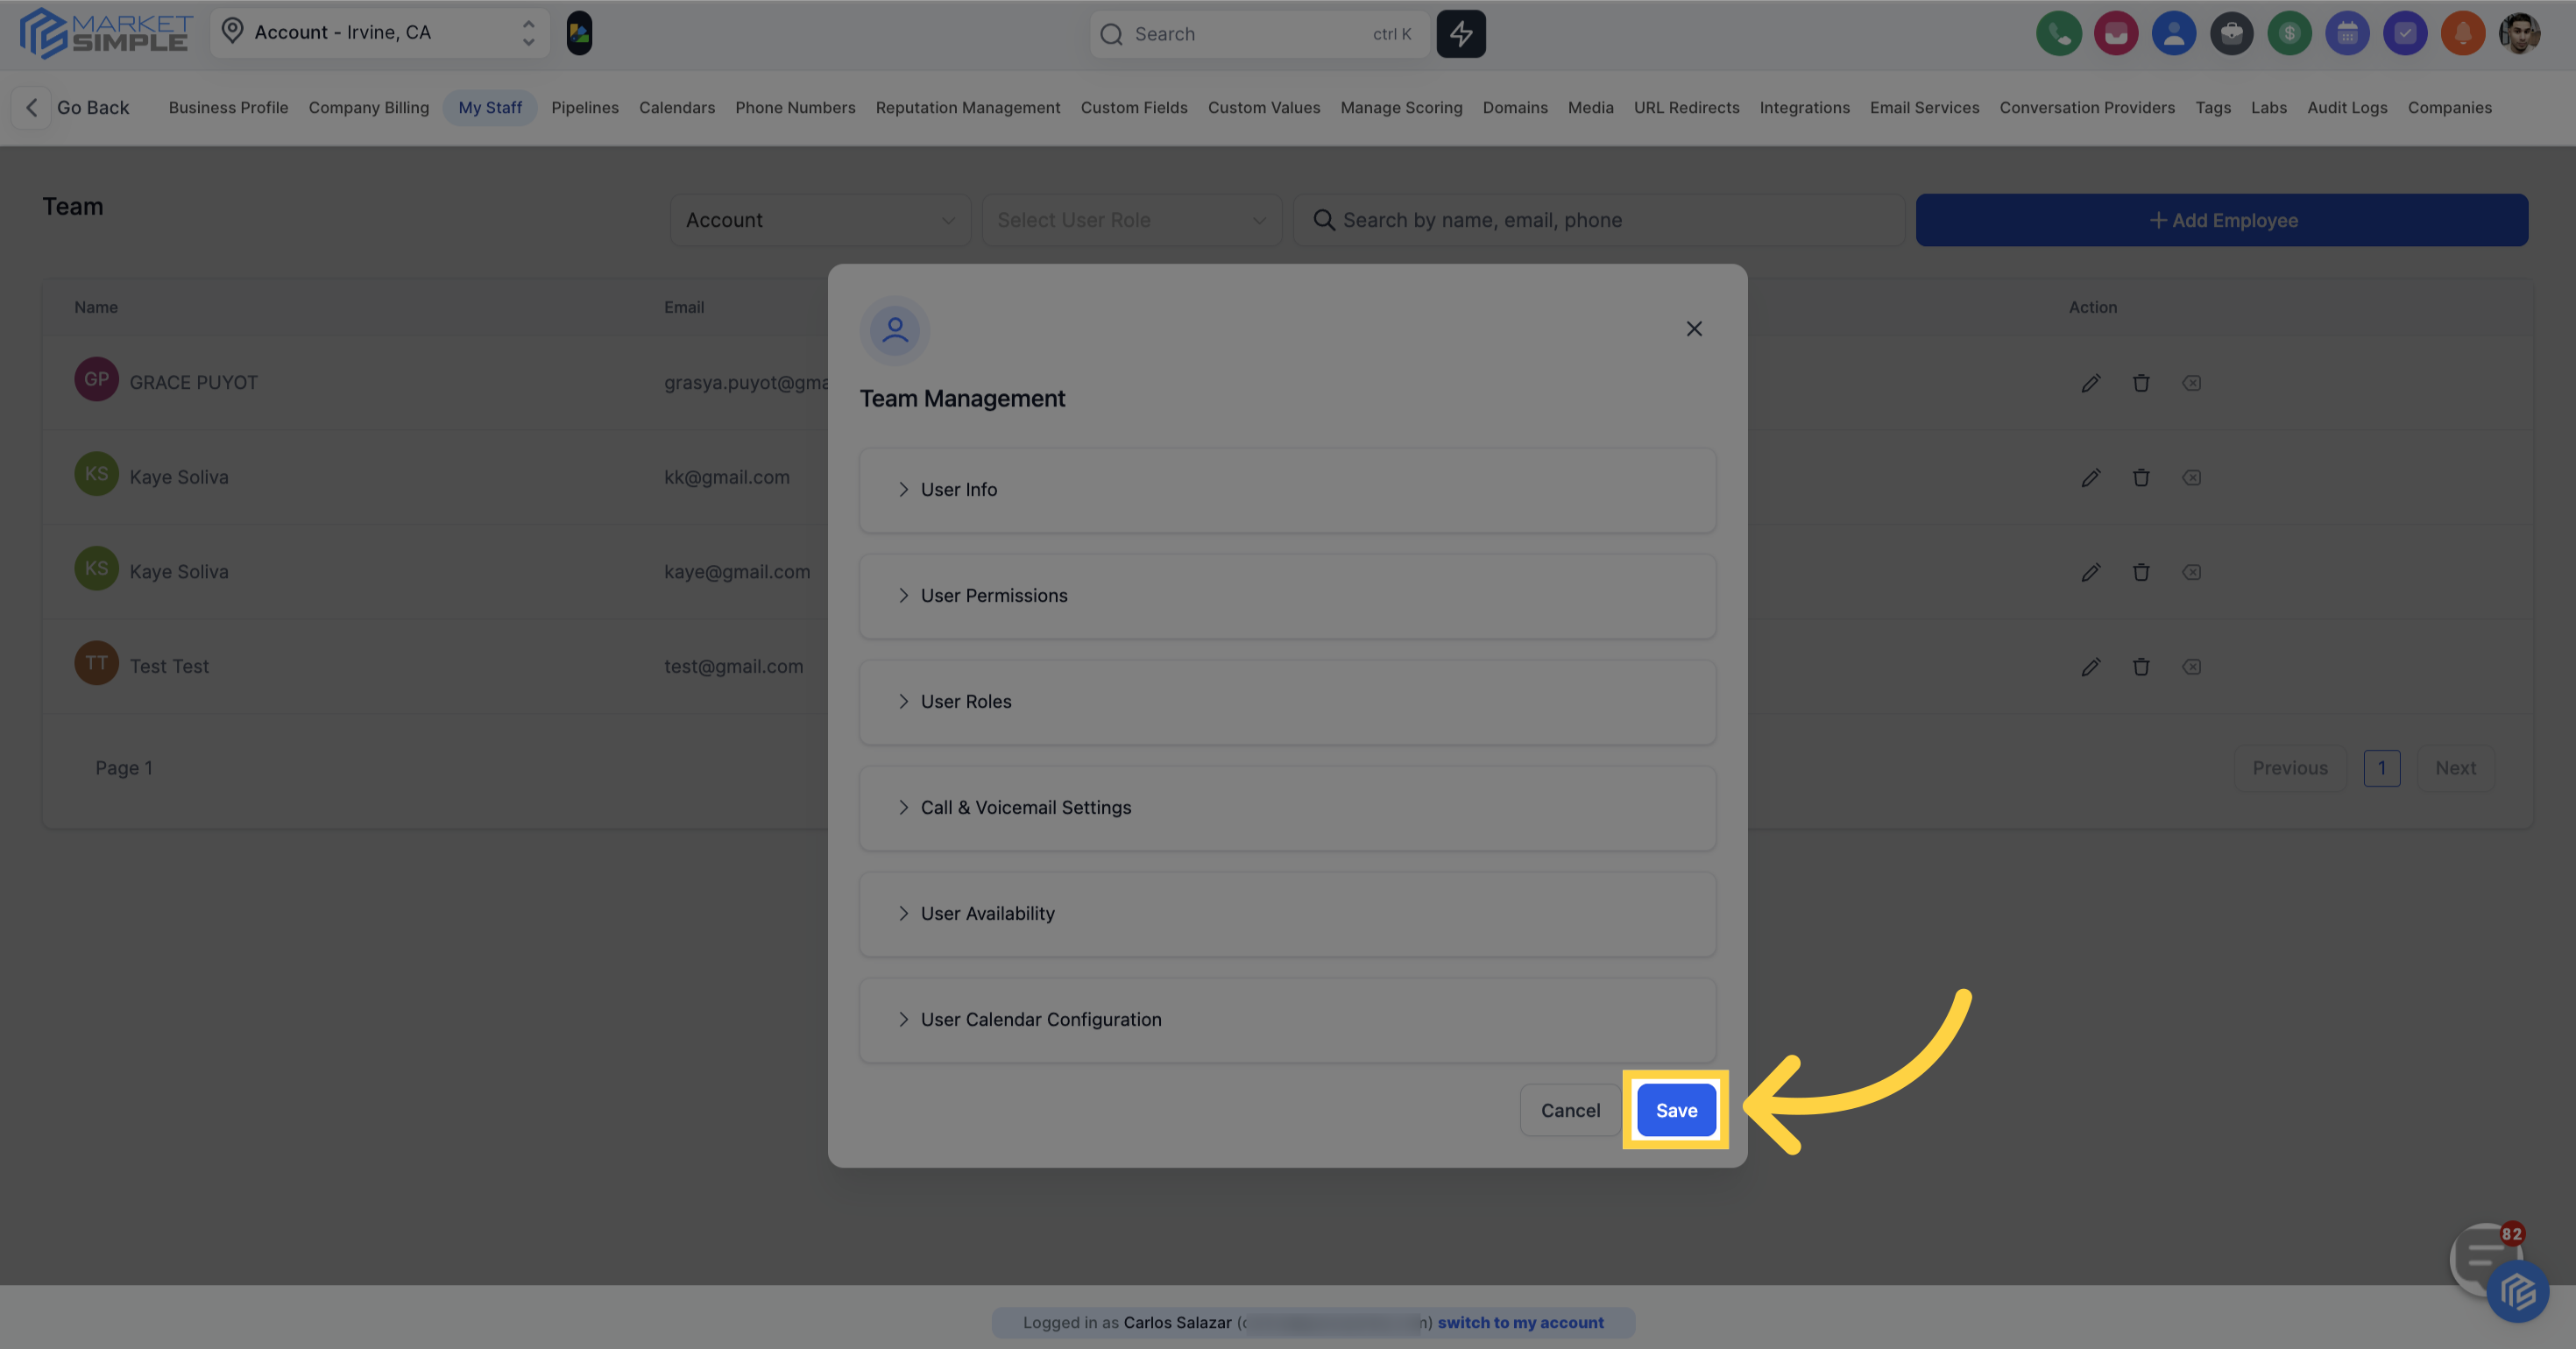
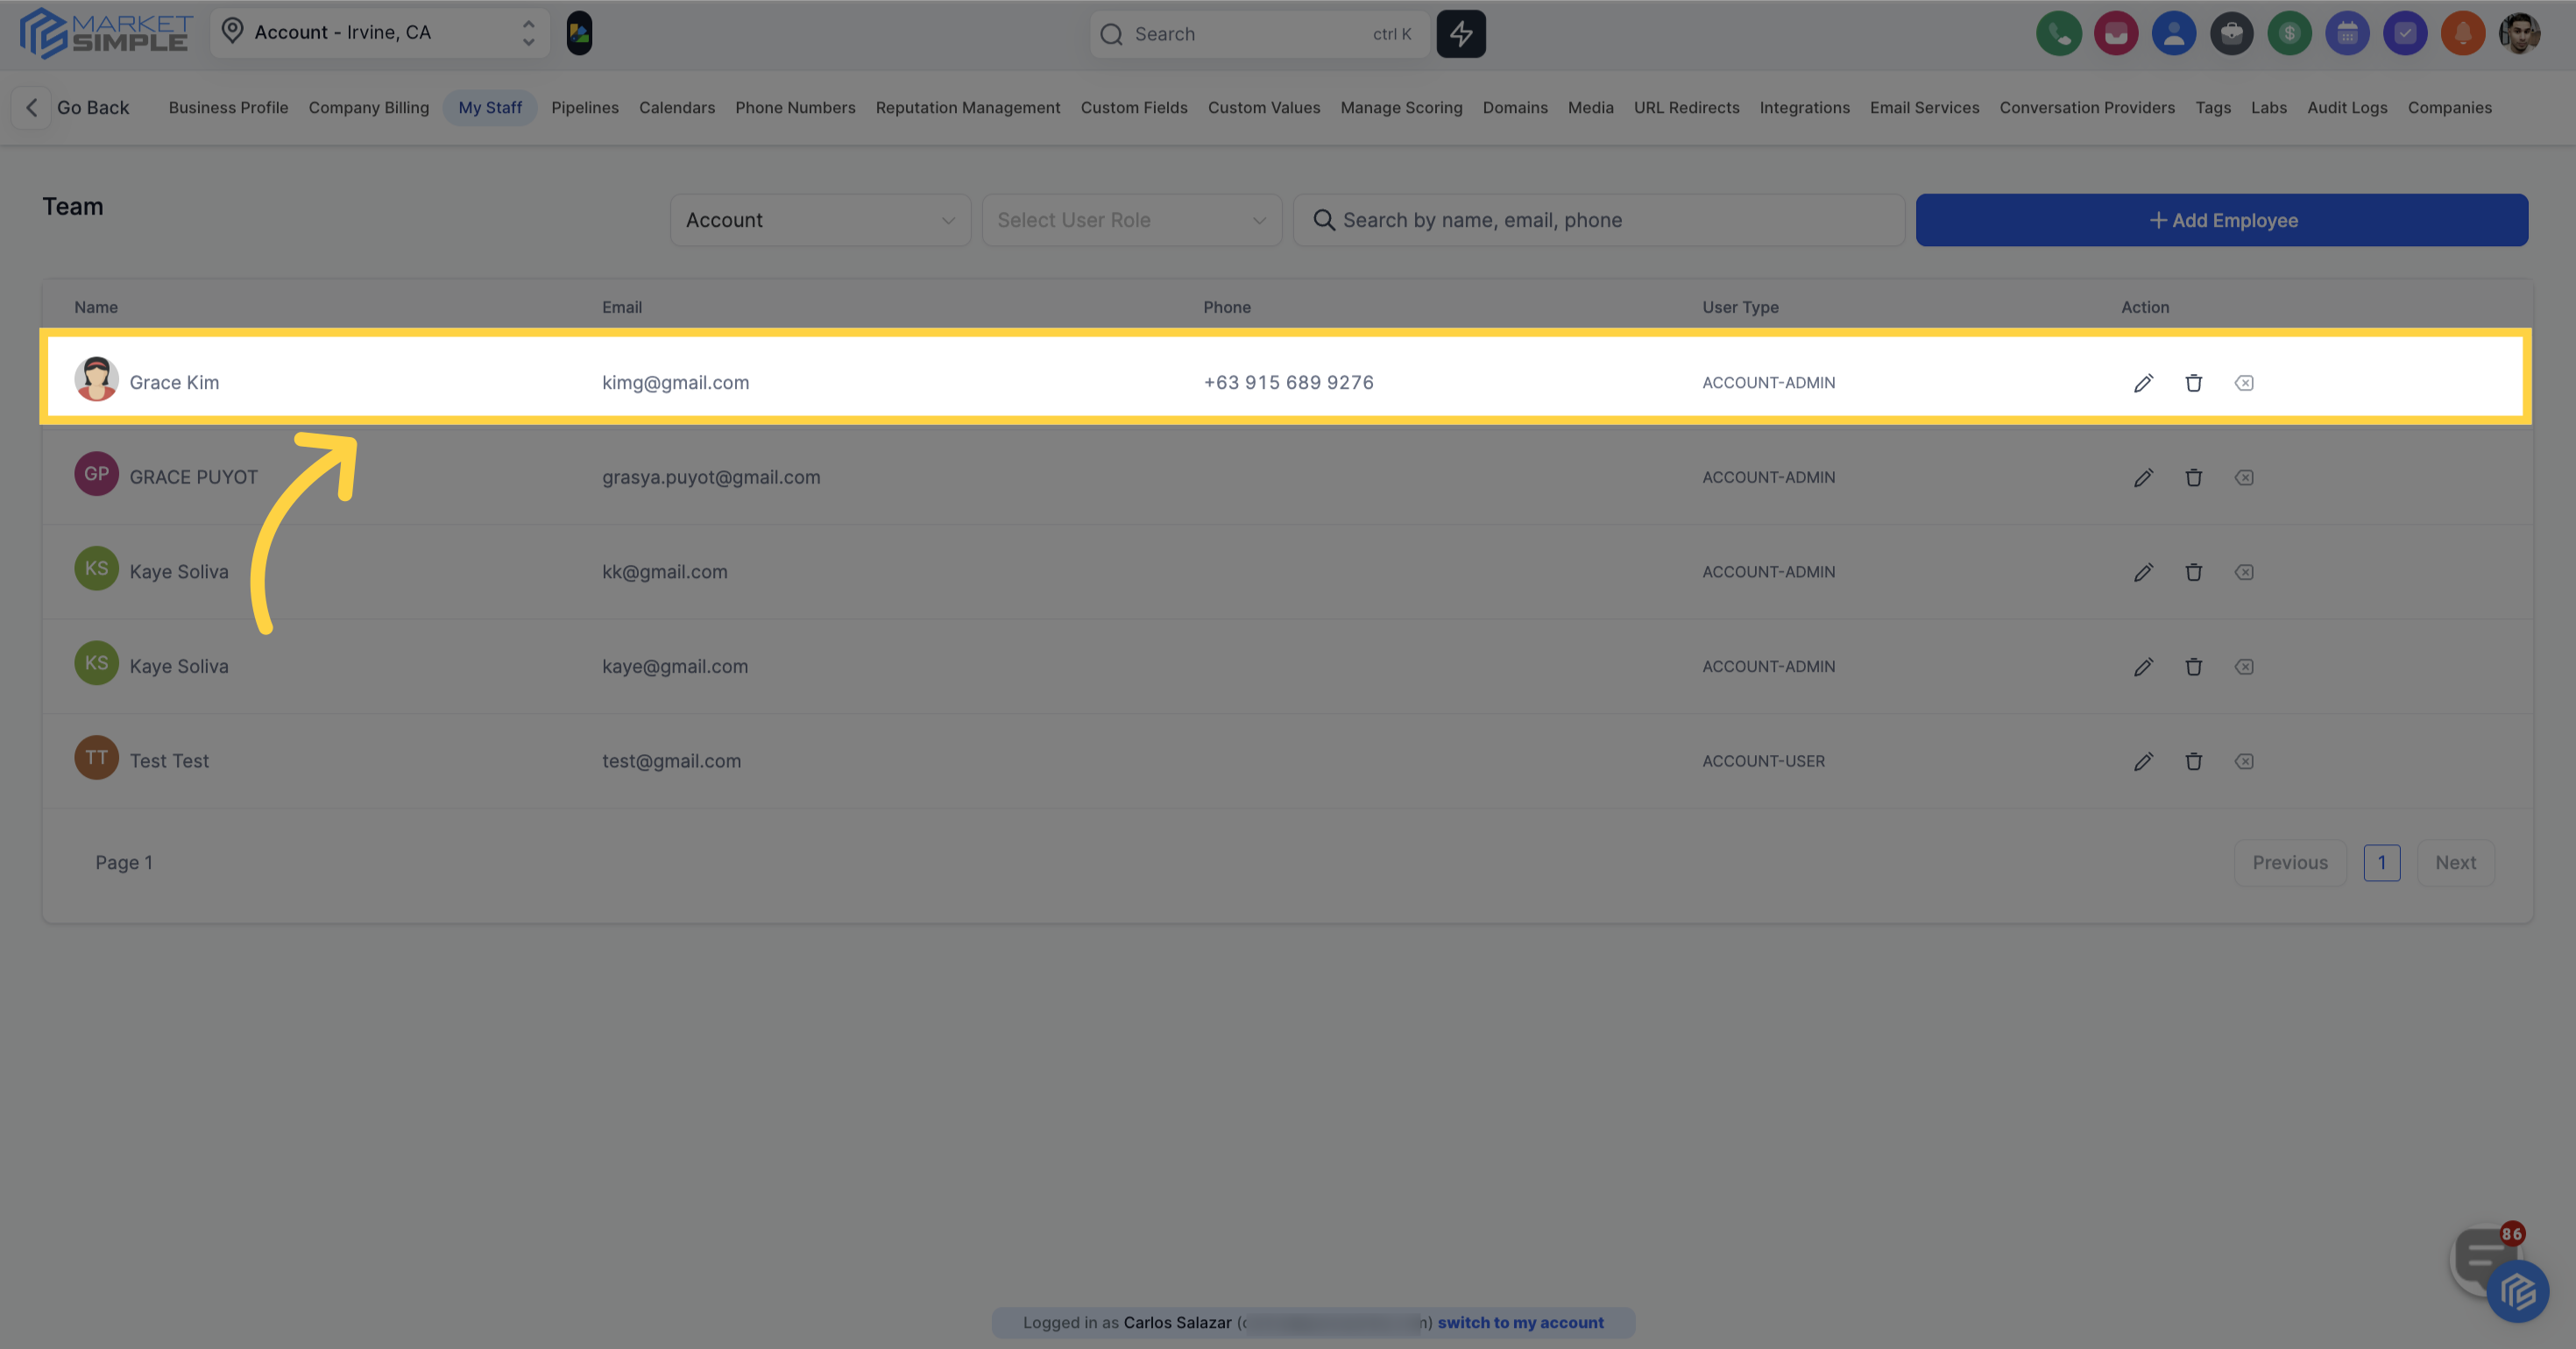
After saving, the newly added employee will be displayed on the list